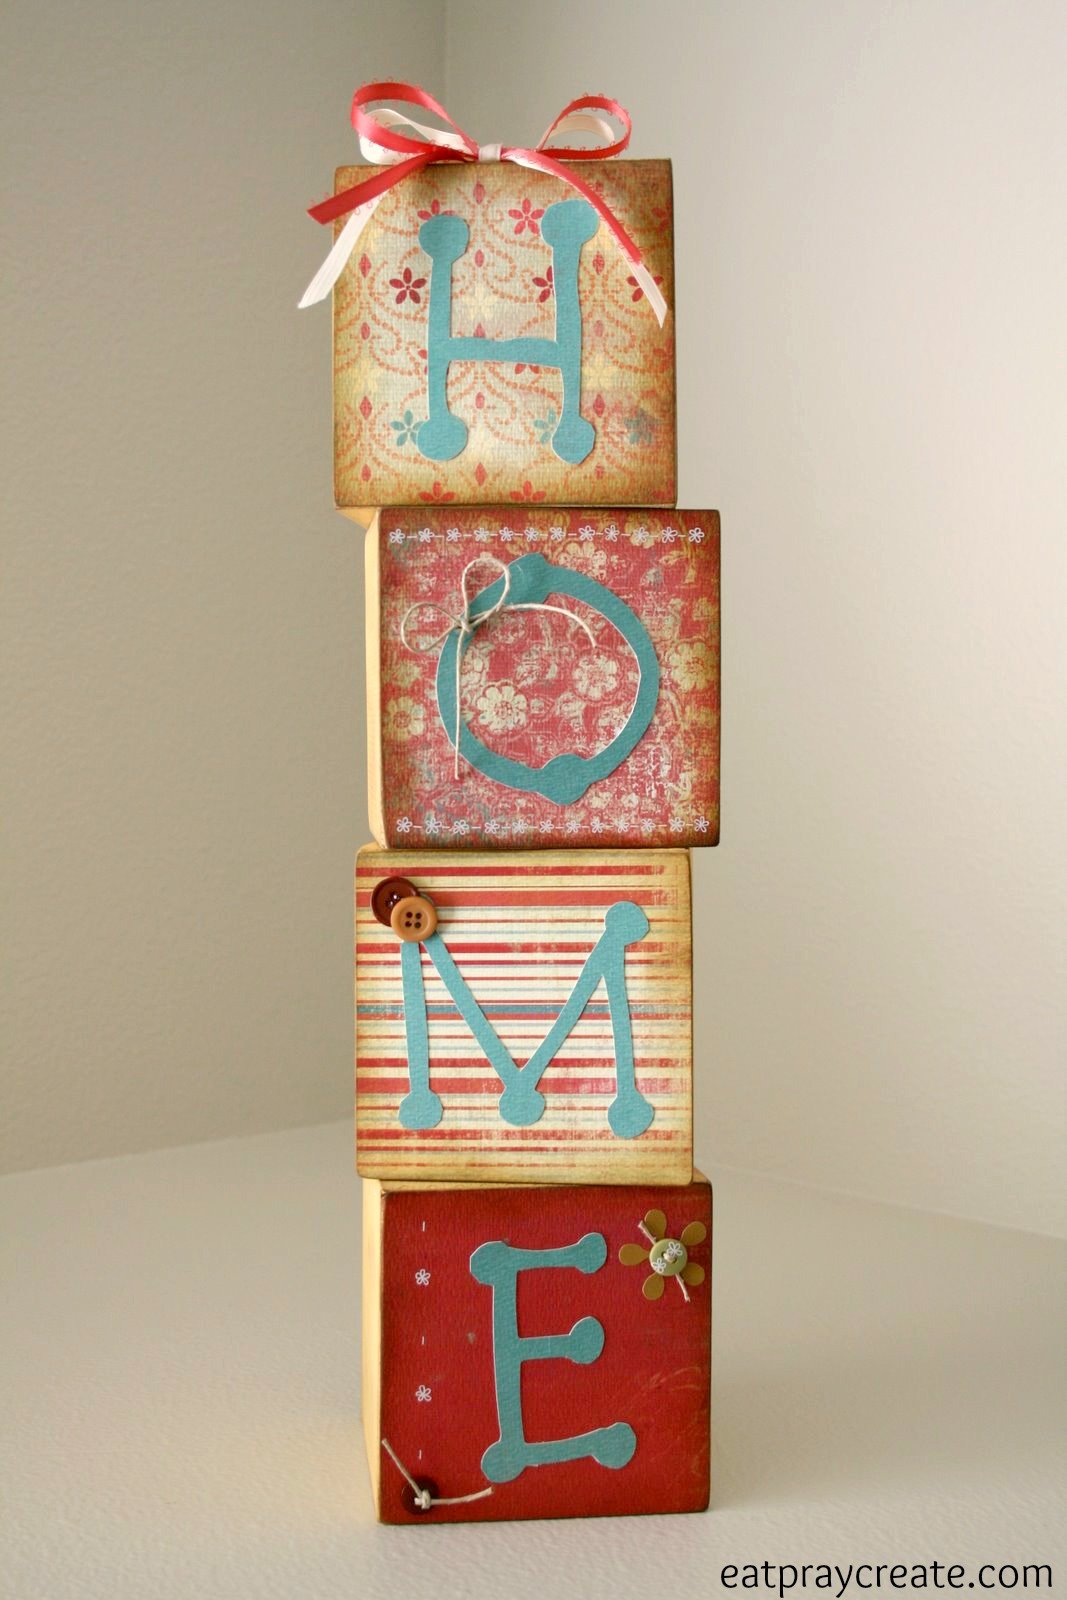
DIY Wood Letters – DIY Wedding Series
As part of the DIY Wedding Series today I am showing you how to make these Sparkly DIY Wood Letters. These are the perfect decoration for a wedding or home decor. You can customize them to match your wedding colors or home. If you missed any of our other DIY Wedding Series Posts you can find them HERE.


(this post contains affiliate links)
Supplies:
- Wood Letters (buy them at your local craft store or check out Amazon – see below, I got mine at Hobby Lobby)
- Yes Glue
- Sparkly Glitter Scrapbooking Paper (got my single sheets at Hobby Lobby)
- Sandpaper, Pen, Scissors
- Embellishments (if desired)

I love this sparkly glitter paper!

First trace your letters face down on your paper, also facedown. If your letter is bigger than your paper you may have to cut more than one piece.

Cut out your letters. To cut the inside I simply use a hole punch first and then use my scissors to cut out the middle.

Add yes glue to the top of your letter, just use your fingers to smooth it all over creating a nice thin layer for your paper to stick to. Then simply wash off your hands with water. Place your paper on top.

Now allow your glue to dry a bit until the paper is secure.

If you want you can sand the edges using sandpaper to make any overhanging paper flush with the wood. You also have the option to paint your letters first depending on the look you are going for. And since my letters were big and had a paper seam at the bottom I decided to add a little pearl trim. Found these sticky kind at Hobby Lobby.

The best part is you can choose any scrapbooking paper you like and decorate your wood letters. They look so elegant as a Wedding Decoration!


Make sure you check out our other DIY Wedding posts HERE.
And be sure to pin it to reference later! Just hover over the picture and click ‘pin it’

Click HERE to see all the fun linky parties I link up to!
Have a great day!
– Taya

Latest posts by Taya (see all)
- Invisible Person Costume Tutorial - September 16, 2025
- Birth Stats Stuffed Animal Tutorial - September 24, 2024
- Star Tip Character Cakes Made Easy - January 20, 2023


One Comment
Trish @ tagsthoughts.com
Love these letters so much that I just had to share on Facebook! Thanks for sharing at the Creative Inspiration Link Party. Join us again next week ~ Mon 8p EST – Thurs 8p EST.