
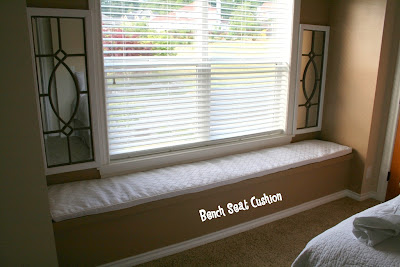
Bench Seat Cushion – A DIY Tutorial
I haven’t finished Sam’s ruffled bedding but I have a good reason why…..I was helping my friend make this…A Bench Seat Cushion for her guest room. Keep reading, I’ve added a tutorial so you can make your own DIY Bench Seat Cushion!

All finished…
Here’s a little TUTORIAL!
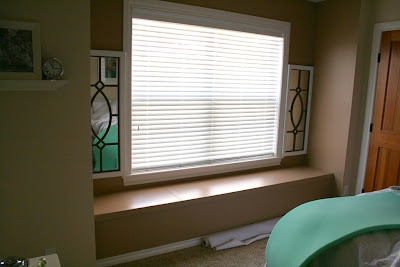

Here is the really long piece of foam she bought from JoAnn’s… (we had to glue an extra piece on to fit the length of her 10 foot seat, we just used hot glue.
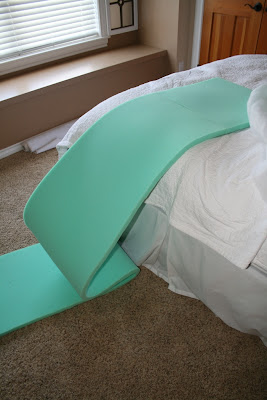
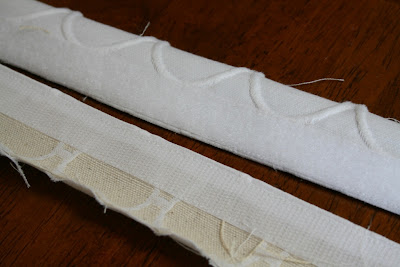
Then we added batting for extra fluff. Wrapped it around and used hot glue to secure the edges, just a thin layer. (careful not to burn your fingers!)

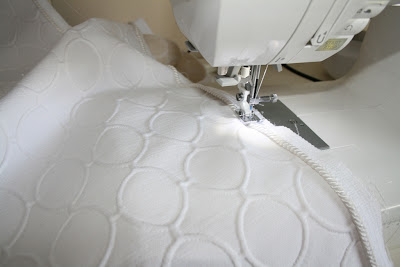
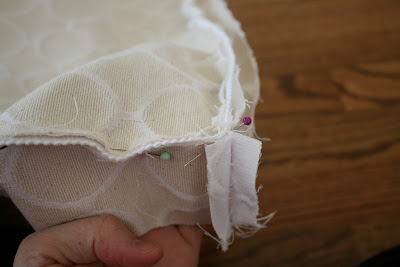
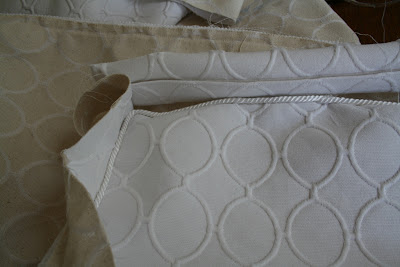
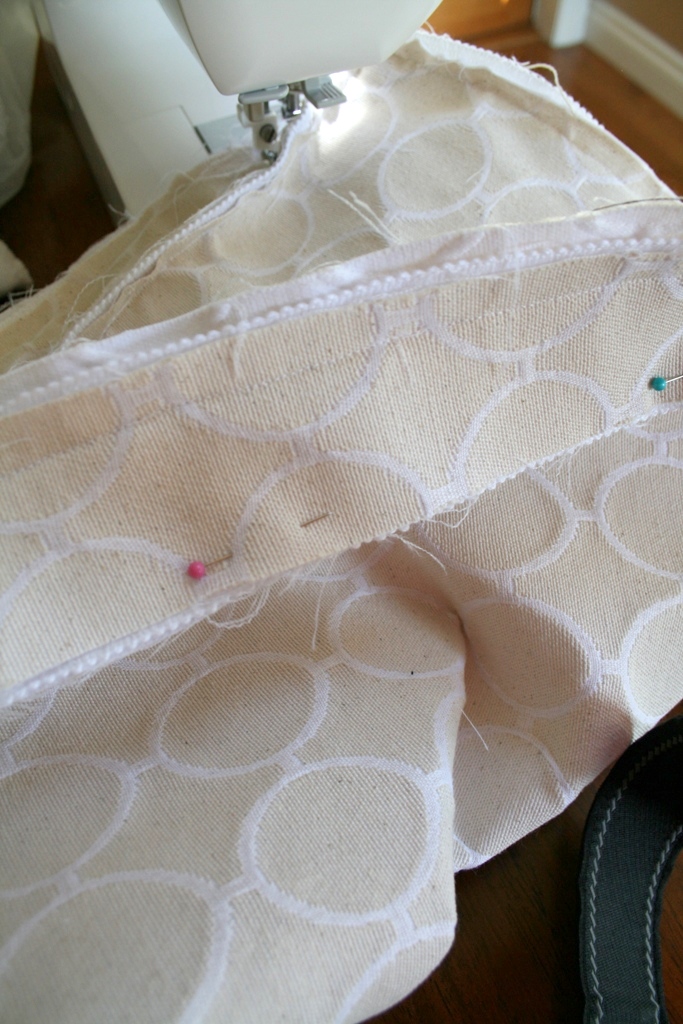
Then we sewed the 2 long side pieces to one of the short end pieces and pinned them to the top, right sides together. Then sew…your piping trim will be sandwiched between the top piece and side pieces, sew very close to the piping (even though you can’t see it, it is easy to tell where it is under the fabric) leave about 3 inches un-sewn at the ends of your long pieces.
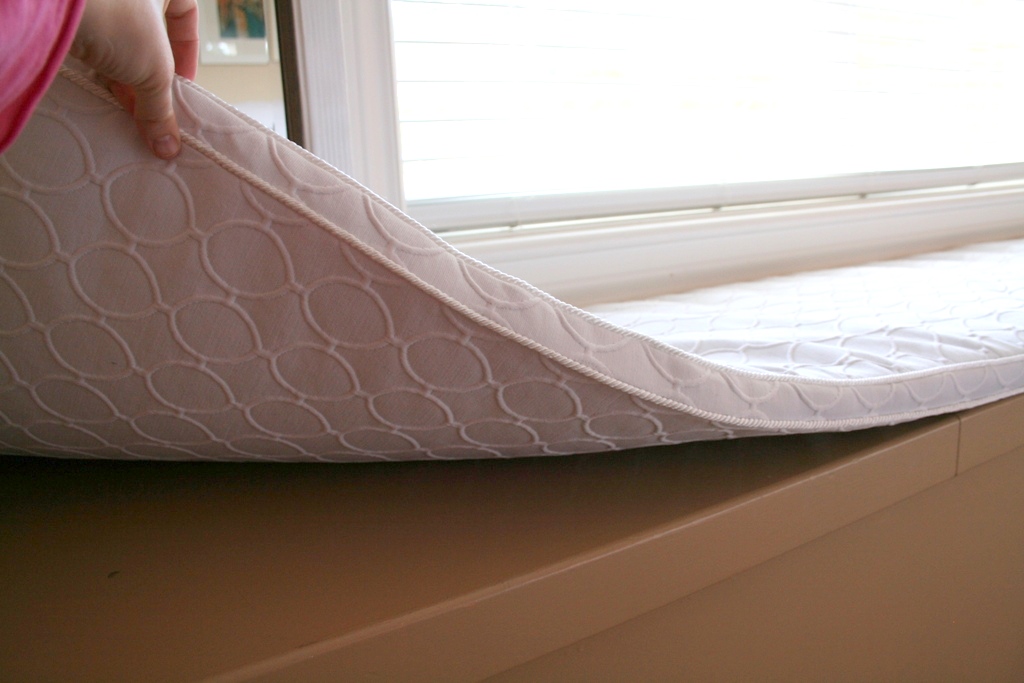
Turn right side out and stuff your cushion inside (this was a bit difficult to do because of the size of our seat, so we unstitched a small opening on one side of the cushion, just big enough for a hand to fit through in order to grab and pull the cushion to the end).
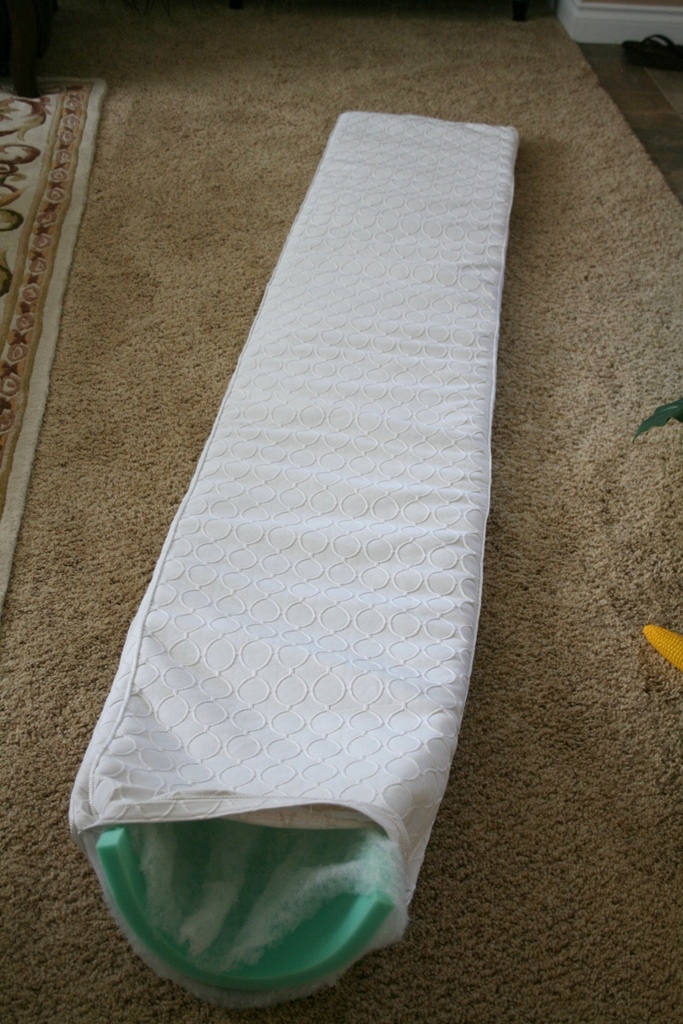
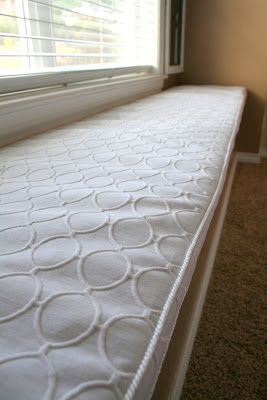
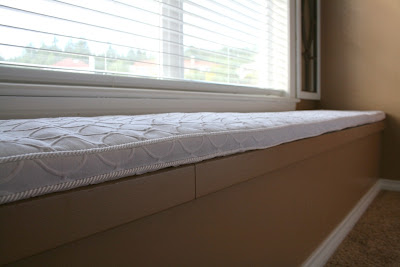
Close the velcro opening (hand stitch your other opening closed if you made one) and put your cushion in place!


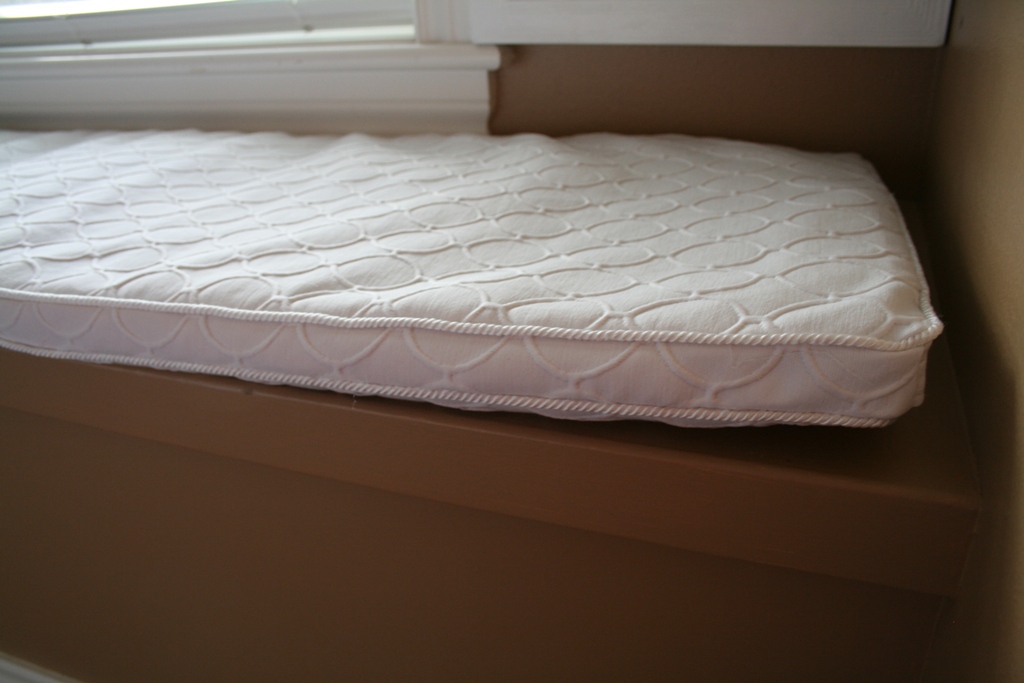
Stand back and admire your new bench seat!


Latest posts by Taya (see all)
- Invisible Person Costume Tutorial - September 16, 2025
- Birth Stats Stuffed Animal Tutorial - September 24, 2024
- Star Tip Character Cakes Made Easy - January 20, 2023
Taya
Hi I'm Taya! A stay-at-home mother to 5 cuties. I love to craft, sew, blog and make fun things. I'm the creator of the 'Eat-Pray-Create' blog and I'm so glad you're here!


15 Comments
Kendra Joy Skinner
Thanks for the really great tutorial! I’m making a 12 ft. long bench cushion and was trying to figure out if velcro was the best solution for getting the long piece of foam in and closed up.
maureen
I’ve always used a zipper in mine. Much easier to just use velcro and make the opening any length you need. When it’s hard to get the foam in, a plastic bag from dry cleaning can help it slide inside, and then remove the bag.
Amy
Thanks so much for sharing this! I want to recover the one that came with the house we bought and I didn’t want to mess with a zipper, never thought about velcro!
Unknown
After you put the foam in that plastic bag – suck the air out with a vacuum cleaner! Then tape it shut and slide it in – tear the plastic off after it is in place – some will remain, but won’t hurt. Upholstery tip!
Vicki
Thanks for the tutorial. Looks fantastic. I love the fabric you have used too.
jannyjan
Turn the cover inside out. Bunch it up like your probably do your pantyhose and pull it up around the foam “leg.” Once you have a few inches done it gets easier since you can use the now right side out portion as a handhold. You will be able to keep the foam straight this way and no unstitching is necessary to help it along. I hope somebody can SEE what I mean besides me! 🙂 but it works!
The Birmingham Grahams
What fabric did you use? I love it!
Momma of Two
i need to do something like this for my two kitchen windows but i don’t have a sewing machine, so if someone has an idea that won’t fall apart i’ll take it
Melissa M
I just found that fabric at Jo Anns Last week. I love it and want to do window panels for my living room.
Carin Turquoise Rae
I love the look of the cushion you made, but, to be honest, the instructions aren’t in enough detail for me. I feel if someone could follow them they probably don’t really need to be reading instructions like this to begin with. Thanks for publishing though and I will try to follow them.
Unknown
When I made the bumper from my daugther’s crib set, I put the closure on a long side in the middle instead of on a short side like you did. Just a thought, but it was a lot easier to sutff 🙂
Daisy Rogers
Thanks for the excellent tutorial!!!
Your large bench cushions for garden looks comfortable to sit on and these benches can be placed anywhere in the house- from living room to garden.
Foam-By-Mail
Looks like you stuffed your cover perfectly! The best way to do it is fold your foam insert, slide it into the cover, and then release and let it flatten. All you have to do after that is to adjust the cover.
Toni-Lynn
Thanks for this! My Mom has been saying she wants to make one for months now.
Sierra
This is great – what a fun and creative idea! ~ Sierra (www.booksandbodkins.com)