
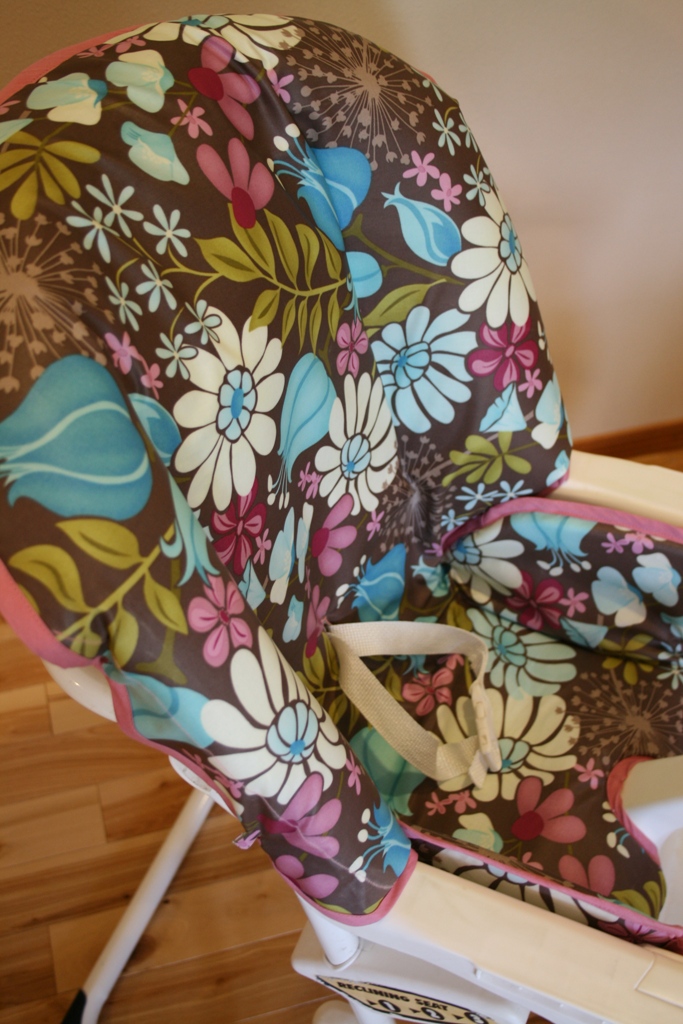
Re-covered Vinyl High Chair!
Our old high chair cover got riped and started to stink! It was time for a new cover. My daughter has out-grown her bumbo and needed a high chair so I found a cute girly vinyl fabric at a local quilt shop and got to work… I love how it turned out, don’t you! And best of all you can follow along and DIY to your old high chair cover!
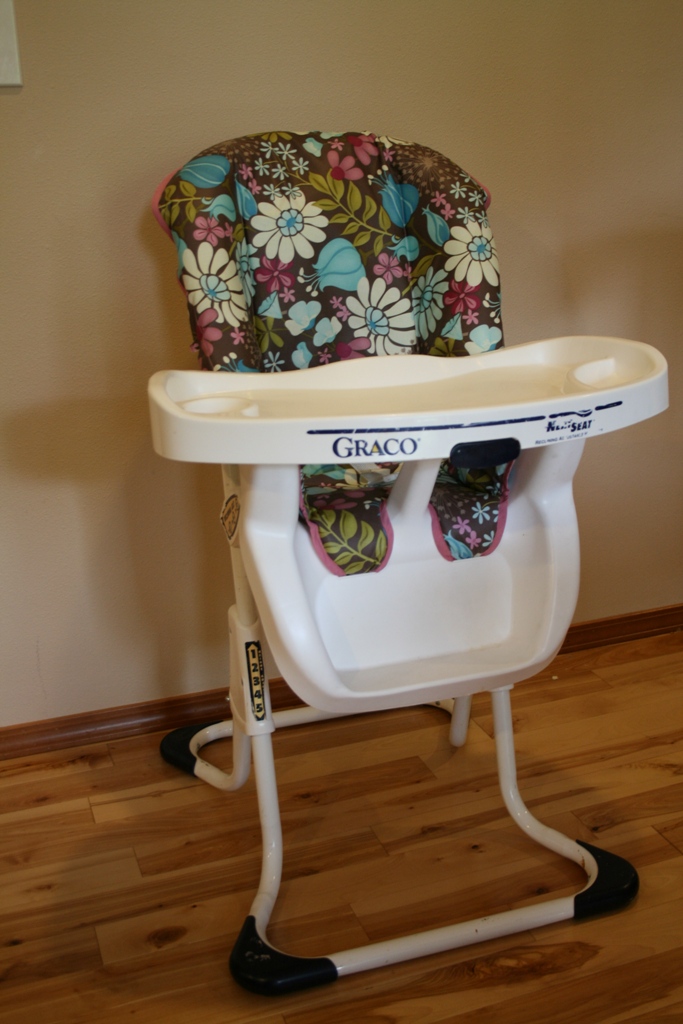
This is the only before picture I could find! This is when my little boy (now 3 year old) was a baby…


 Want to make your own?? Well here you go… start by making a pattern out of your old high chair cover. I traced mine before throwing it out… If you still have your old one just use it as your pattern. (use the back of wrapping paper to make your pattern if you don’t have big pattern making paper like this)
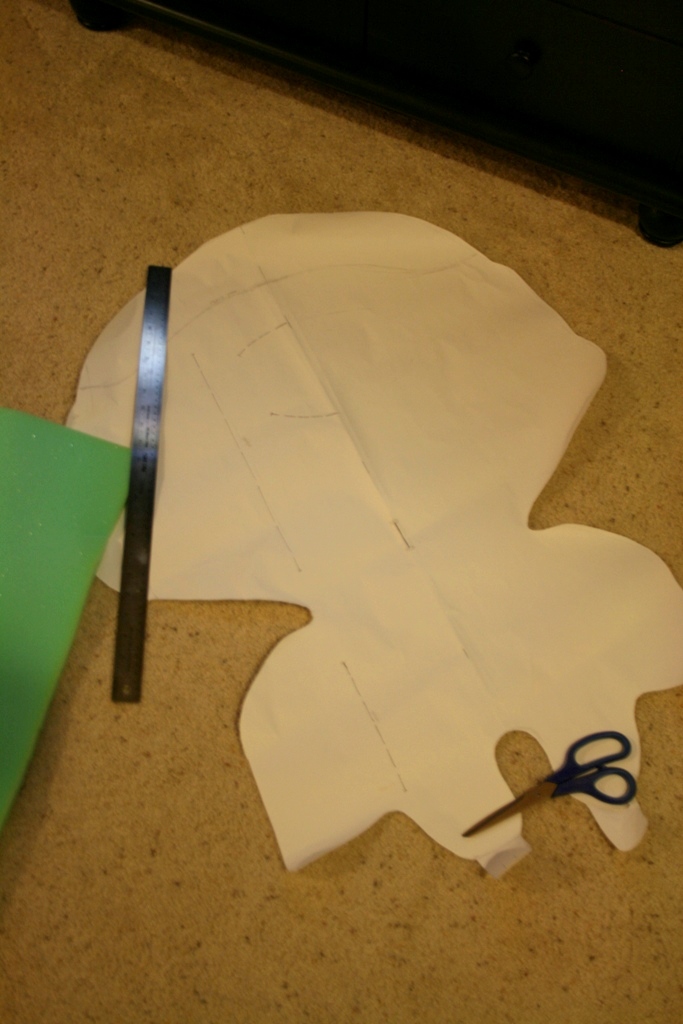 Trace onto foam (If your pad did not get moldy you could reuse it) ours needed to be replaced. Although I bought this foam a long time ago so it started to turn colors but it is clean! Now Cut, I suggest cutting inside the line about 1/4 inch so you can sew the fabric around it!
 Buy some totally cute vinyl covered fabric. Found this at a local quilt shop. You can also buy the iron on vinyl to apply to your own fabric.
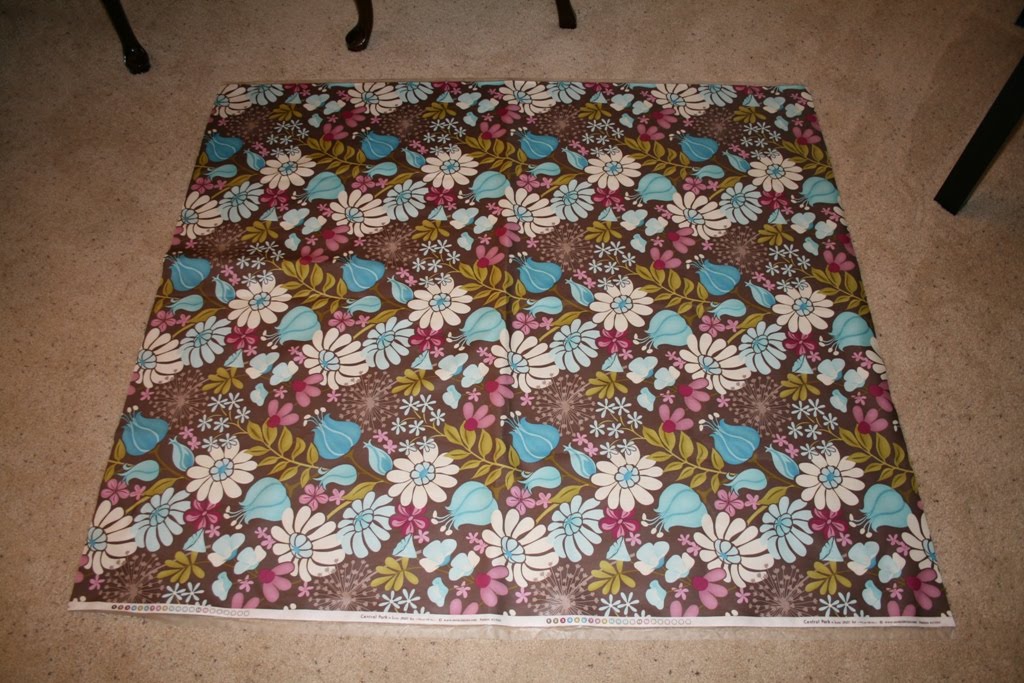 Trace and cut front and back and any other pieces you will need! (mine had a top piece that hooks over the top of the high chair)
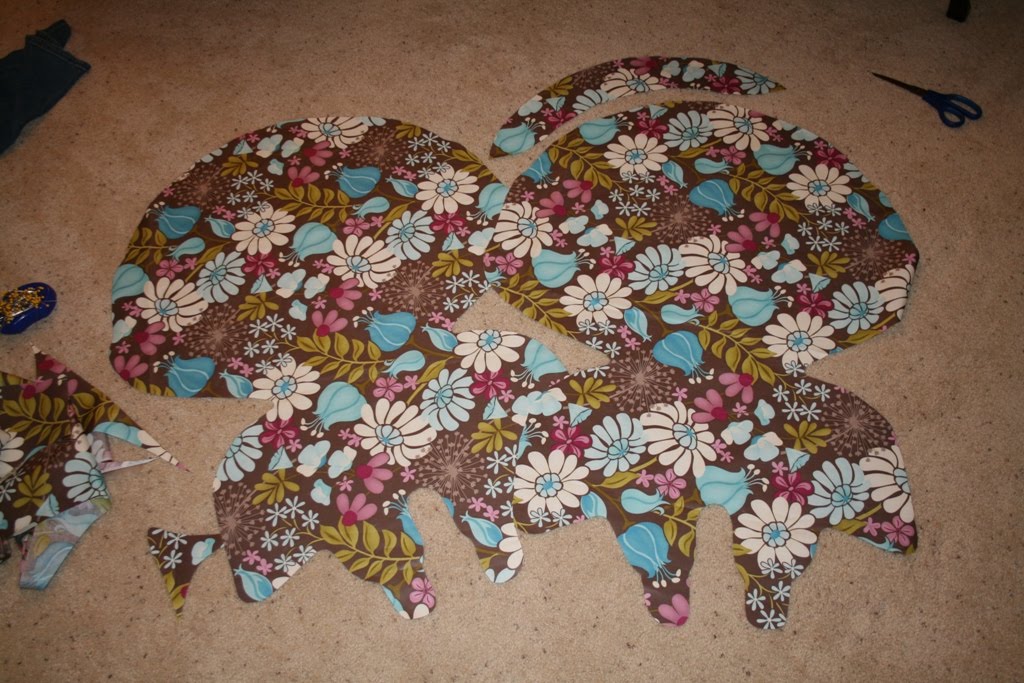 Trace lines onto foam and cut where you are going to stitch.
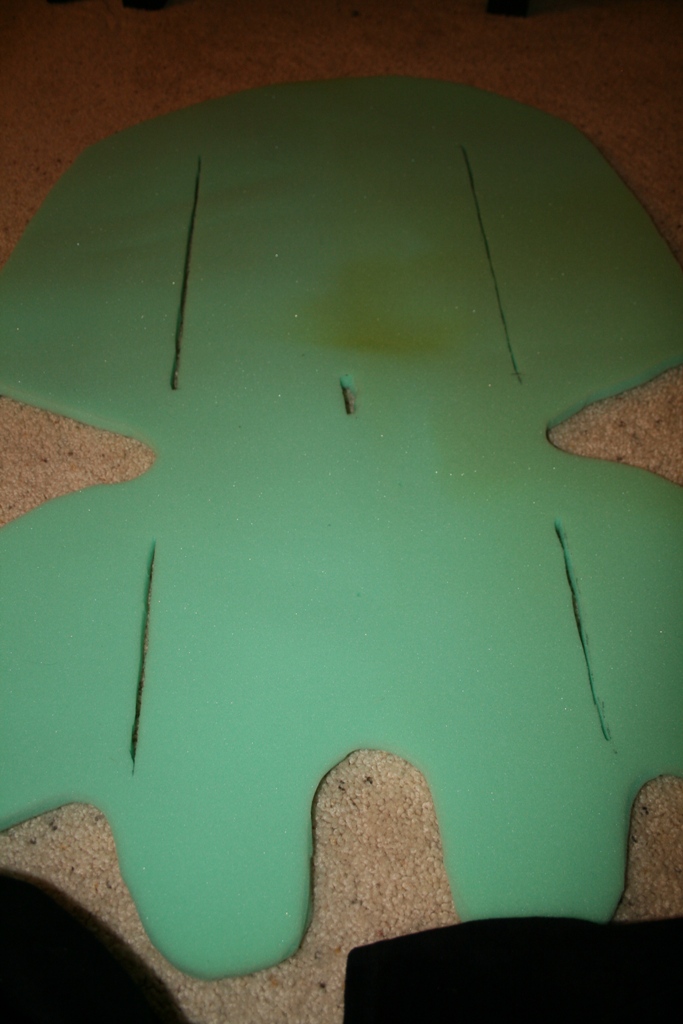 Sew your bias tape to the bottom edge of backing if you have it on your highchair. This piece hooks over the top of my high chair.
 Layer foam on top of fabric.
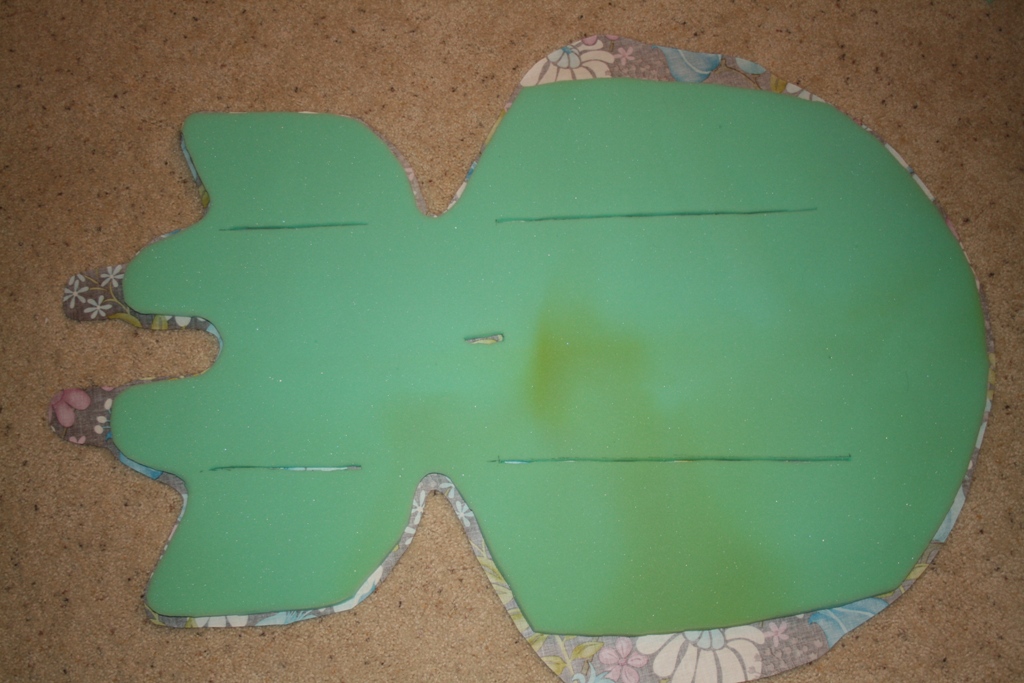 Then put top fabric on…like a sandwich. Both right sides of fabric should be on the outsides.
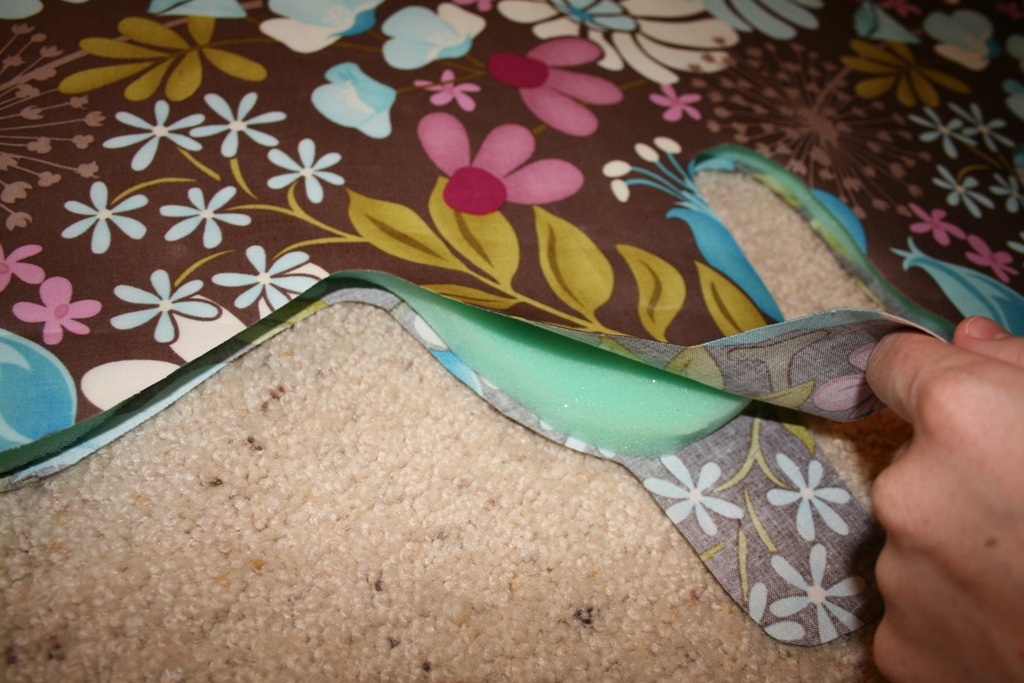 Pin together and sew 1/4″ using a zipper foot (this is not easy, takes a lot of patience!) Just try to keep the edges lined up the best you can, completely enclosing the foam. (you could also sew 1/2 way around the edges without the foam in between and then add the foam and sew the rest of the way around)
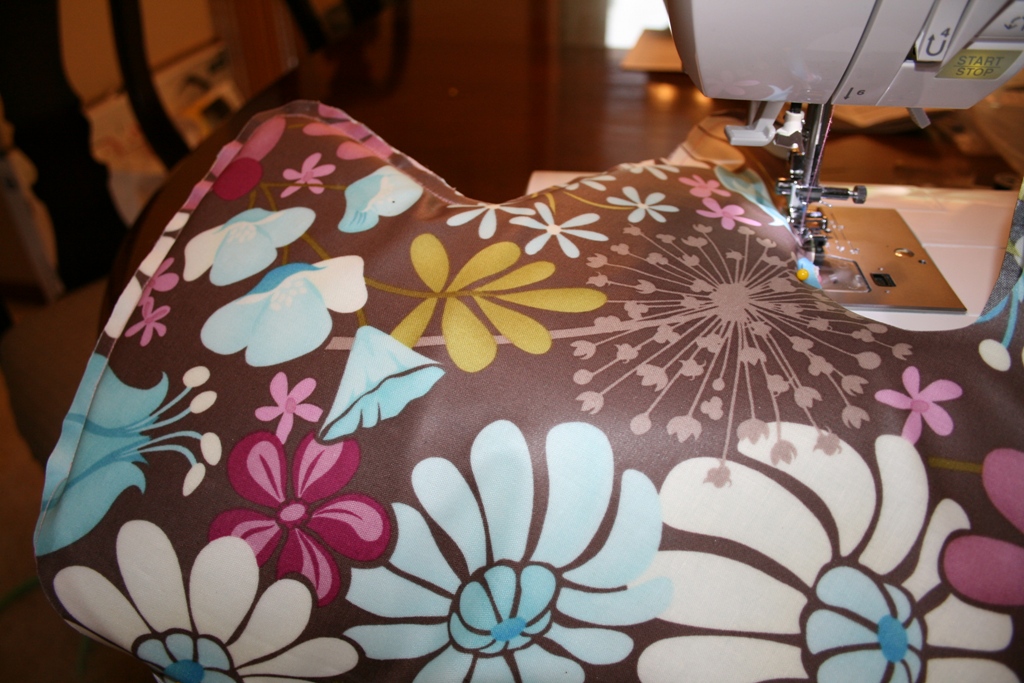 This is what it will look like.
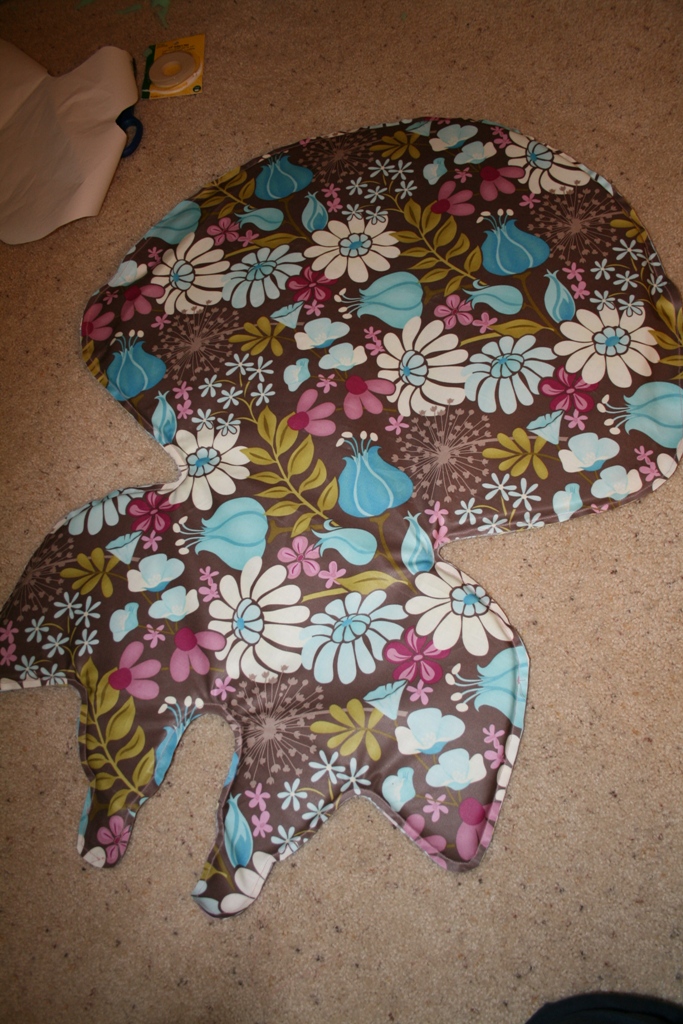 Stitch your top overlap to the top of the back of your seat.(if you have one)
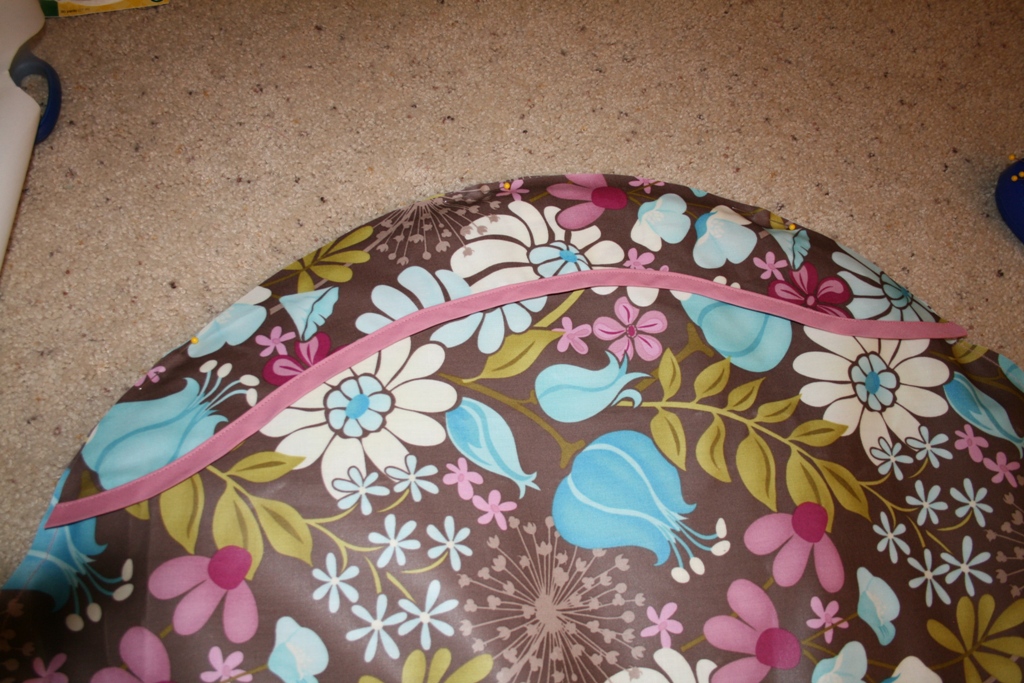 Pin on binding…
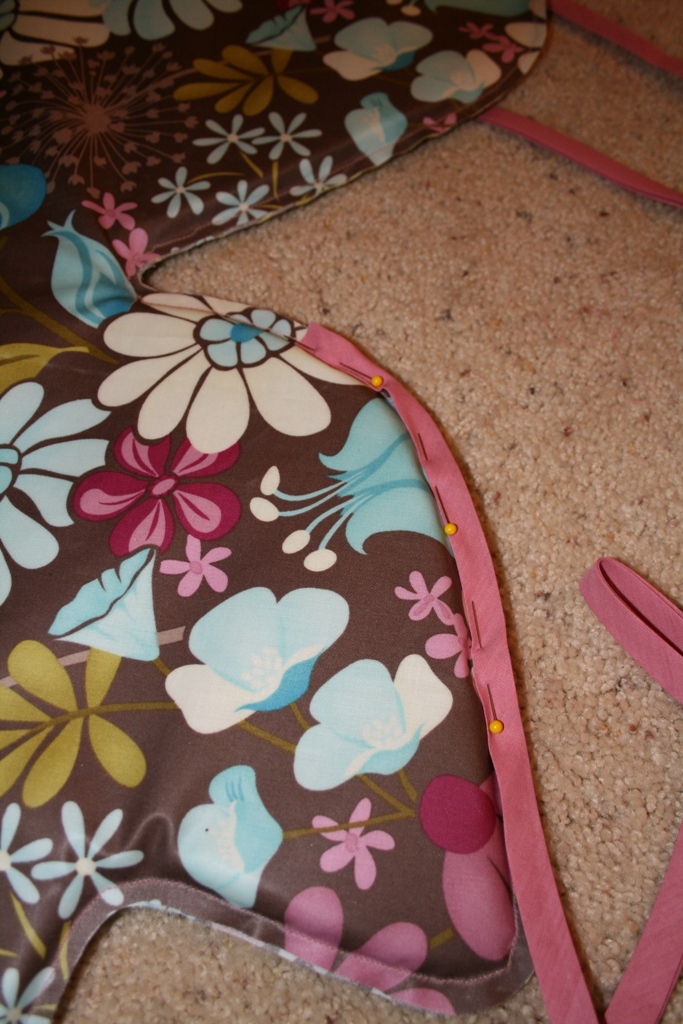 Sew binding all the way around the seat…Again a very difficult task, just make sure you catch the top and bottom of the bias tape all the way around, corners will be hard but luckily mine aren’t visible in the final product!
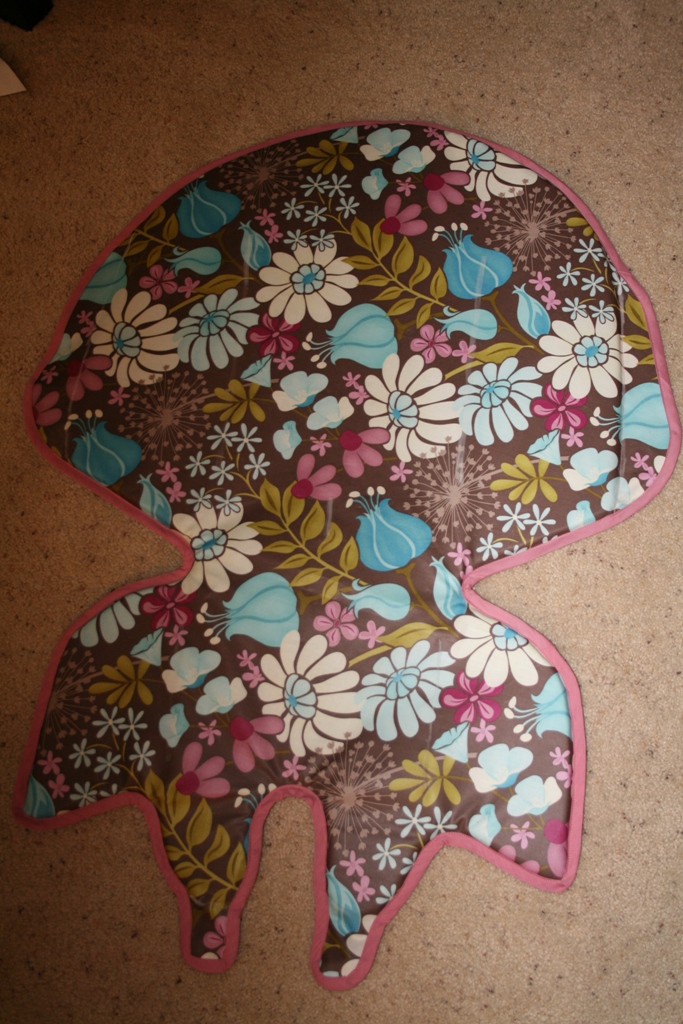 Now sew where necessary on your highchair, I had lines along the side that I used chalk to draw and lines along the inside…
 I also made a button hole for the belt to fit through.
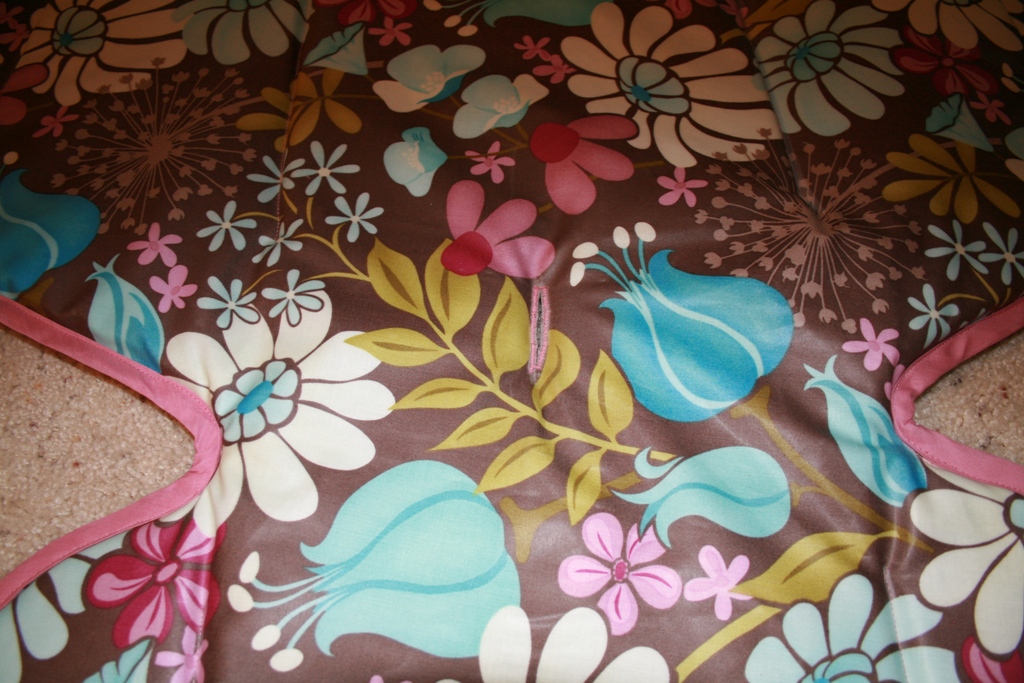 Finally I cut little slits on the edges where mine attaches to the chair…
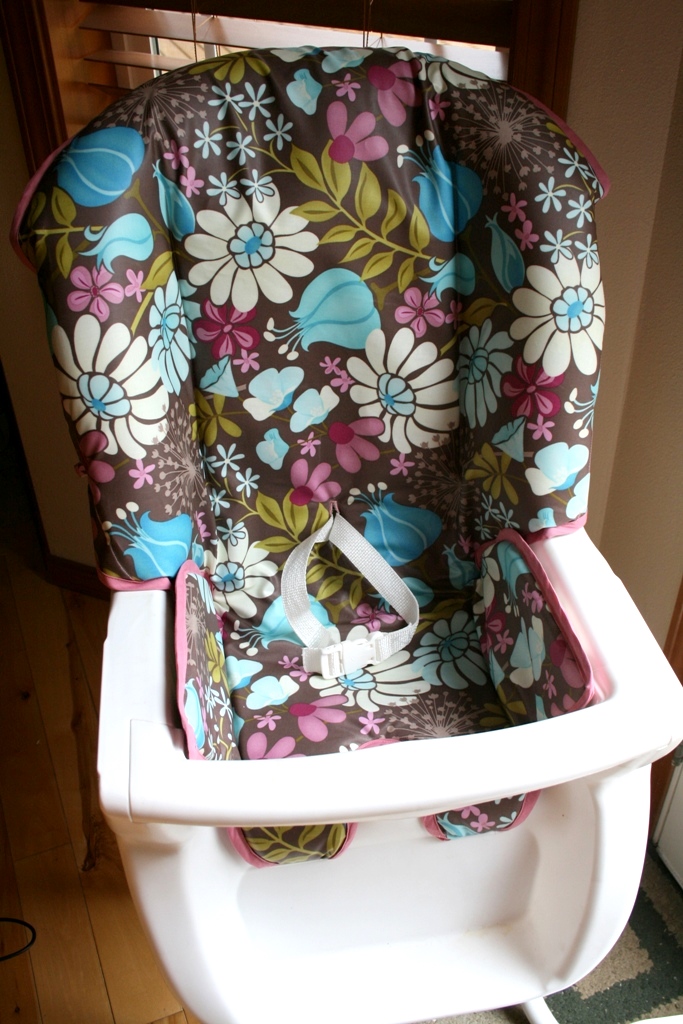
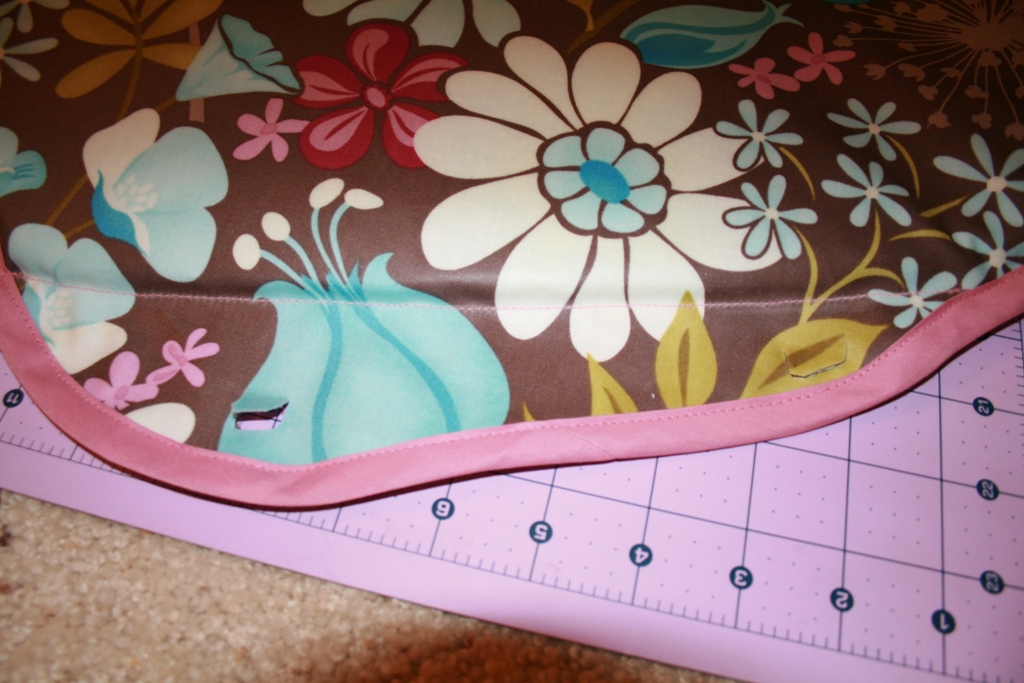 Here is the finished back on the chair…
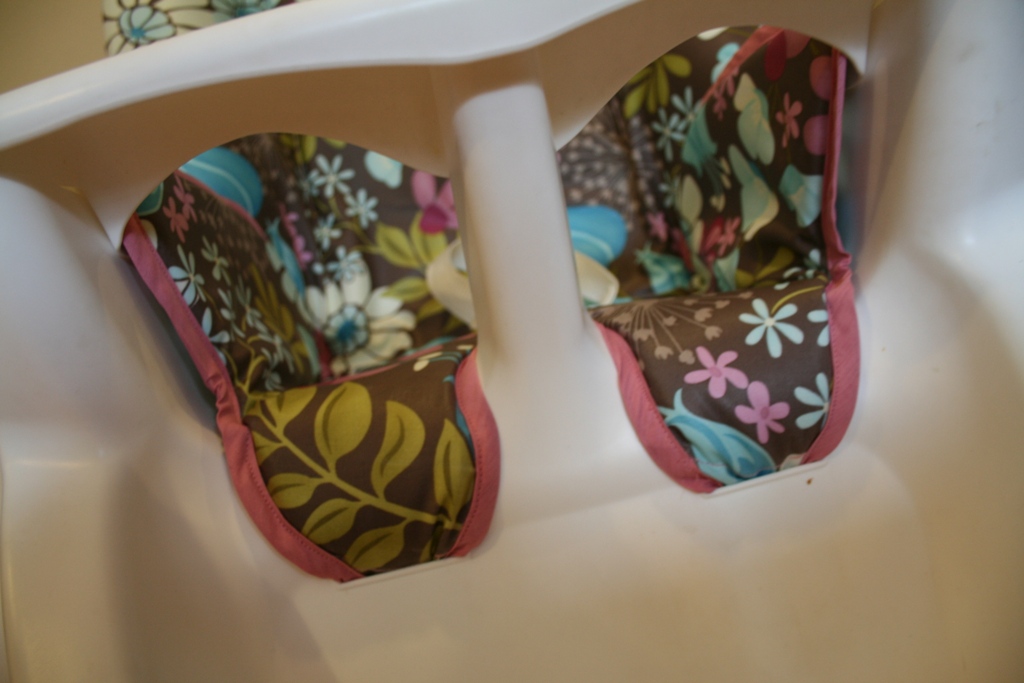
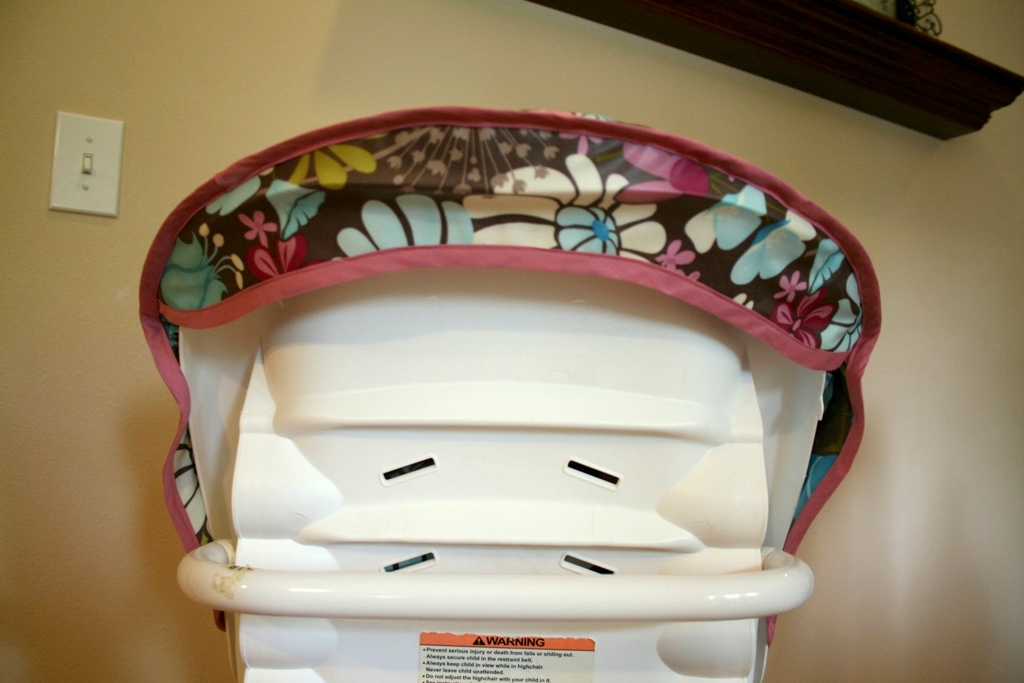 Slits in the sides that attach to chair…
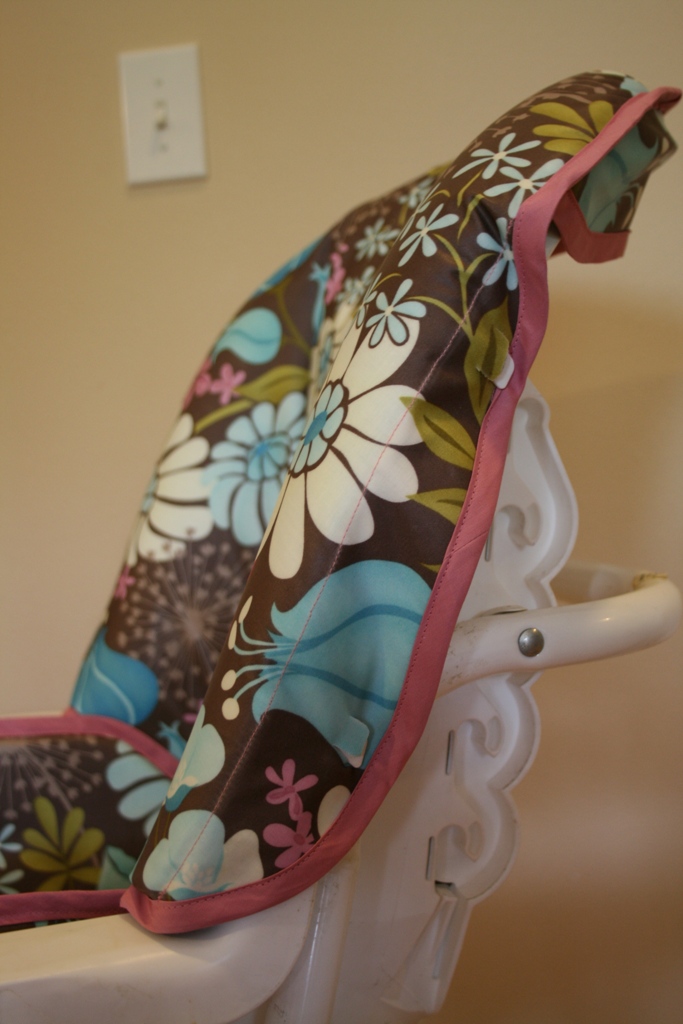 And here it is all done!!!
 My little one enjoying her new high chair…
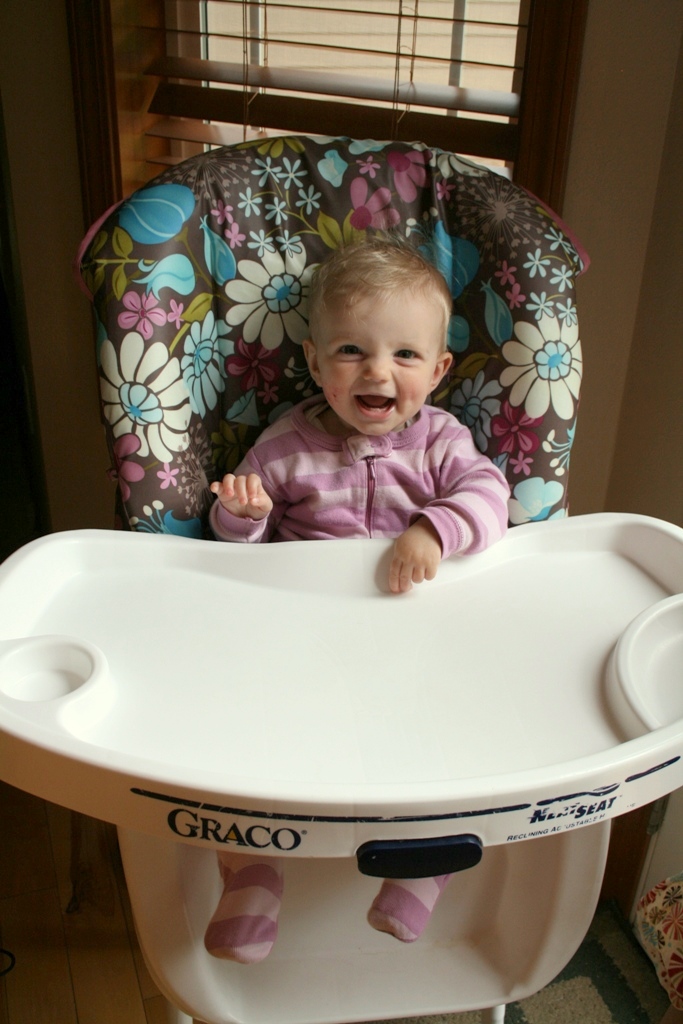
 Love that the vinyl just wipes clean!!
This was quite the project but I am so glad I did it. It looks awesome!

The following two tabs change content below.

Google+ Hi I'm Taya! A stay-at-home mother to 5 cuties. I love to craft, sew, blog and make fun things. I'm the creator of the 'Eat-Pray-Create' blog and I'm so glad you're here!
Latest posts by Taya (see all)
- Invisible Person Costume Tutorial - September 16, 2025
- Birth Stats Stuffed Animal Tutorial - September 24, 2024
- Star Tip Character Cakes Made Easy - January 20, 2023
Taya
Hi I'm Taya! A stay-at-home mother to 5 cuties. I love to craft, sew, blog and make fun things. I'm the creator of the 'Eat-Pray-Create' blog and I'm so glad you're here!


5 Comments
Mimi
What a wonderful redo of that highchair. It looks wonderful! (And love your little cutie pie sitting in it 🙂 So glad you shared at Sassy Sites!
Rach H
That is really cute and impressive!Found you on Remodelholic.
I would love for you to link it up at my weekend Link Party, Once Upon a Weekend. Today is my first-ever party, and I am so hoping someone will participate! 🙂
Here’s the link if you’re interested:
http://familyeverafter.blogspot.com/p/link-party.html
Also, if you have a list of favorite link parties, I’d love to be included on Fridays. Thanks a ton!
Vanina
This is great, just what I need it! Found you on Remodelaholic. Thank you!
Karalee
Taya, it turned out so CUTE!!! I love it!!! Great Job!!! Love you and can’t wait to see you!! 🙂
Karen Hall
This is the exact chair that I had for my youngest, now 19. Now my oldest is having a baby and will need a high chair! The pad is shot from being in attic, but the base is perfect! I think I will attempt this project so chair can be passed on, but with new pad. Thanks!