
Make your own Bobblehead – A Tutorial


Start crunching up newspaper and hot gluing all around your form, starting with the cracks.

Continue filling making it shaped like your person’s body.

Once the body is filled in add arms and hand shapes. At this point I realized I would need a sturdier base so I cut off the “+” shape at the bottom.

The Back…


Then I hot glued it a wood base.

It’s papermache time!! Now you will need to mix some flour with water, I just put some flour in a bowl and mixed in some water until it was a smooth runny consistency. Cover your whole body (not yours, the bobbleheads) by dipping strips of newspaper in the flour mixture and attaching to your form, until the whole thing is covered. To make the head, blow up a balloon about the size you want and cover it with newspaper strips dipped in the flour mixture. Leave the tip of the balloon sticking out the bottom. I set mine on a sippy cup with a small hole at the top to let dry.

Try to make it as smooth as possible..(mine was a little lumpy)

Now add some cotton balls to add dimension to the face (just tear tiny pieces of cotton from the ball and apply them to the face, you should probably have a picture of your person close by to reference their face shape.

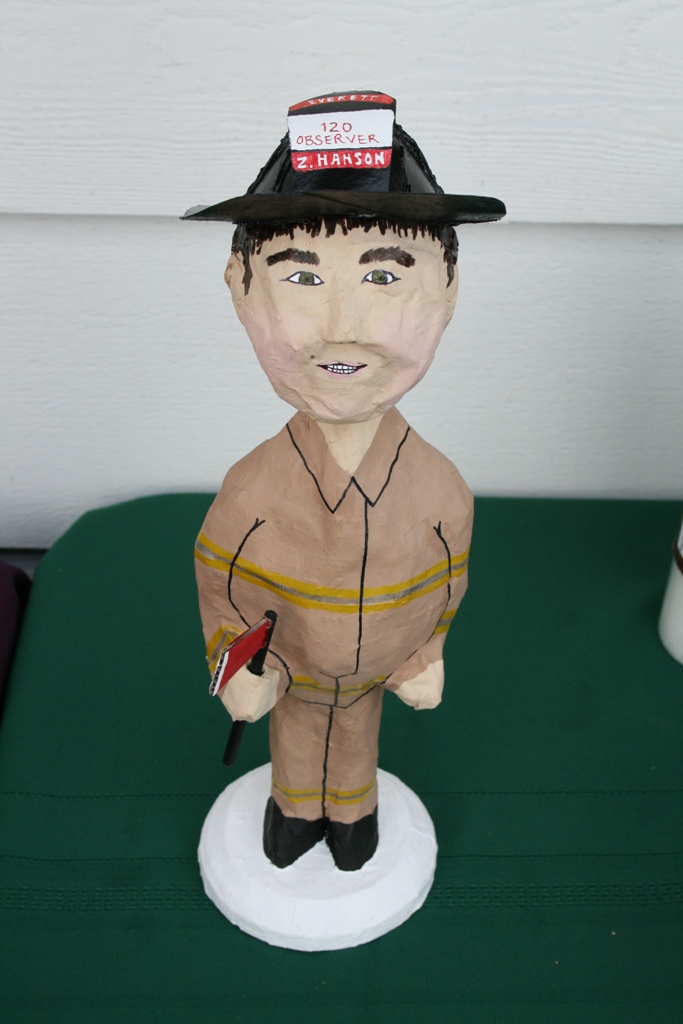
Again cover the face with papermache, over the cotton. Remember ears, cheeks, eyebrows, chin, nose, etc. (for the firefighter I also cut a hat out of a toilet paper roll and hot glued it together)

Once your papermache is completely DRY. It’s time for paint. I started by painting everything white! (you can now pop the balloon inside your head piece) there should be a hole at the bottom that is wide enough to fit over the top of the neck of the body, if its too small cut it a little wider with scissors.

Once dry I started creating the outfit….shoes

Continue painting, wait till dry to paint each section…

Used markers to add details…

Used some paint but mostly markers to to draw face on….

Add details….

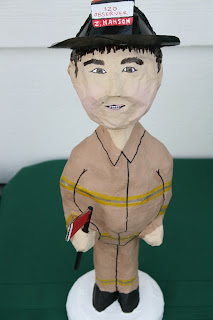
Reference photo while painting and drawing…

Back of outfit…

To attach your head (I didn’t get a picture of this step but it was very tricky!) you will need to buy a small spring (not too springy) and hot glue it to the inside of the top of your head piece. Once dry put hot glue on the very top of the neck of your body piece. quickly slide the hole over the neck piece and catch the other side of the spring on the hot glue on the neck piece (does this make any sense??) Basically your spring needs to be attached to the inside of the head piece – yes through the tiny hole at the base (may need tweezers or pliers to put the spring inside the head, and then the other end attaches to the top of the body) this will allow the head to sway a little when moved.


Latest posts by Taya (see all)
- Invisible Person Costume Tutorial - September 16, 2025
- Birth Stats Stuffed Animal Tutorial - September 24, 2024
- Star Tip Character Cakes Made Easy - January 20, 2023
Taya
Hi I'm Taya! A stay-at-home mother to 5 cuties. I love to craft, sew, blog and make fun things. I'm the creator of the 'Eat-Pray-Create' blog and I'm so glad you're here!


2 Comments
Darnell King
This is such a great idea! I have never taken on such a big undertaking! There are places online where you can make your own bobblehead and they usually come out pretty good, but making one by hand is a whole different game! I may give this a try! Thanks!
Bobblehead
Custom bobble head is the world’s best and unique gifts forever at any special events and occasions. Thanks for sharing this blog of totally process of how to create a custom bobblehead. keep sharing