
Clean and Organize Your Kitchen – Week 2

The KITCHEN
*If you missed Week 1 you can find it HERE…
Now that we have analyzed our space and came up with some solutions it is time to get to the grunt work:
– Begin by removing everything from that space/drawer/cabinet. Whatever it might be. Toss anything that you haven’t used/ or don’t plan on using, throw out the trash, donate anything still usable. If you seriously have something sitting in your kitchen that you haven’t used in the last year, then its time to let it go! (Exception: food storage items!)

– Then clean up that space. You will want to wipe drawers and cupboards out (I just use a wet washcloth), sweep/mop if applicable! Letting your kids help out is a great idea!!

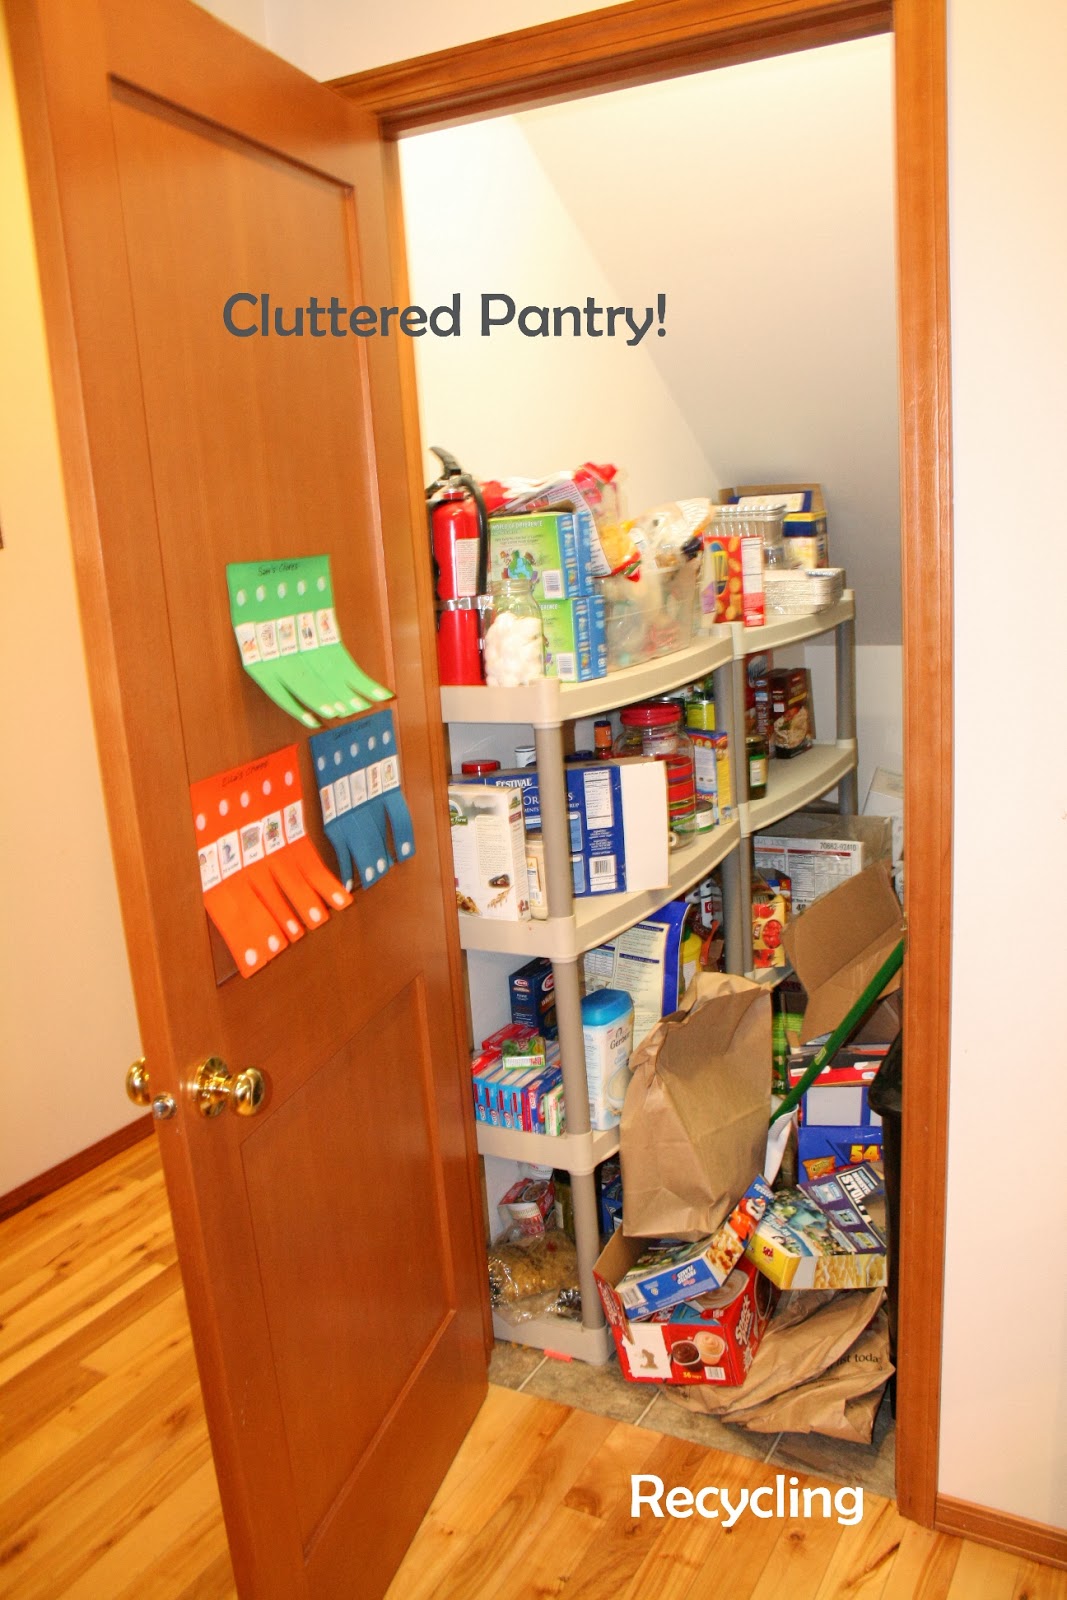
– Finally put everything back in an organized manner. This is not too difficult to do, just put things in groups….canned stuff together, baby food, snacks, etc. When you are organizing your drawers and cupboards group things together as well like similar utensils, or breakfast items together, and move things around if necessary! I have done this in many areas of my kitchen so far. The before and after photos will be coming soon!! But for now this is what my pantry looks like all cleaned up….

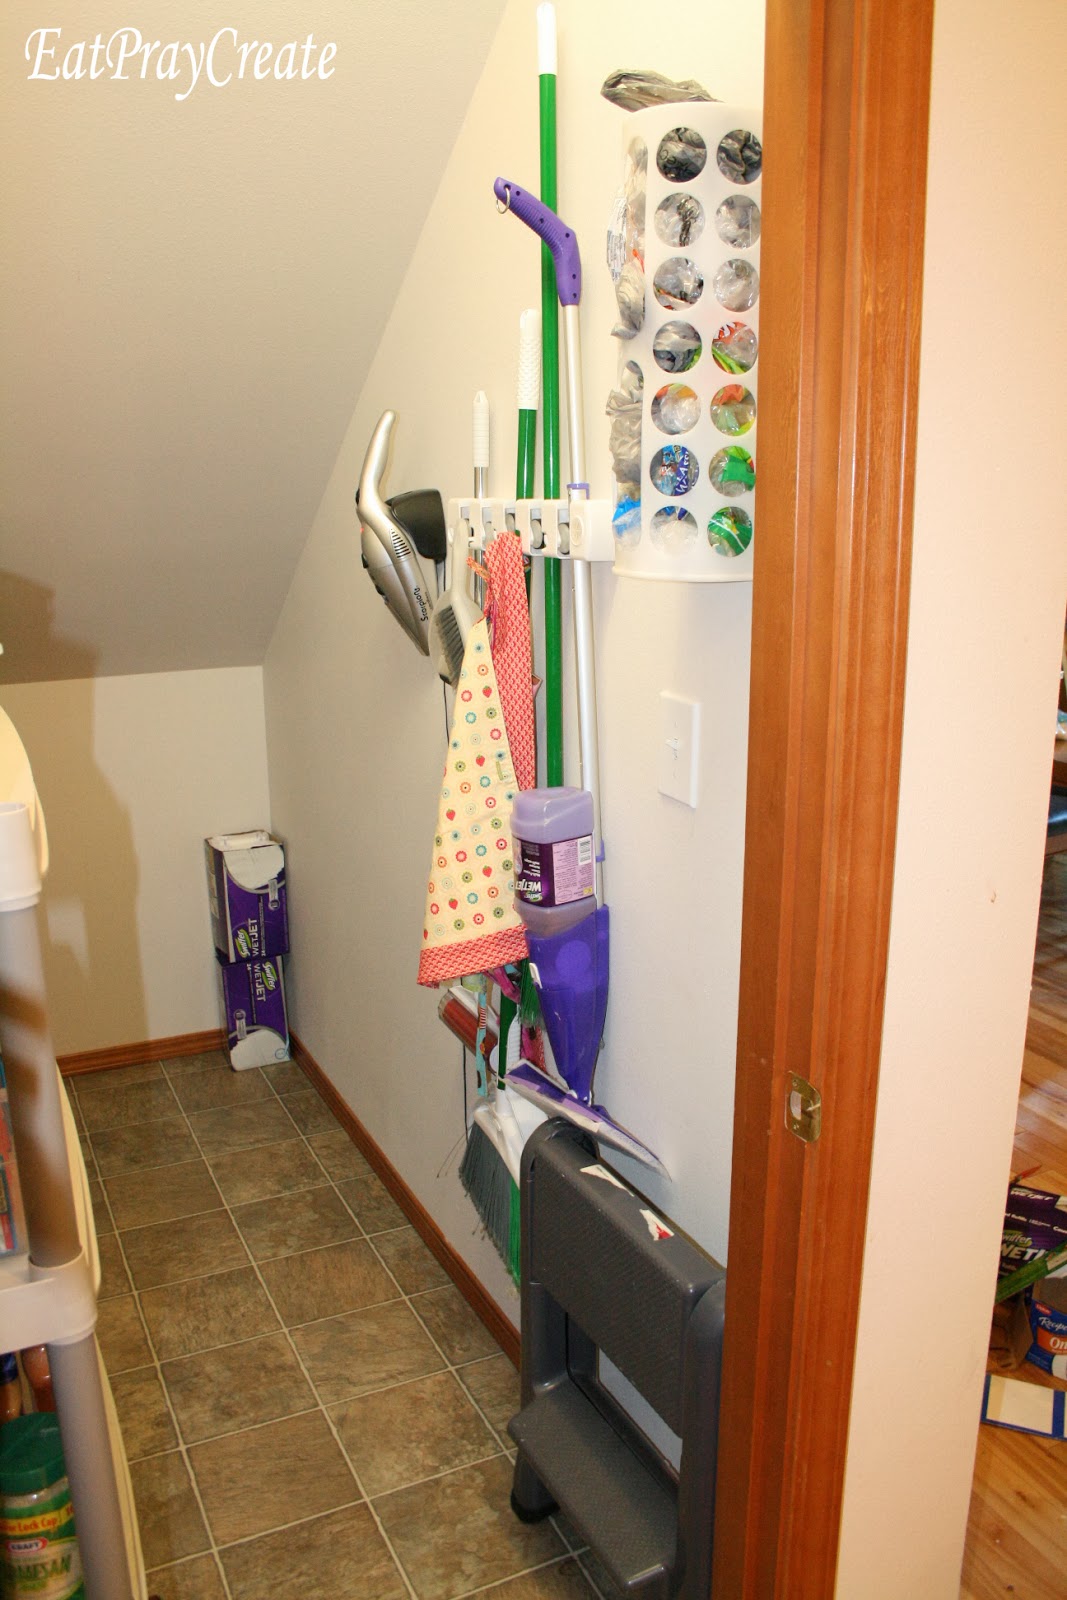
(I ordered more shelving, and organizing bins that should be here soon, so the final look will be a little different.)
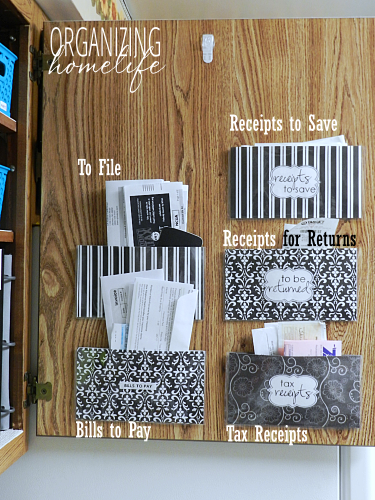
Now, continue Step 3 all around your kitchen! I just went in a circle, cleaning out and organizing each area. I only have one section left! The “Command Center!” I am looking to organize all those papers, keys and misc. items using some of these ideas I found online….

And finally the moment you have all been waiting for, I’m sure!! The pots and pans organized!! It took me all week to figure out a solution. Remember my pots and pans before???
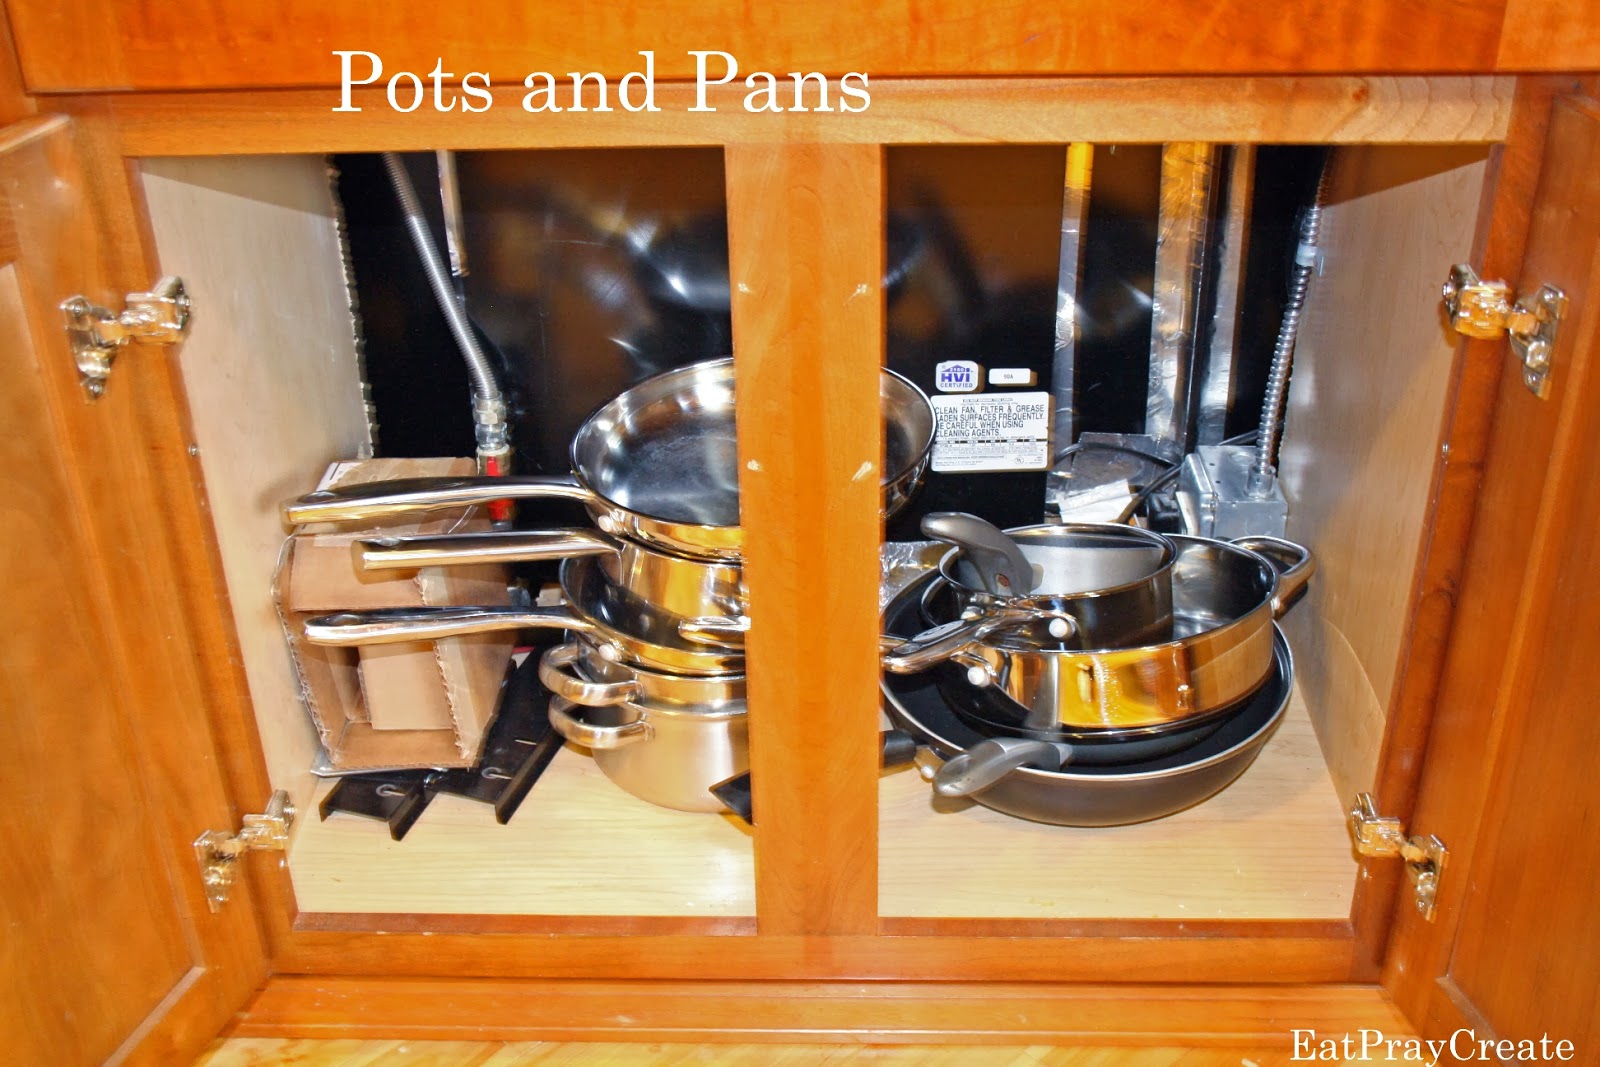
Yikes! Not very easy to access! But all I could find online were things like this…..
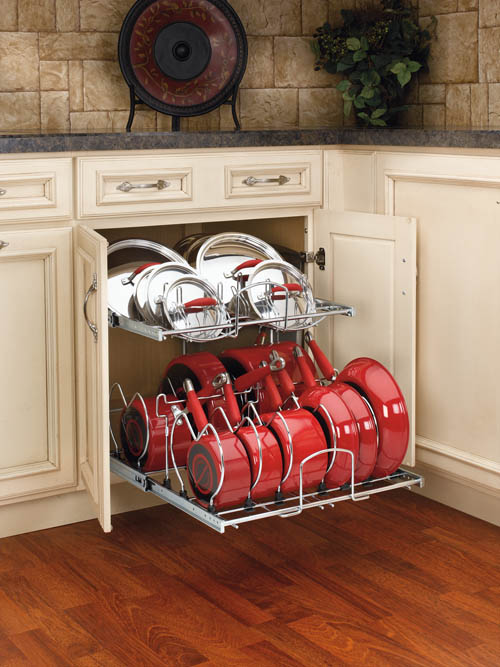
or this…..

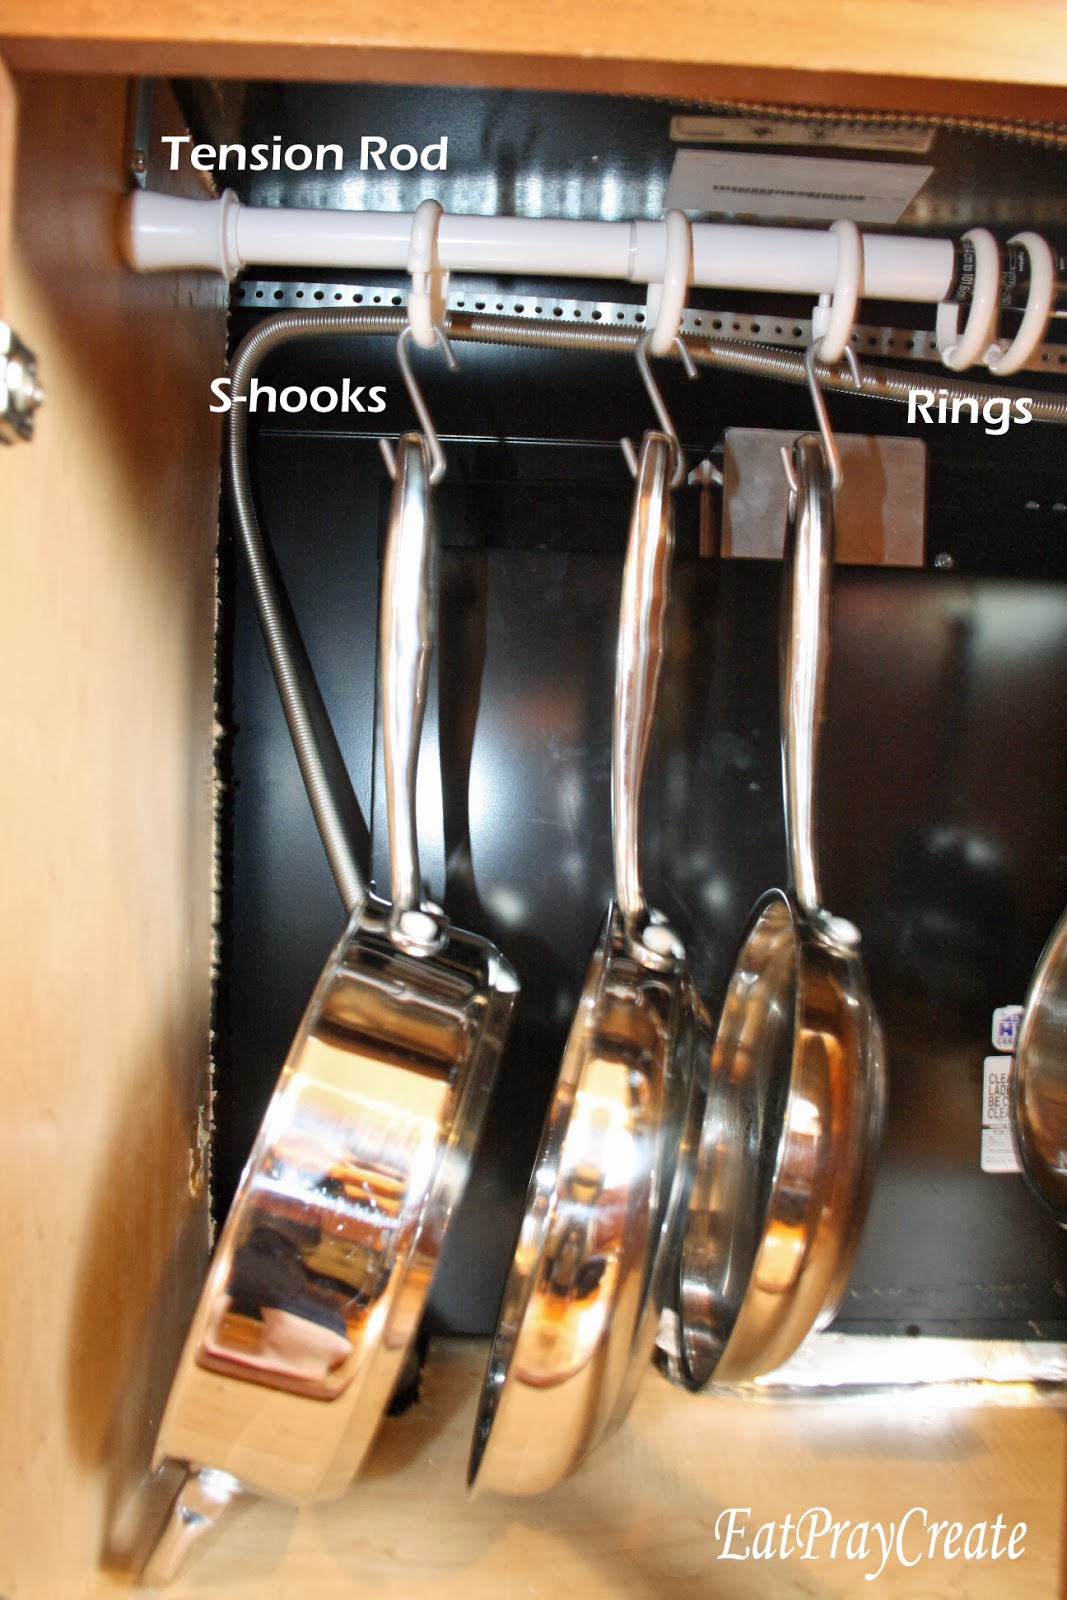
Don’t get me wrong these Solutions are AWESOME! But they wouldn’t fit in my cupboard (because of its design) and they were more expensive than I had budgeted for my kitchen makeover! So I thought and thought and I came up with this…..
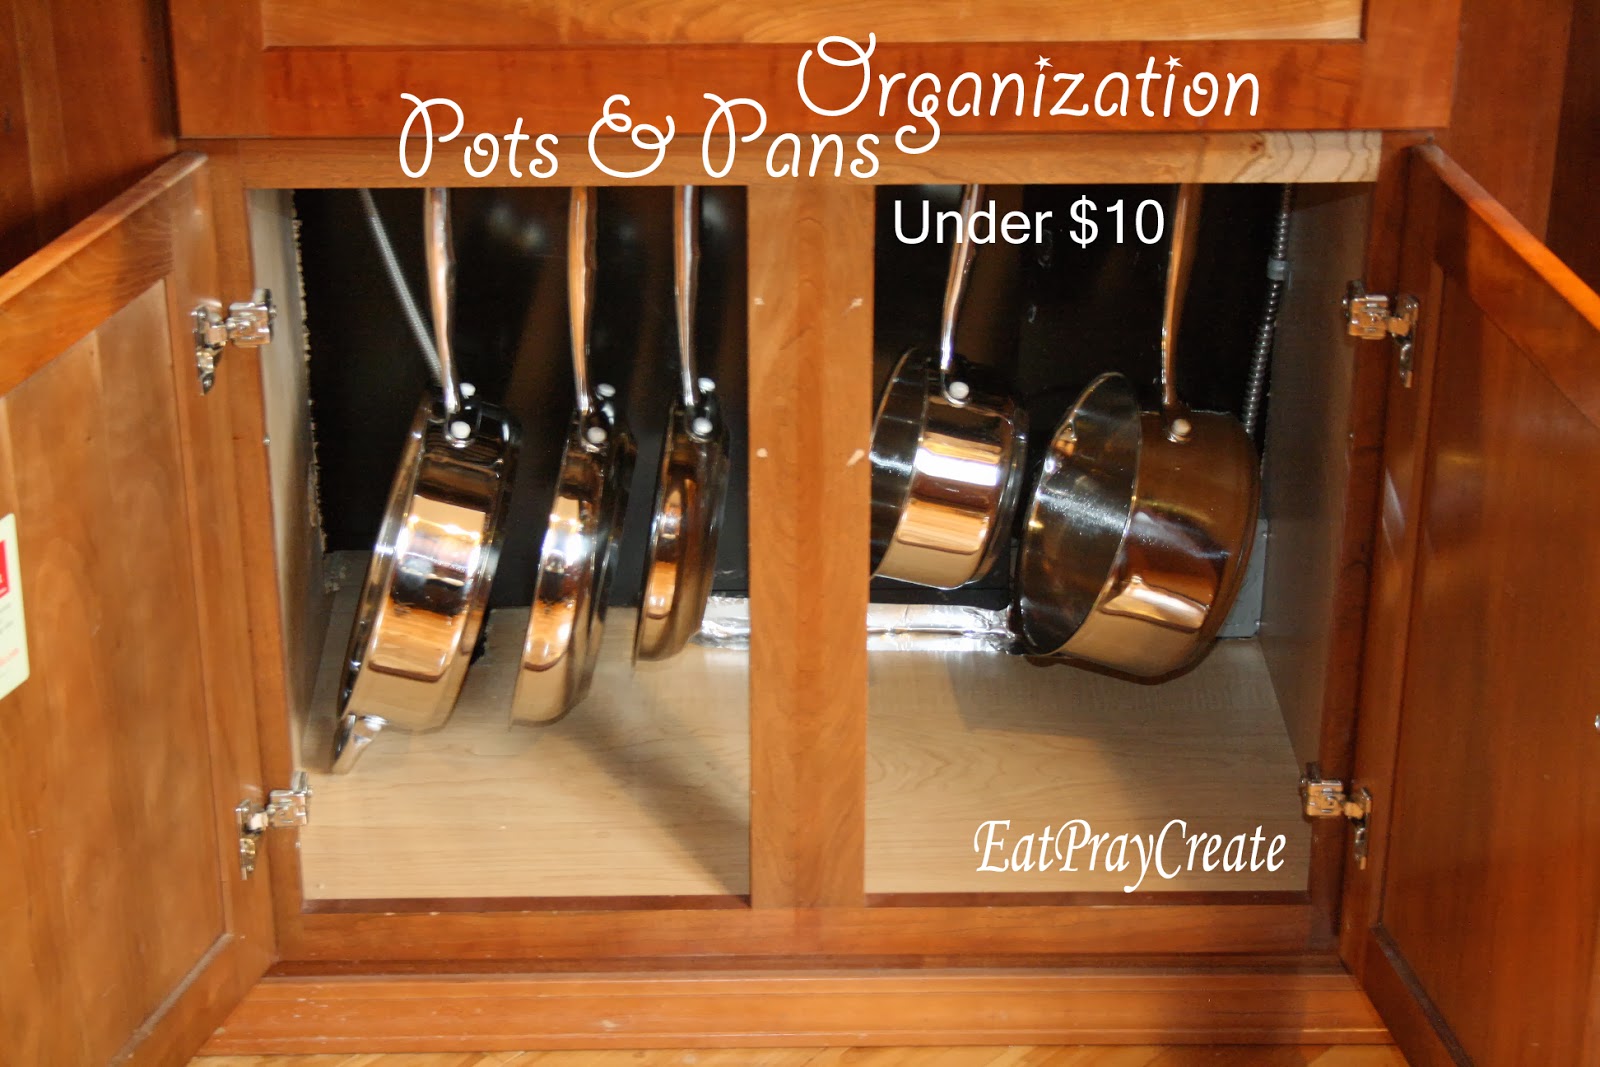
Isn’t it great!!! And the best part is….it cost less than $8.00!! I am being totally serious! The idea came to me and I was able to find all the supplies to make it for super cheap! And I can’t believe something so simple works so well. I am SO EXCITED about this idea, can you tell!! Here is what you’ll need…
Supplies:
-Shower Tension Rod like this…
 Found HERE at Walmart, less than $5.00
(Measure your space and make sure this will fit, it adjusts to fit small spaces)
-Shower Rings like these…
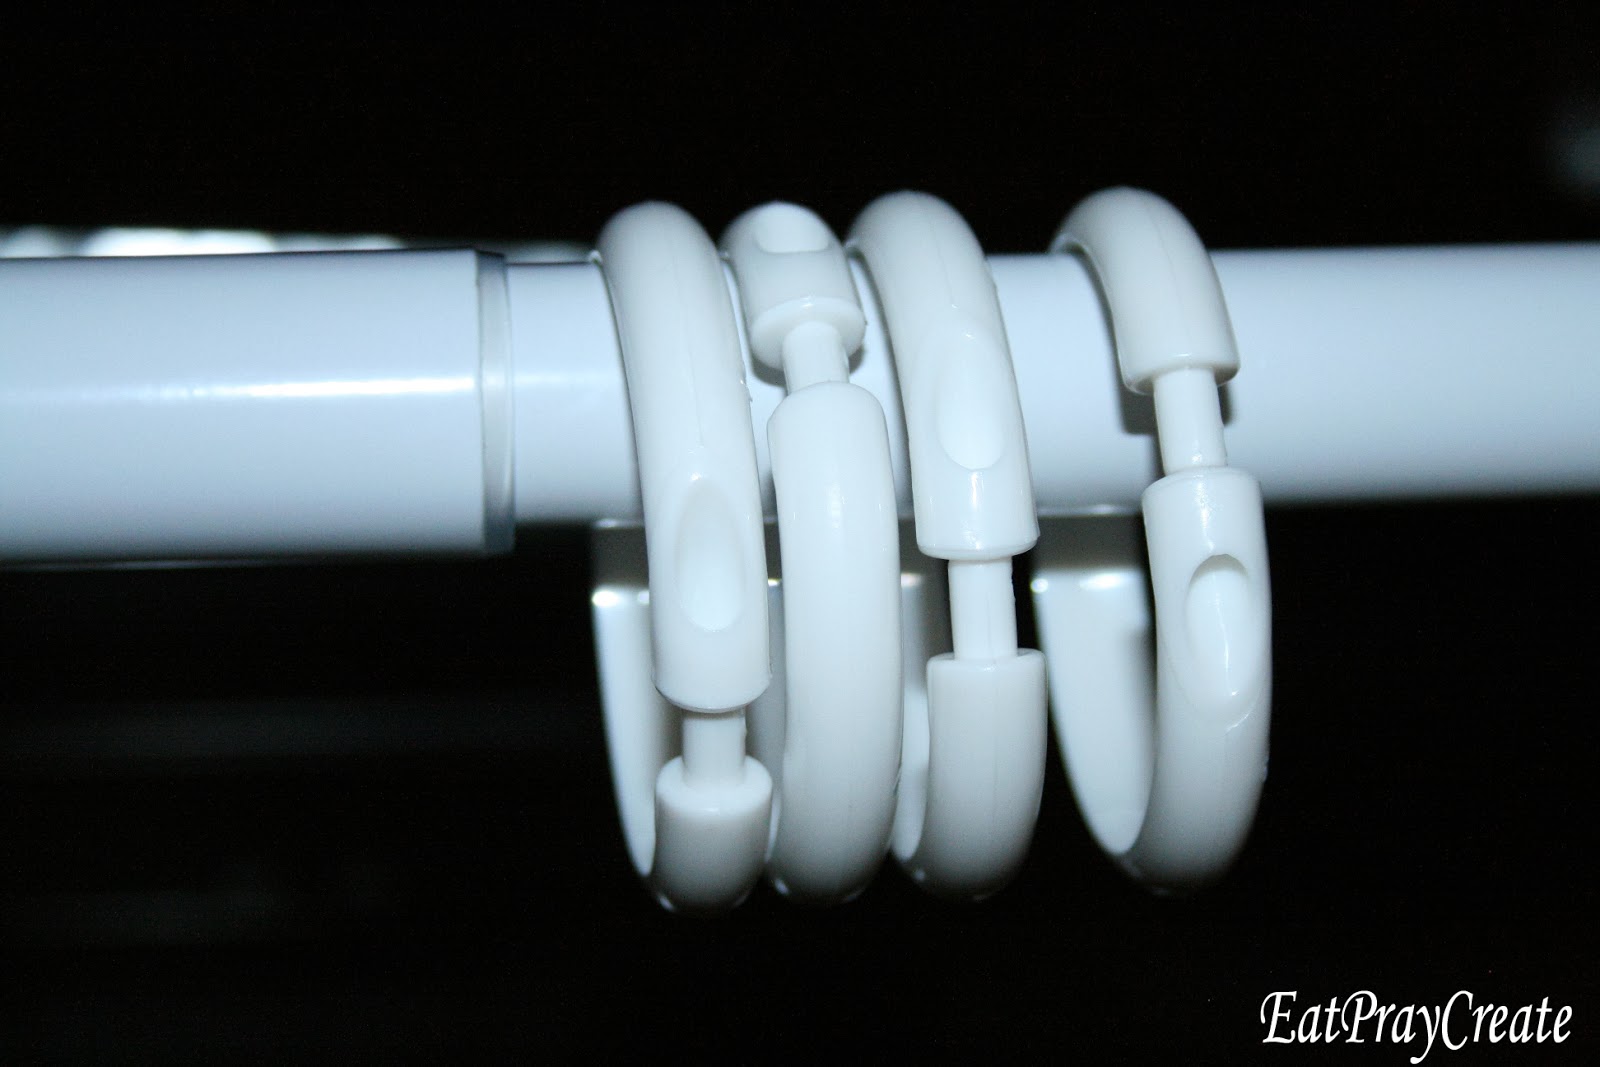

I bought the white ones at walmart…less than $2 (not available online, but you can probably find these at most stores for cheap, you could also buy nicer/cuter rings if you want)
-“S” hooks like these…
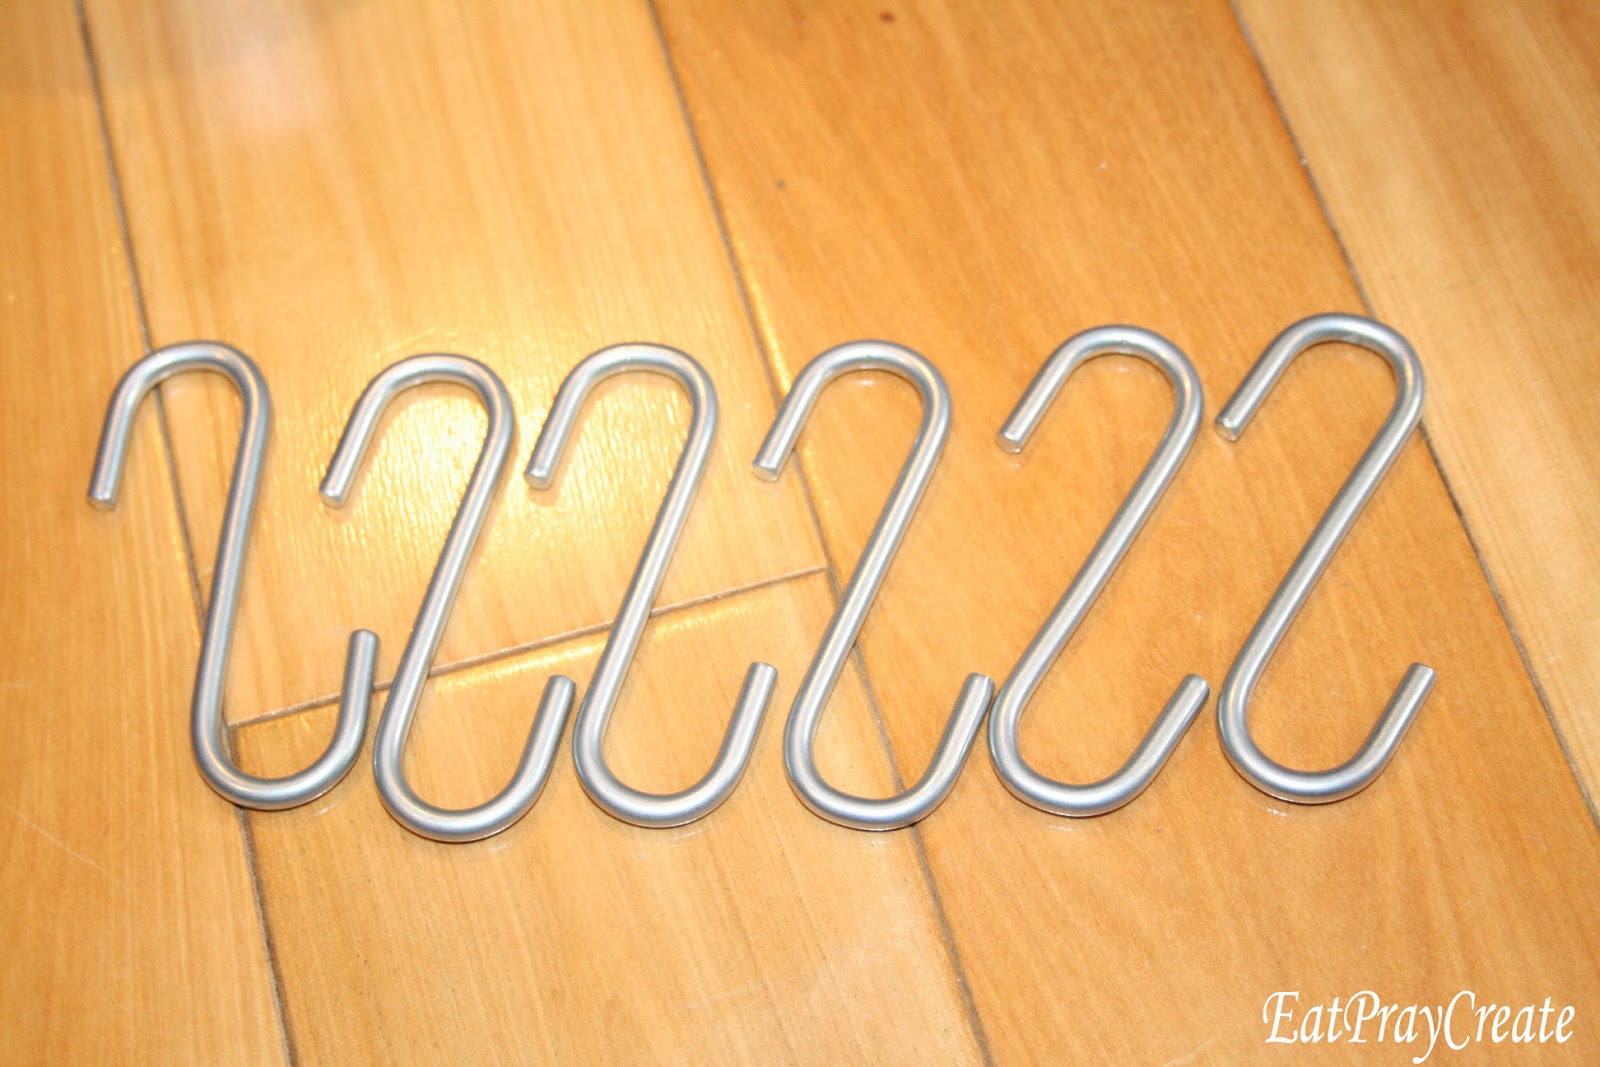
Found them at Ikea (I already had these lying around). You can find these at most stores or a hardware store too. Just make sure they will fit the hole at the end of your pots and pans.
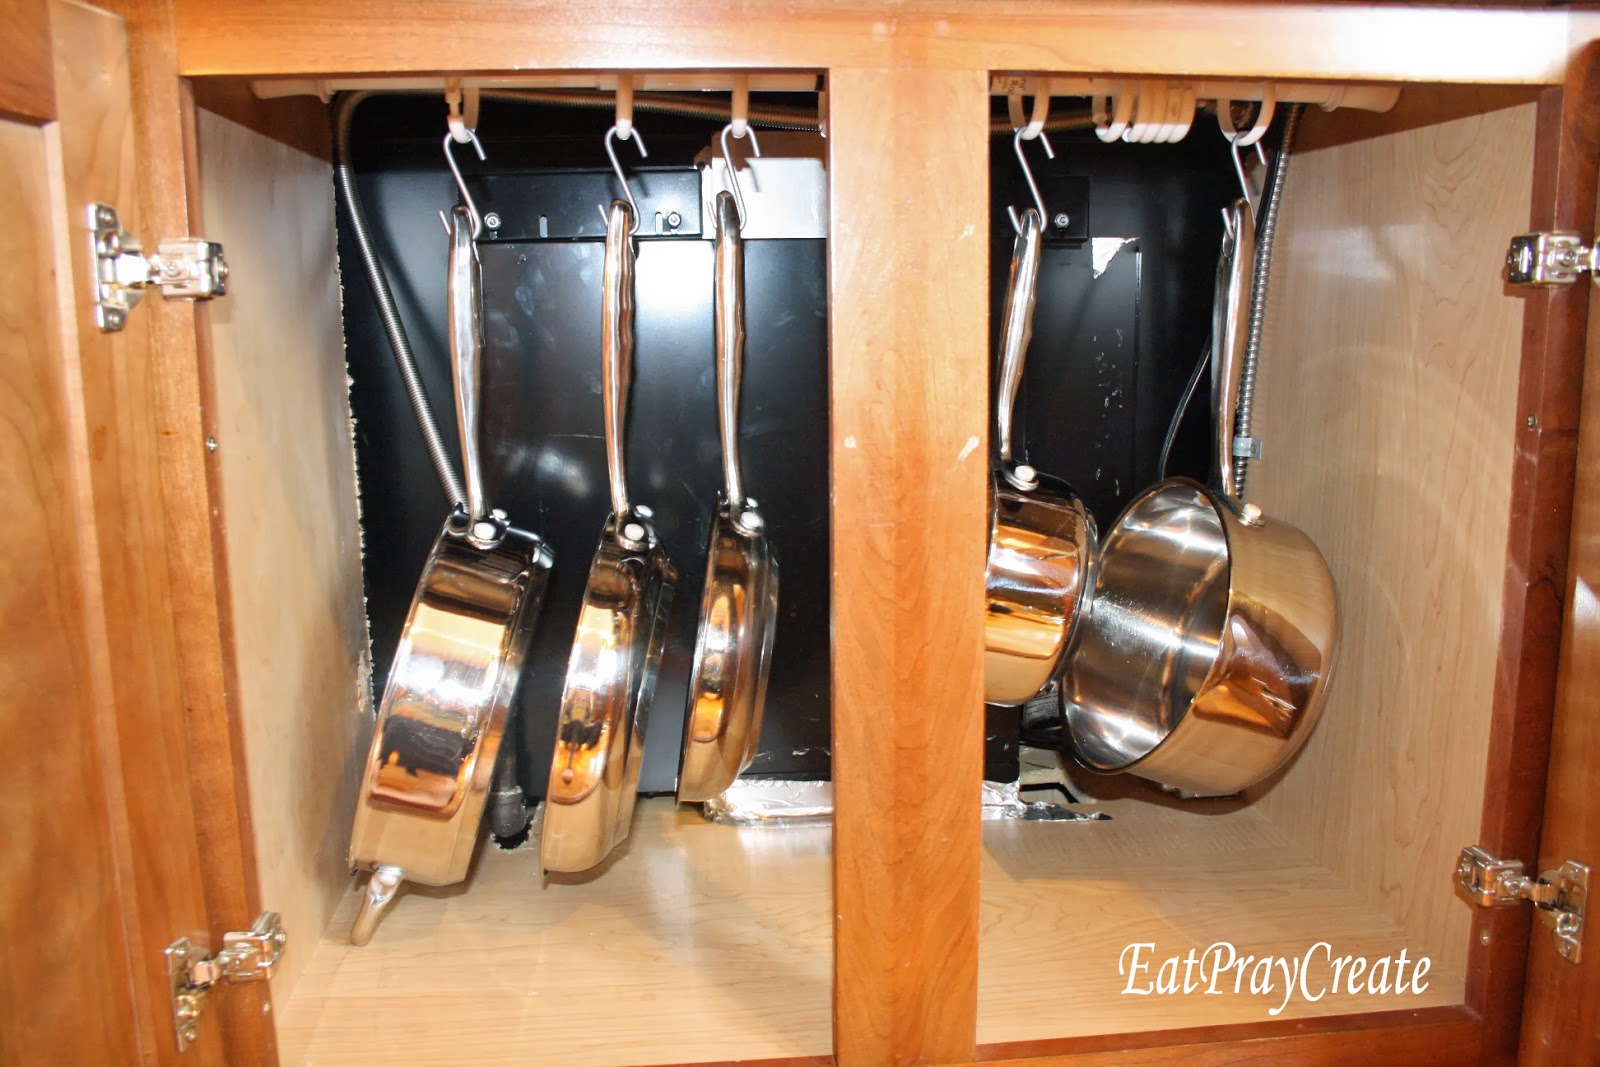
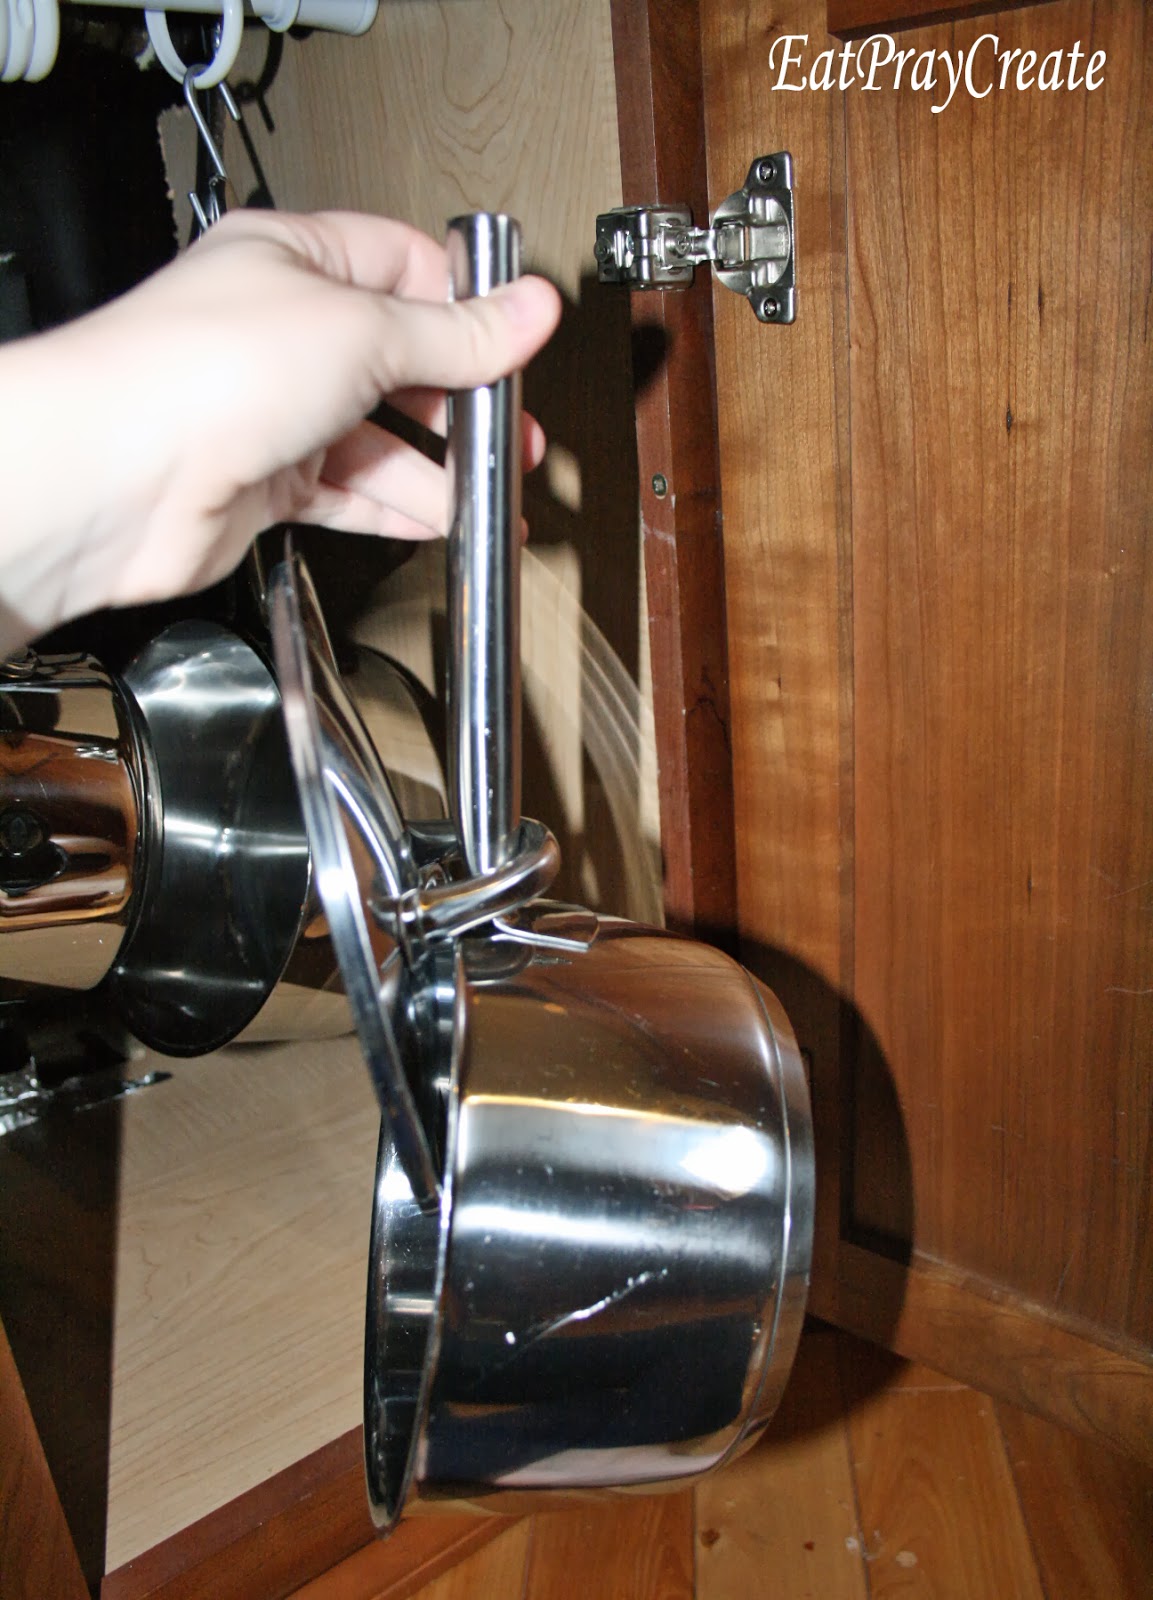
*And that’s it! Simply put your tension rod in place, nice and tight, with rings already on the bar. Then attach “S” hooks onto rings and hang your pots and pans. I know, it really is simple and cheap!! I am so happy with how it turned out, they have been hanging all week and I have had no problems!
Oh and if you have lids with handles like this….
then you can just loop the lid handle over your pot or pan handle before hanging and now you have a perfect lid storage solution as well!
(Sadly my lids have knobs not handles so I will have to come up with a different lid solution!)
*And here’s Clean and Organize your Kitchen Part 3 and Part 4.
Follow along on Facebook or sign up for email subscription on the right!! Check out more great ideas on my “Kitchen Ideas” board on Pinterest.
Happy Organizing Friends!!

Latest posts by Taya (see all)
- Invisible Person Costume Tutorial - September 16, 2025
- Birth Stats Stuffed Animal Tutorial - September 24, 2024
- Star Tip Character Cakes Made Easy - January 20, 2023
Taya
Hi I'm Taya! A stay-at-home mother to 5 cuties. I love to craft, sew, blog and make fun things. I'm the creator of the 'Eat-Pray-Create' blog and I'm so glad you're here!


One Comment
Laurie
I loved your Tip Me Tuesday link this week. {thanks girl!} Would you like Tip Junkie to feature your blog post to over 200,000 creative women? If you upload this blog post into your Tip Junkie craft room using at least 2 images, 2 steps, and blog post URL then I can easily feature it in my RSS feed, home page, and all my social networks instantly. {squealing with delight} ~ Laurie {a.k.a. the Tip Junkie}
http://www.tipjunkie.com/post/how-to-add-a-craft-room-project-on-tip-junkie/