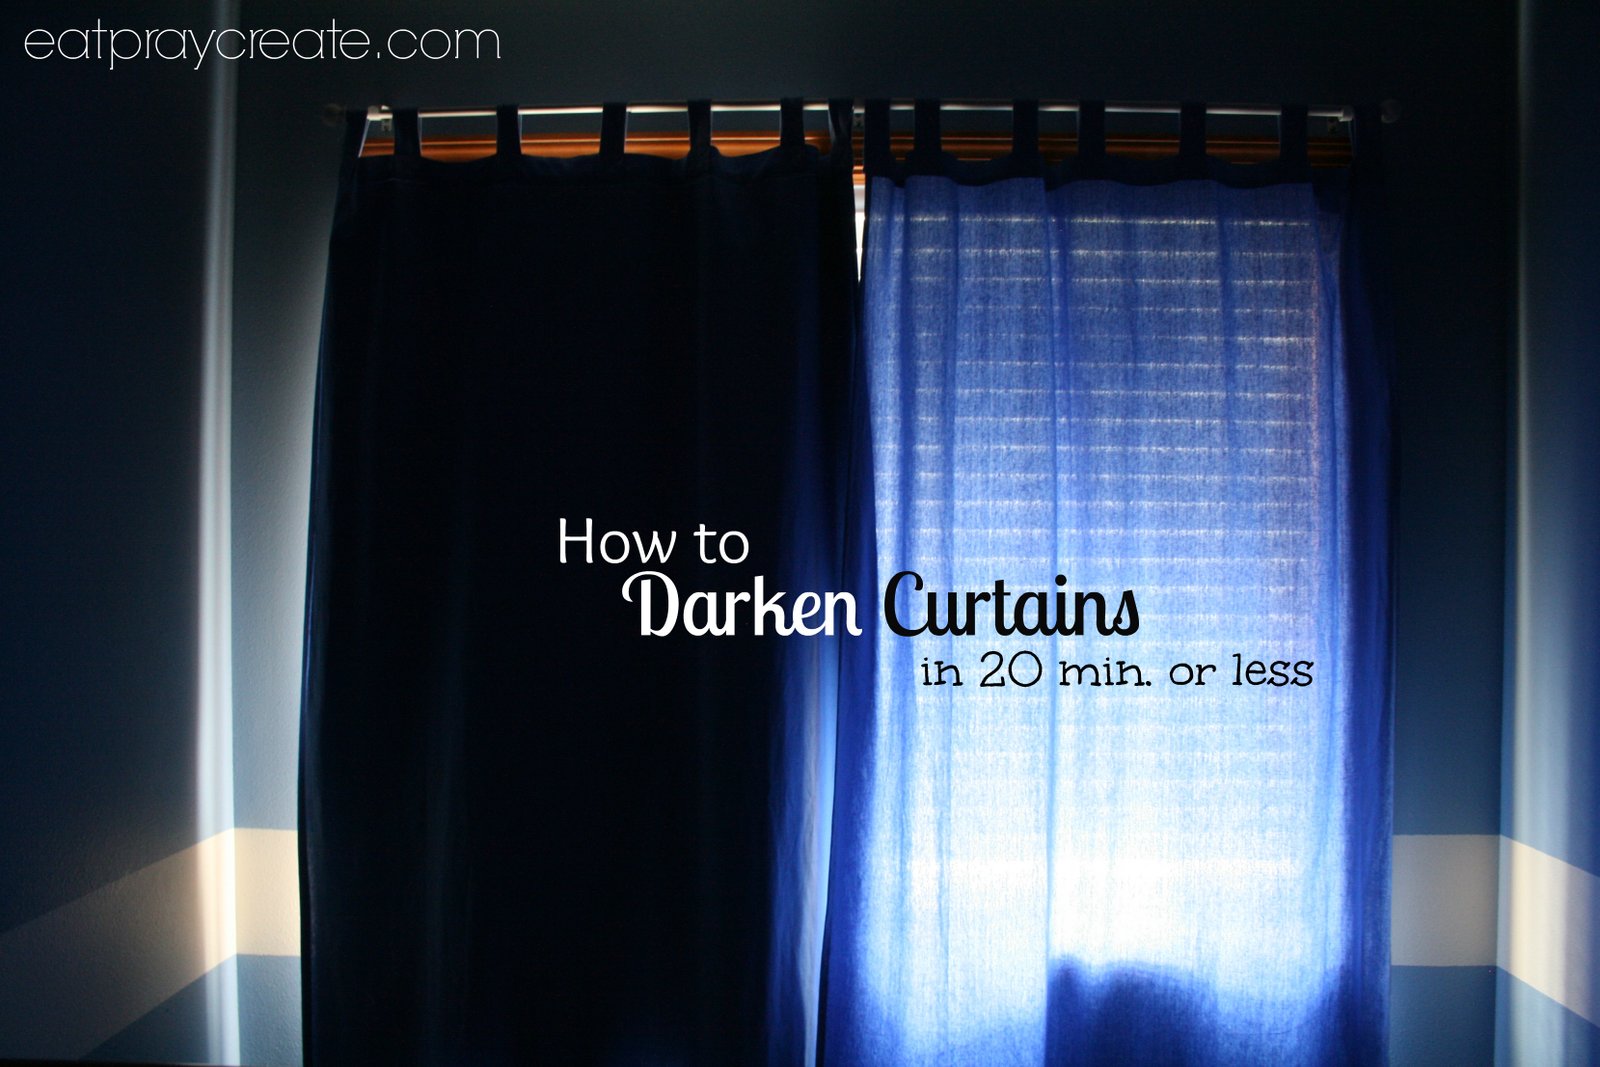
How to Darken Curtains (the simple, easy method)
Need to darken your room or your kids rooms to help you sleep? Also know as ‘Blackout Curtains.’ Lining your curtains doesn’t have to be complicated! I know in the summer my kids have a hard time going to bed when it is still bright outside until really late. So here is a simple tutorial on how to darken your curtains quickly and easily, oh and its really cheap too…

Supplies:
- Blackout Fabric (more details in the tutorial)
- Your Curtains
- Measuring Tape
- Scissors
- Thread (that matches your curtains)
- Sewing Machine
Tutorial:
First your going to measure the height of your window. You are going to want to add extra inches to the height so the blackout fabric goes several inches above and below the window to help block out more light.
*The blackout fabric can be found at your local fabric store. I found mine at JoAnn’s craft store. It comes on a very large bolt (54″wide). The one I bought is tan on one side and white on the other and its only about $6 a yard! Don’t forget to use a coupon!

Then take down your curtains and lay them face down on the floor. Measure the width of your curtains. Now you have your height (the window measurement) and width of the curtain for your measurements. Take those measurements and calculate how much fabric you will need to buy. For my curtains I needed about 2 yrds. (only $12!!). Just doubled my window height to determine the amount I needed.
Once you buy your blackout fabric cut it to the right height, then simply lay it on top of your curtain, lining up the top and side edges…

Then pin along the top edge (this is where you will be sewing)

Then cut the side with the excess fabric…

It will look like this…

Then use your sewing machine to stitch along the top edge of your blackout fabric.

Your curtains now have a blackout lining that helps darken the room!

Finally, hang your curtains back in place….

And that’s it!! Look at the difference with and without blackout fabric….

I hope you enjoyed this tutorial! Click HERE to see all the fun linky parties I’ve linked up to!
Have a great day!
-Taya

Latest posts by Taya (see all)
- Invisible Person Costume Tutorial - September 16, 2025
- Birth Stats Stuffed Animal Tutorial - September 24, 2024
- Star Tip Character Cakes Made Easy - January 20, 2023


2 Comments
Kirsten
What a great tip! Now if only I knew how to sew…stopping by fro SITS
Somer Nelson
Found you on SITS. Congrats. THis looks like something so simple and I need to do something like this for my little girl but I don’t own or know how to use a sewing machine:(