Felt Christmas Tree Advent Calendar Tutorial – Part 3
We’ve got to finish up our circles!! Hope you are almost done, December 1st is just around the corner. If you missed Part 1 and 2 of the Christmas Advent Calendar Tutorial you can find them here…PART 1 and PART 2.

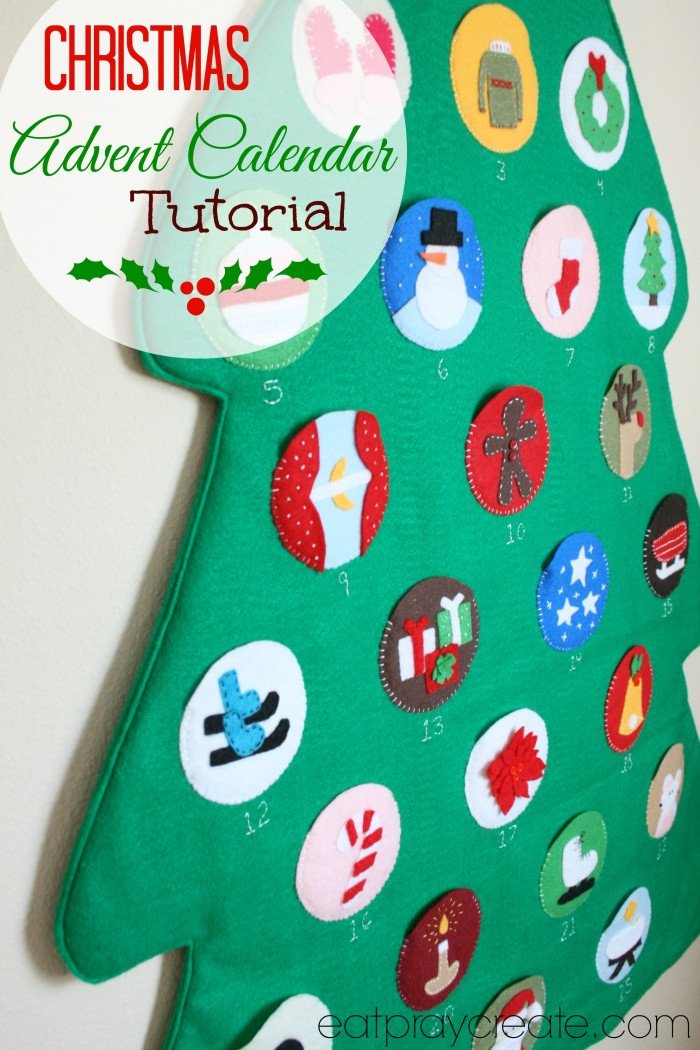
After cutting out all my felt designs I hand stitched them into place with matching embroidery floss and a needle. A Feathered Nest has some great tips on hand stitching HERE. Remember if you don’t want to sew just use some fabric/craft glue to attach your designs. I attached a few of my pieces with glue instead of sewing them on. Here they are…


Hoping to sew my circles on the tree tomorrow! The final steps will include:
– Iron on interfacing to the back of my circles (so the threads won’t come loose and the circles will be more sturdy).
– Hand sew circles onto the tree front.
– Embroider numbers under each circle.
– Sew tree front to tree back and add stump and star.
– Hang and add goodies and activity ideas for kids to countdown to Christmas.
Go here for Part 4 of the tutorial!
Click HERE to see all the fun linky parties I’ve linked up to!

The following two tabs change content below.


Google+ Hi I'm Taya! A stay-at-home mother to 5 cuties. I love to craft, sew, blog and make fun things. I'm the creator of the 'Eat-Pray-Create' blog and I'm so glad you're here!
Latest posts by Taya (see all)
- Invisible Person Costume Tutorial - September 16, 2025
- Birth Stats Stuffed Animal Tutorial - September 24, 2024
- Star Tip Character Cakes Made Easy - January 20, 2023


