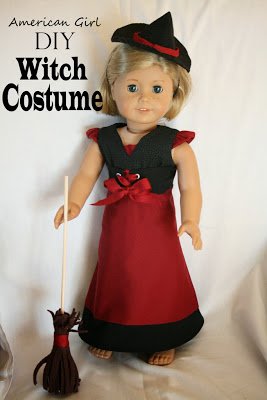
American Girl Doll Witch Costume Tutorial
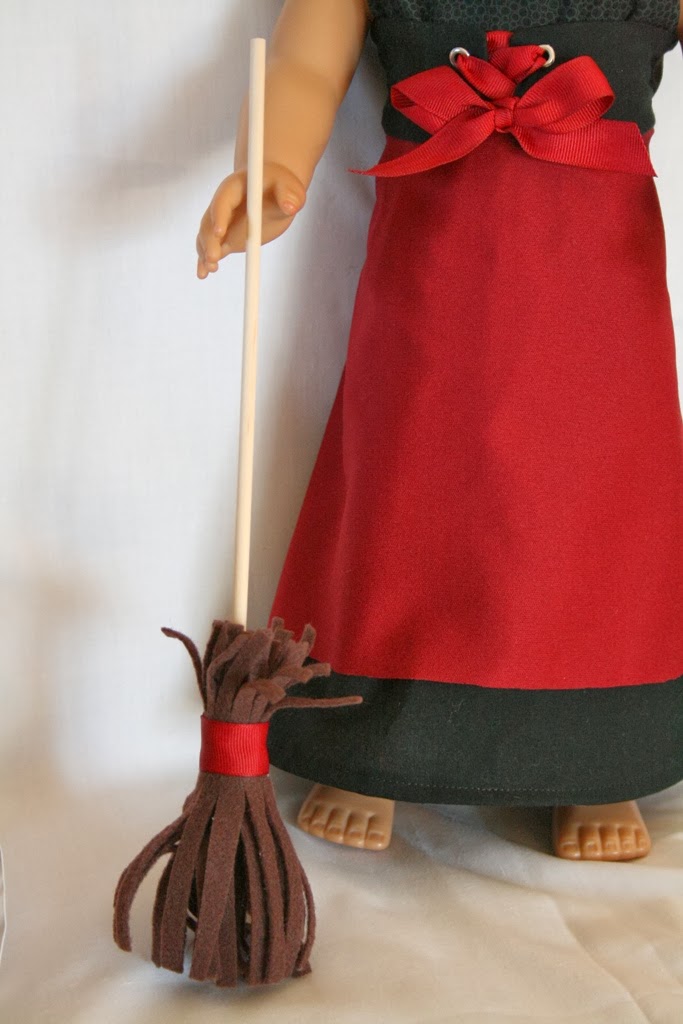
My Sweet Sammy decided to be a witch for Halloween this year. We found an adorable costume for her at a thrift store!! Then she asked me to make her American Girl Doll (Kit) a matching witch costume. So I did…and it was easier that I thought it was going to be. (Tutorial Below!!) And here is how it turned out…

I found this adorable Good Witch Doll Costume over at Simple Simon and Company, Isn’t it adorable! I made Kit’s witch hat and broom stick following their instructions! 
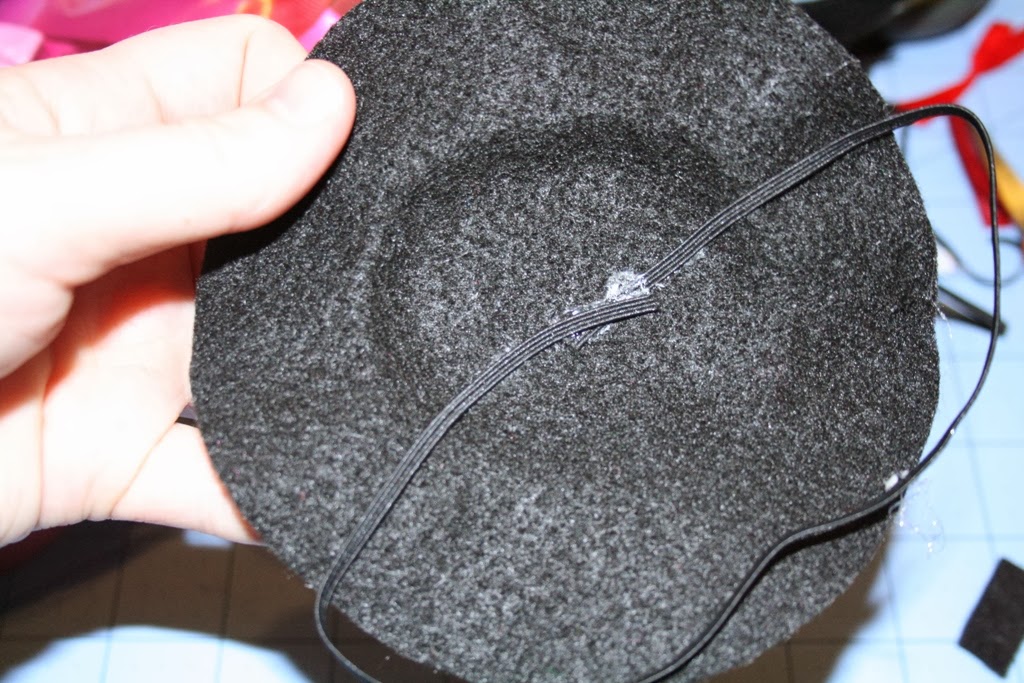
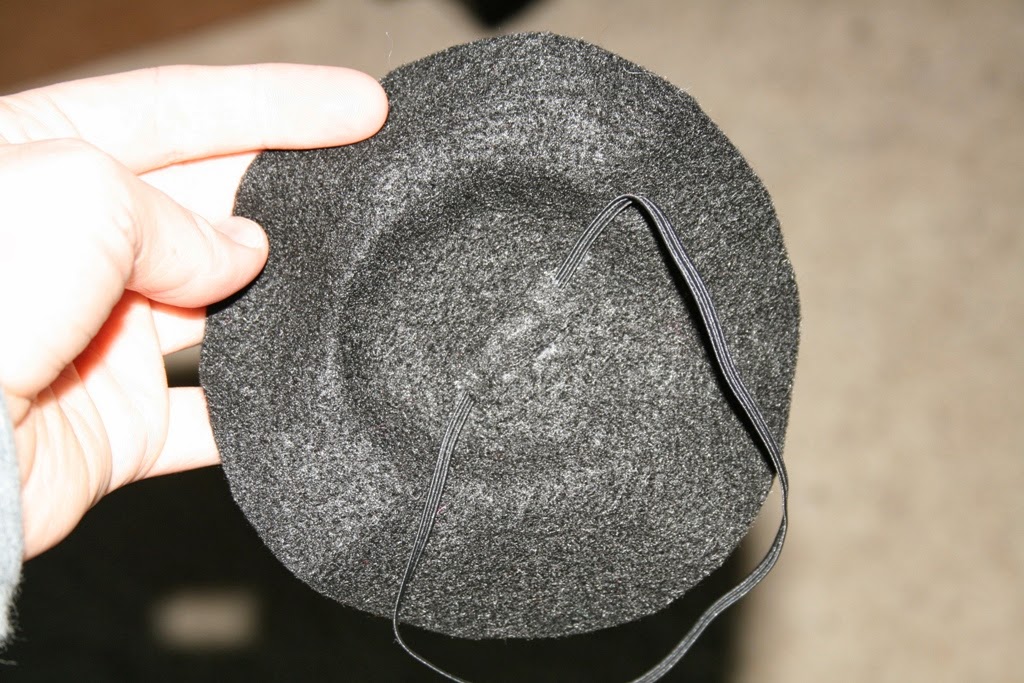
Here is how I attached the elastic to the hat. Hot Glue the 2 ends to the bottom center of the hat like this…


Now for the Dress Tutorial…. (Before you begin read through the entire tutorial, it will make things easier, I promise!!)
First go to MyCupOverflows blog and print off the pattern for this cute American Girl doll dress.
Cut out the skirt pattern, sleeve pattern, and bodice front and back. Get some scrap fabric and cut your pieces out. This is what you need to cut….
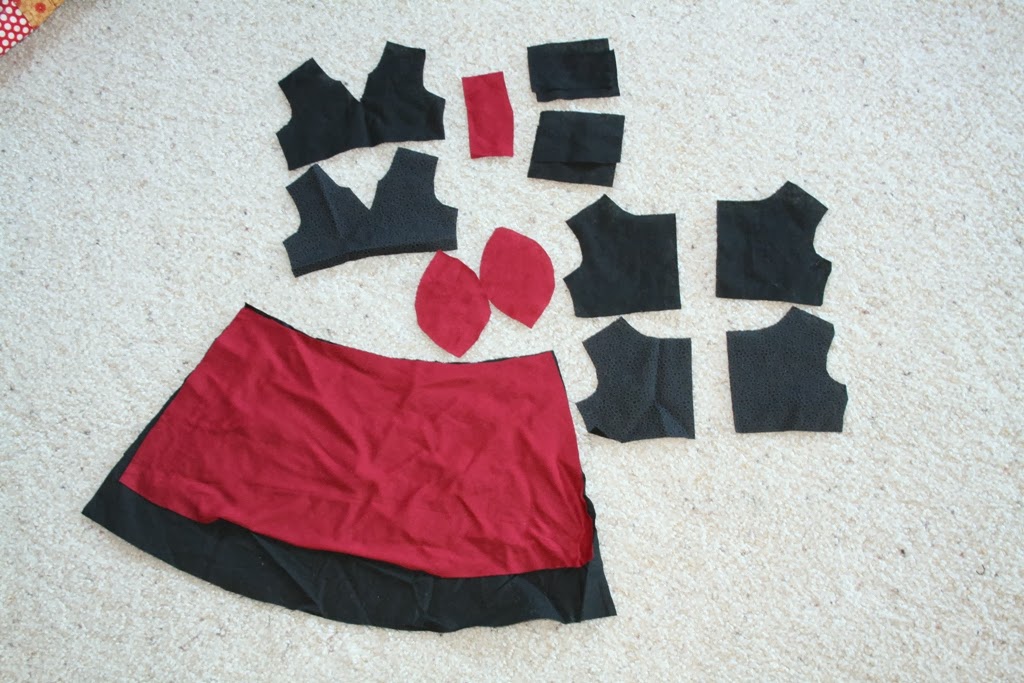
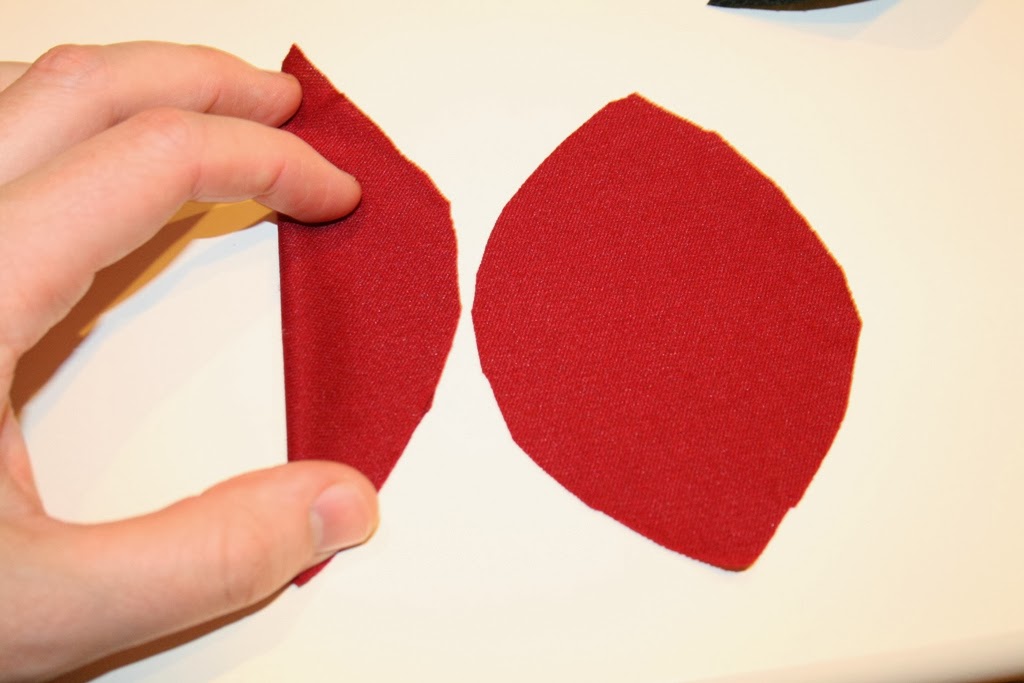
Cut 2 bodice fronts (1 is for the front, 1 is for the lining), Cut 4 bodice backs, Cut 2 of skirt (Cut the under layer 1-1/2inches longer than the pattern, this is the black one in picture above), then fold your sleeve pattern piece to create the oval shape (this is done by folding your sleeve pattern from top to bottom not side to side) and trim edges of sleeve pattern off (see 2 red oval like pieces above), then you will need 4 rectangle pieces (2-1/4″x 3-1/4″), and a small rectangle scrap of red(or other color you are using).
*note: my red fabric is some kind of knit and does not fray so I didn’t have to finish the raw edge of the skirt, if you are using a fabric that frays simply make the skirt 1/2 and inch longer and hem before making skirt.
Lets start sewing…

Sew your front bodice piece at shoulders to the 2 back pieces. Do the same with the lining. (you will have 2 pieces that look like the above photo.

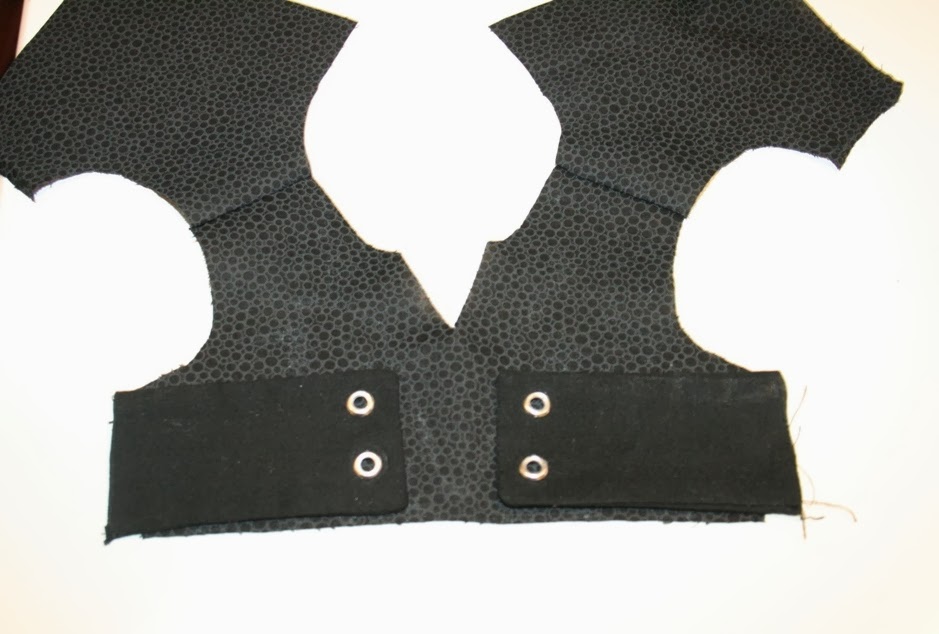
Now take your 4 rectangle pieces and sew them right-sides together on 3 sides, leaving one short side open (see above photo, top piece). Clip the 2 corners you have sewn and flip to right-side (the bottom rectangle). You will have 2. Now use a eyelet tool to punch holes in your fabric (see below).

Use your tool to attach the eyelets to both your pieces, on the finished ends.


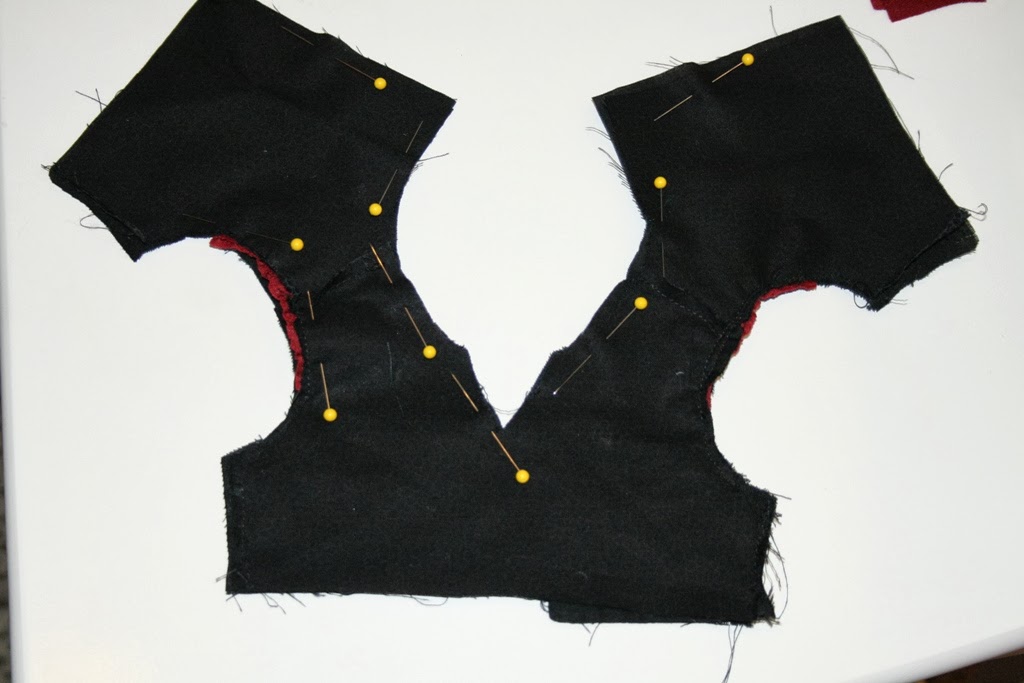
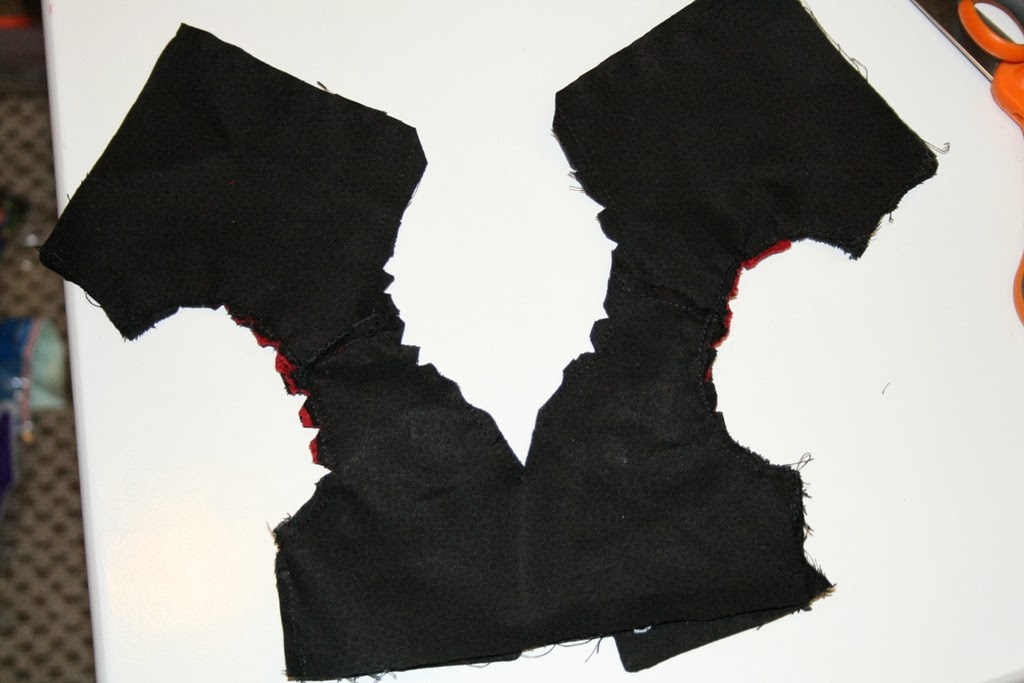
Pin and sew where shown below (arm holes, back, neckline, back, and the other arm hole-mine is already sewn in this picture on the right)
Once sewn clip the curved edges with a V shape, being careful not to cut your thread.
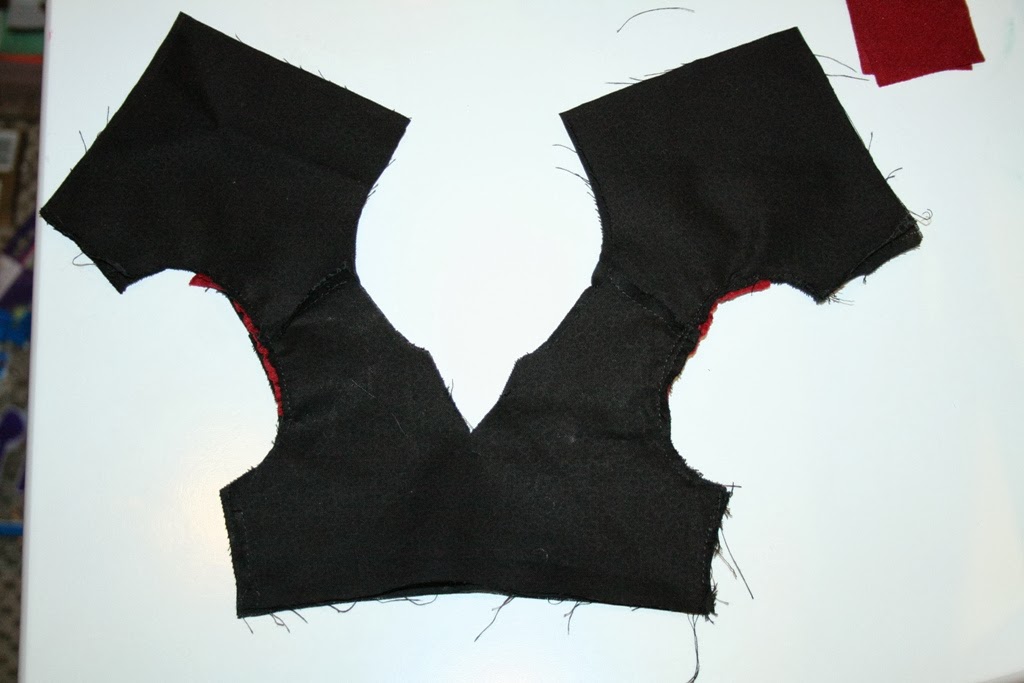
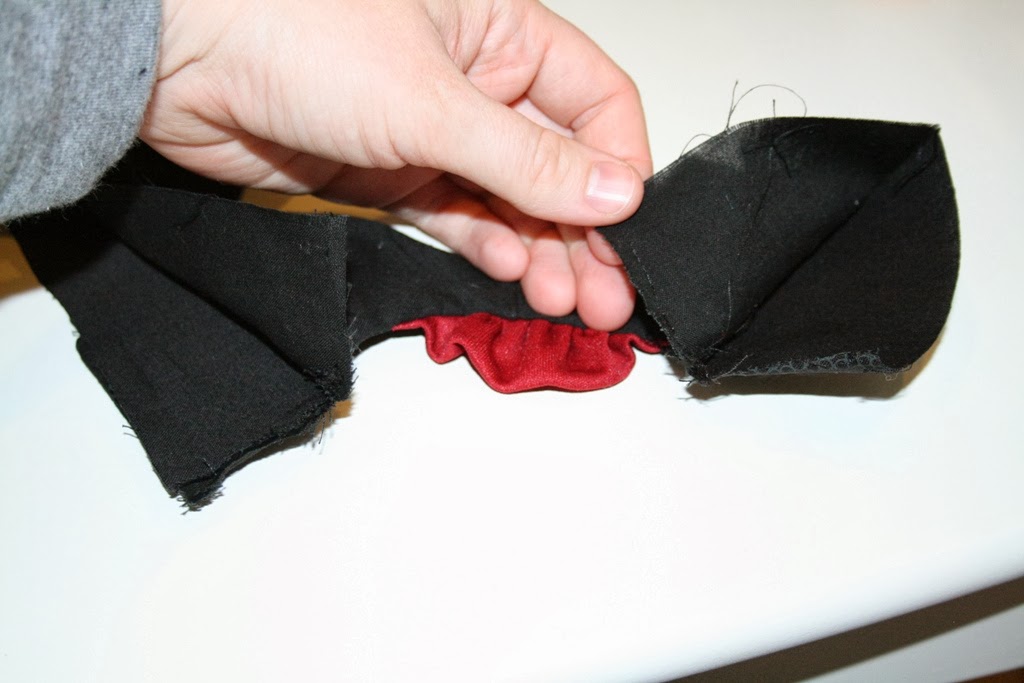
Now pull the 2 back pieces through the narrow shoulder, flipping it right-side out. Now only your sides and bottom of the bodice are still un-sewn.

We are now going to sew the 2 sides together. This is difficult to get a good picture of but I’ll do my best to explain. In the above picture you can see the arrows pointing to the unfinished sides (front and back). Open each of these pieces so that you can see the inside. Now pull them together, right sides lined up.
Here is the picture for the sides sewn together (you are sewing the inside). Visit Pattern Revolution for more tips on sewing a bodice like this!

Then when you lay the right side out again it is nicely sewn, and all seams are on the inside (only the bottom of the bodice has an unfinished edge now.

Repeat those steps for the other side and you will end up with this…

Here is look at the inside lining…

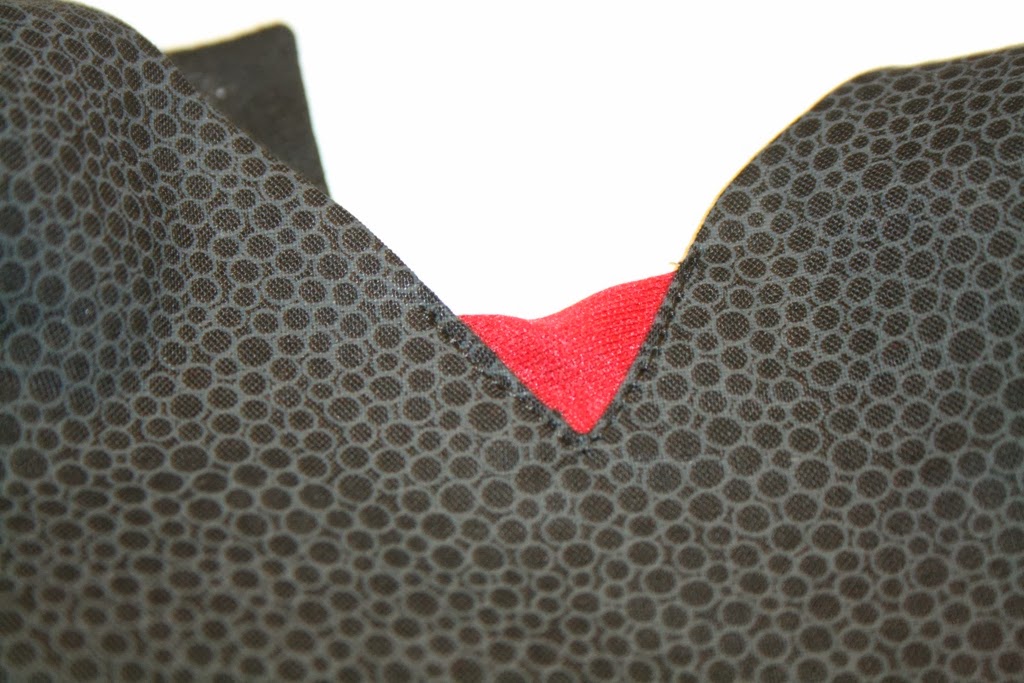
To add contrasting fabric to the neckline, take your small rectangle piece, folded in half and pin it at the “V” neckline. Folded edge being at the top.

Here is a look from the front…

I simply top stitched this piece in place. Then trim any excess fabric on the inside.
Sew your skirt together like described on MycupOverflows Blog. (if using 2 fabrics just keep them on top of each other, right sides facing out)
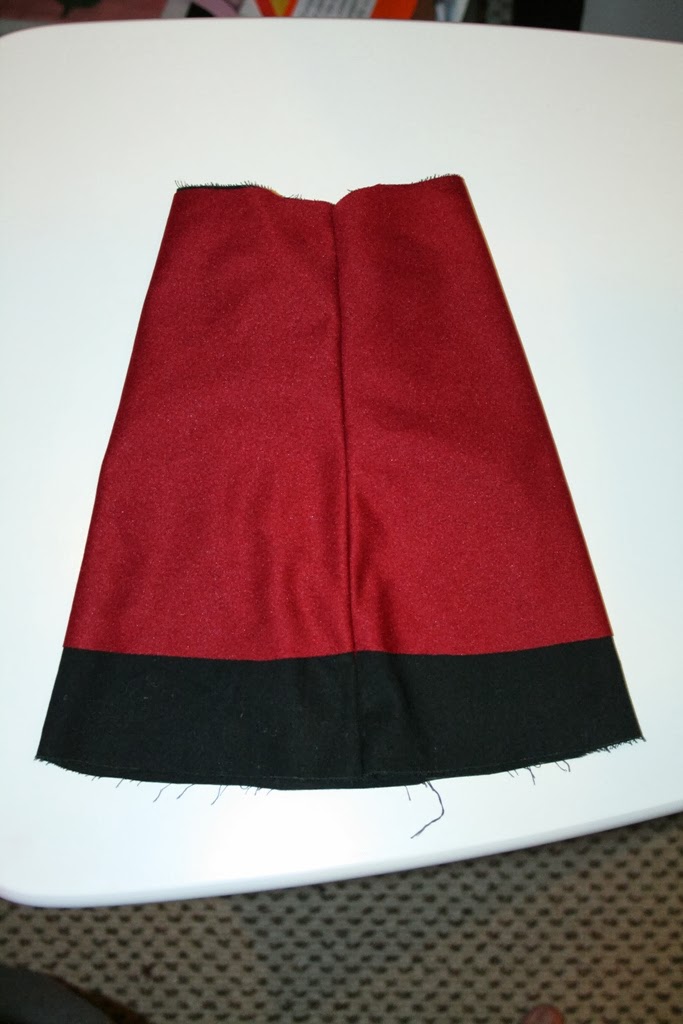
Hem the bottom skirt, folding over 1/4″ and another 1/4″ then stitch (iron before stitching, it will stay in place while sewing!)
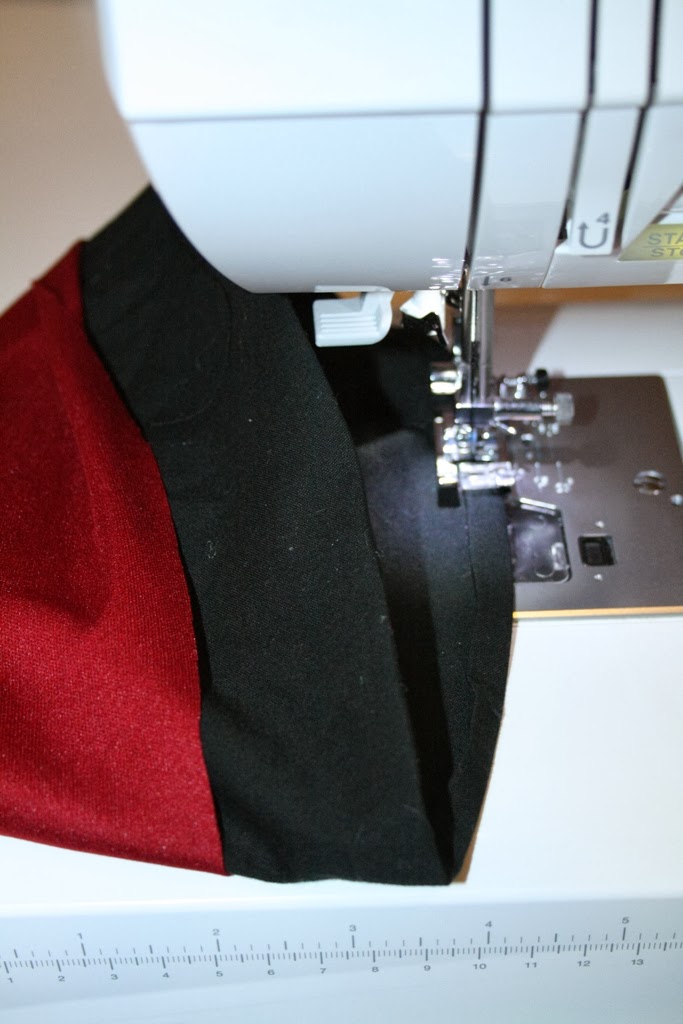
The completed skirt…

Now place your top bodice over the skirt (at the top), right-sides together, unsewn edges lined up, your top back will overlap. Pin in place


Taya
Hi I'm Taya! A stay-at-home mother to 5 cuties. I love to craft, sew, blog and make fun things. I'm the creator of the 'Eat-Pray-Create' blog and I'm so glad you're here!


4 Comments
aby R
Wow, very cute. I love all the details
Eatpraycreate
Thanks Aby R. I had fun making it!
Anna
Taya, I love your witch costume! It’s so adorable! The details of the sewn in vest and the little puff sleeves are too cute!
Taya
Thanks Anna!! I love making cute little clothes for my daughter’s doll!