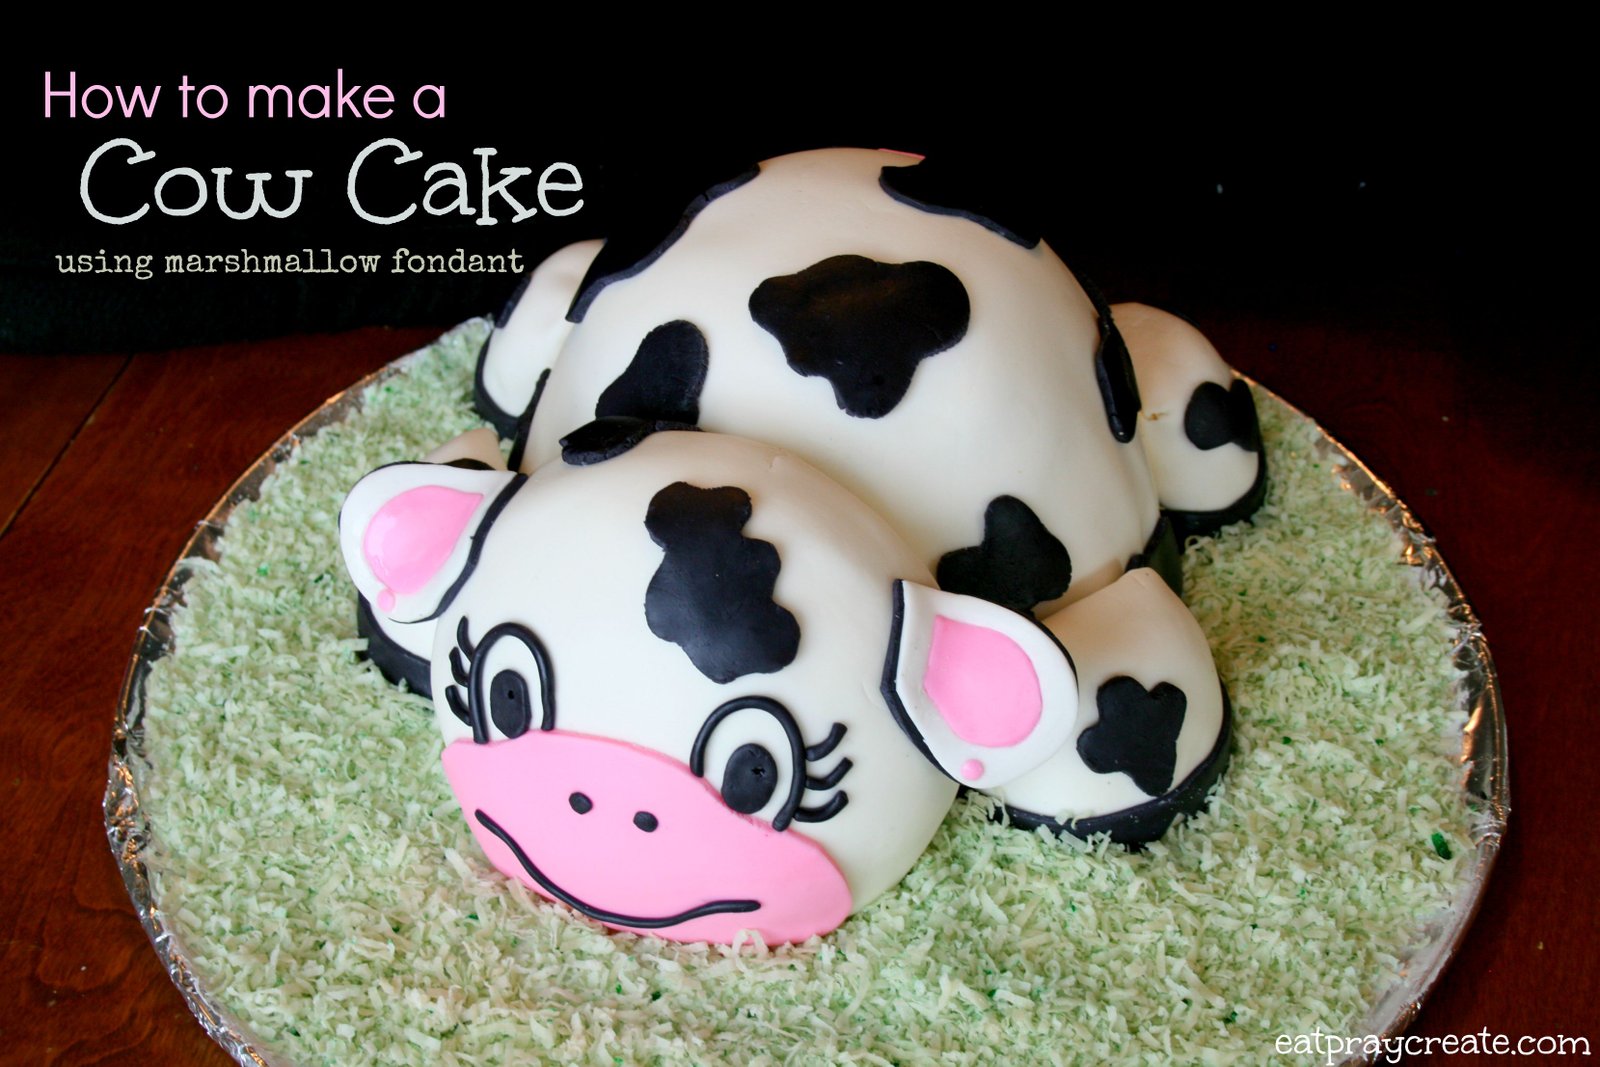
Cow Cake Tutorial using Marshmallow Fondant
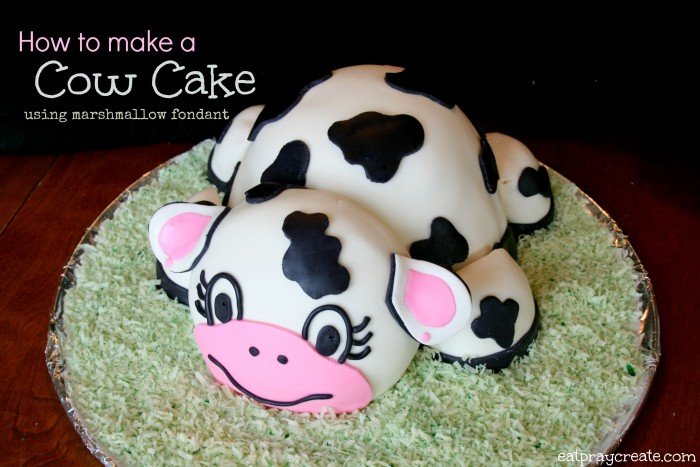
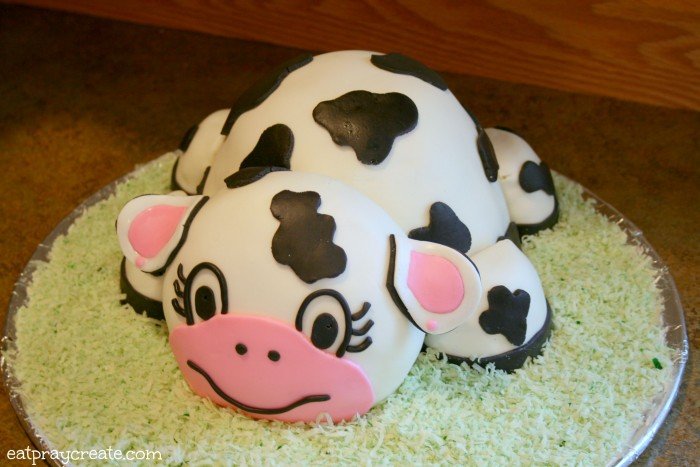
I made an adorable Cow Cake a while back and posted about it here on the blog. (just a couple pictures) So today I wanted to share a little ‘how-to’ make your own Cow Cake! Isn’t it just adorable…
 (This post contains affiliate links)
I can’t take all the credit for this one, my sister helped me create it. She is the best! Here’s what you’ll need for this cow cake…
Supplies:
- Cake mix of your choice, enough
- cake pans – 10, 8, and 6 inch round, and small circular ramekin dish(for feet)
- regular frosting, like vanilla or buttercream
- marshmallow fondant – I used THIS recipe
- Gel Food coloring – pink, black, Liquid food coloring- green
- Coconut
- Circular Baking Pan covered in tin foil for setting cake on
- Other: Knife for cutting cake, spatula for spreading frosting, rolling pin, fondant cutting tools, baking gloves (so your hands don’t get food dye on them).
Directions:
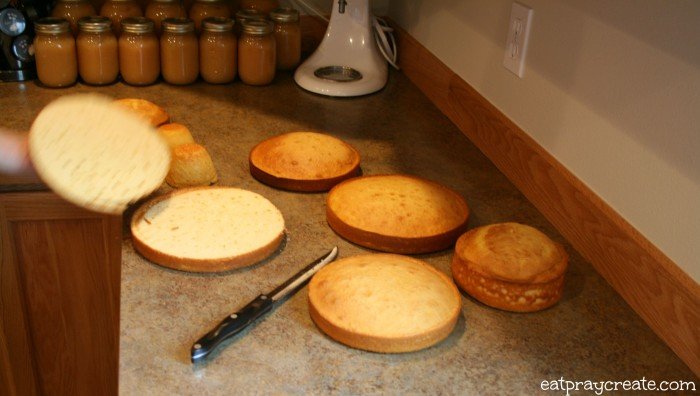
First bake your cakes – 2-10″, 2-8″, 2-6″, 2-small ramekins. Cover your circle baking pan in foil.

Once your cakes are all baked and cooled, remove from pans and cut off tops of the 10″ and 8″ cakes so they’re level.
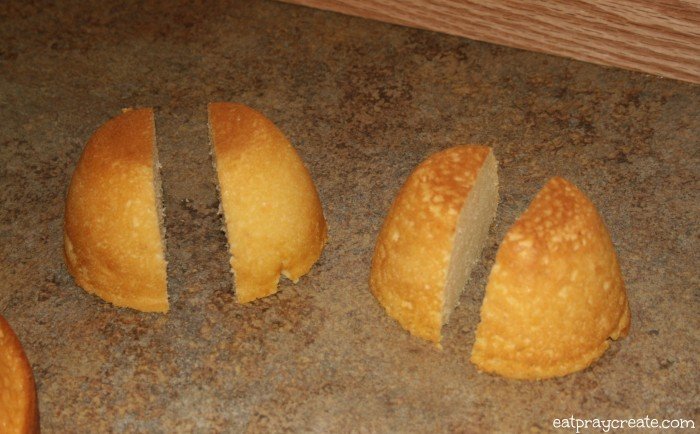
Cut baby cakes in half for hooves.
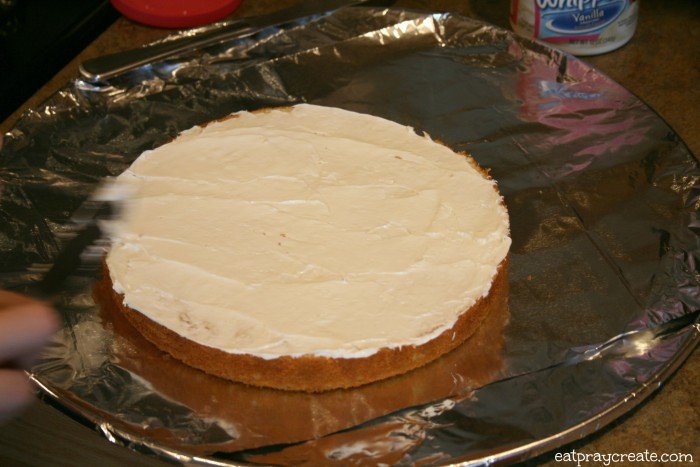
Start by putting 1-10″ round on your covered pan (put a small amount of frosting on your pan and then place cake on it to secure it). Then frost the top like so…
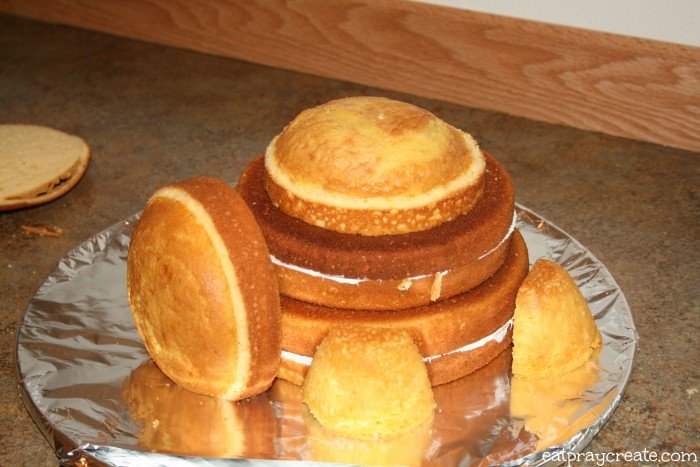
Then layer the other 10″ cake round on top of it- face down. Add frosting and place 8″ on top of that, frost and add the other 8″ and finally a 6″ cake round on top. Make sure you frost between each layer. Here is what it should look like (don’t attach feet or head yet)…
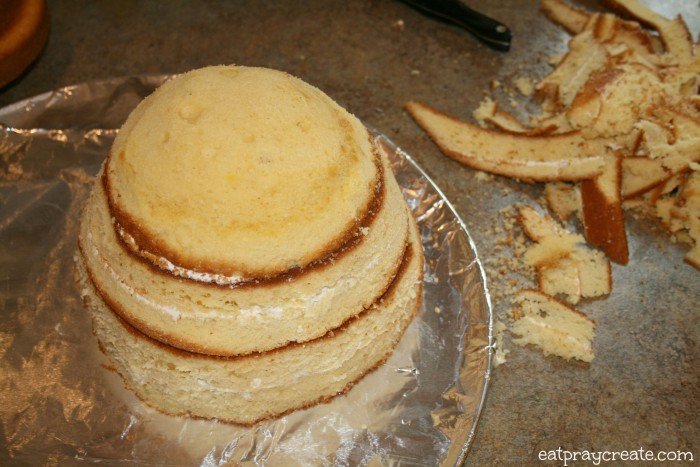
Now trim your cow cake body using a knife so its a dome shape with the sides all flush.
Frost a thin layer over the whole body shape.

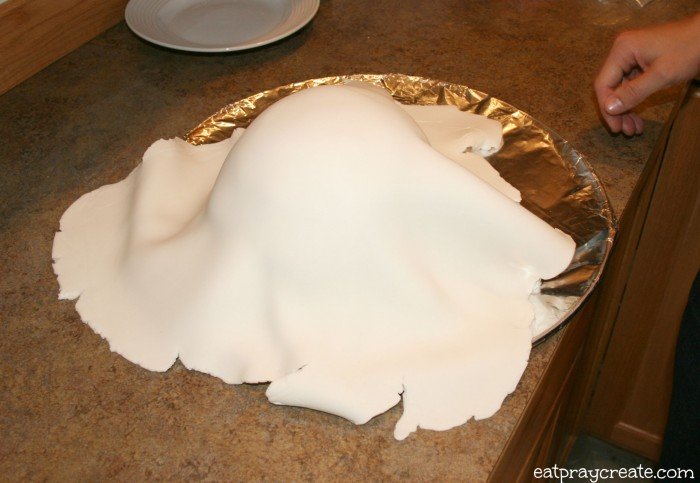
Roll out your white marshmallow fondant bigger than the dome shape…
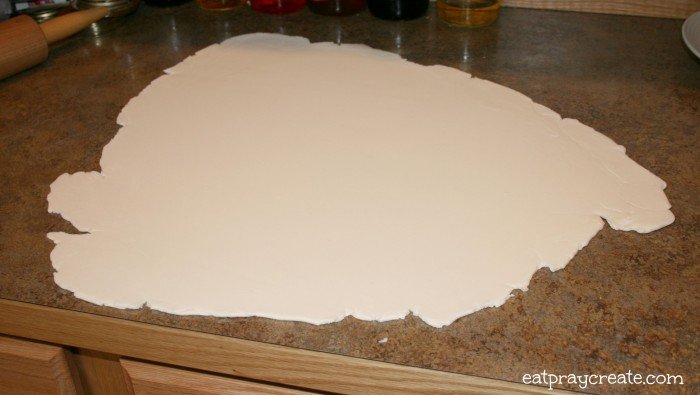
Lift your fondant and lay over the cake making sure all sides have enough fondant covering (you can also roll it up loosly on your rolling pin and slowly roll it over your cake). Then cut off the excess at the bottom and tuck the edge of fondant under the cake edge.
Roll out your black fondant and hand cut little blob like shapes for the cow spots, attach with a tiny bit of water on the back of each spot. Cover the hooves with frosting and fondant as well. Cut strips of black fondant for the bottom edge of hooves.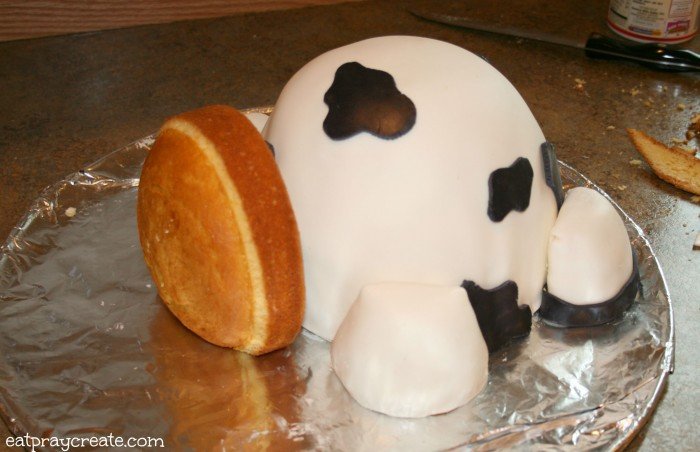
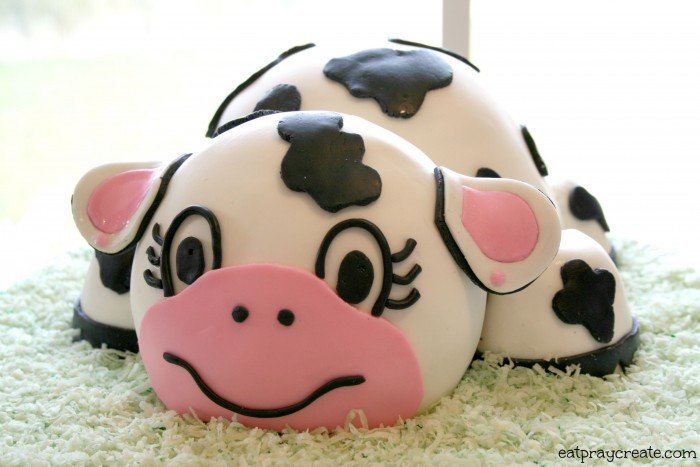
Do the same process with your head, wrapping white fondant all the way around your other 6″ cake, trim it down a little before to make it a smooth round shape along the edges and cut a little off the bottom to create a flat surface. Decorate face by cutting pink and black features. We rolled black fondant for the eyes, eyelashes, and mouth. Make ears by rolling out, cutting and layering fondant. Attach with water and toothpicks behind to hold them out.
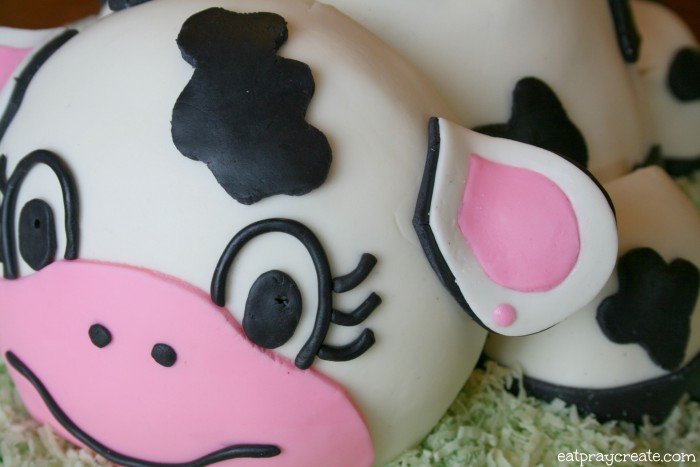

And don’t forget a tail! (you can see the toothpicks behind the ears in this picture…)

To make the grass just throw some coconut and green food coloring into a big plastic ziplock baggie and shake, shake, shake! Sprinkle around your cow. To keep in place add a thin layer of frosting to your foil beforehand.
Don’t forget to ‘Pin it’ by hovering over the picture!

Hope you enjoyed this little tutorial. Please let me know if you ever make one, I would love to see pictures or if you have other animal cakes you’ve made send me a pic or link to your blog post. I would love to hear from you!
For more great cake and cupcake ideas go HERE.

Happy Baking!
-Taya





One Comment
Christine | Where The Smiles Have Been
Ok, this cake is just TOO STINKIN’ ADORABLE! I mean seriously. I really appreciate all the step-by-step photos you provided…they would certainly come in handy for a baking novice like me. Thanks so much for sharing this with us at Merry Monday! We hope you’ll join us again next week!