-
Re-usable Paper Towels
My awesome sister decided to make some reusable paper towels for her friend for her birthday and she let me make some for my sister-in-law too!! Love how they turned out…. You can find the tutorial HERE To view more please visit my blog!
-
Child/Toddler and Baby Halloween Costumes
I love to make my kids Halloween Costumes!! Here are a few I have made over the years! Our little Candy corn, made out of felt using the Candy Corn Simplicity Pattern for dummies, and then I made matching shoes and bag, she was so cute!! Butterfly Fairy, made some wings using foam, fabric and some rhinestones, with some elastic arm straps. Made a pink and purple tutu to match! She looked adorable again! The wings… And then she was tinkerbell, only she wanted to be pink!! Used this Simplicity pattern found HERE. Oh and not to forget the spider costume I made for our little crawler…. Go HERE for…
-
Kids Valentine Ideas & a Lollipop Valentine tutorial
Here are some of the cutest Valentine Ideas for your little school student! I used the Valentine photo with a lollipop attached for my little girl. See the tutorial on how I made it at the end of this post. Hope you enjoy! Just click the pictures to go to the SITE they come from… I loved this one so much I helped make them for my daughter to take to all her classmates at school for their Valentine’s Day exchange. Wanna make them for your little one? Here’s how… Lollipop Valentine Tutorial: First I took a picture of my daughter and added some words and hearts in photoshop… got them printed (make…
-
Felt Christmas Tree Advent Calendar Tutorial – Part 3
We’ve got to finish up our circles!! Hope you are almost done, December 1st is just around the corner. If you missed Part 1 and 2 of the Christmas Advent Calendar Tutorial you can find them here…PART 1 and PART 2. After cutting out all my felt designs I hand stitched them into place with matching embroidery floss and a needle. A Feathered Nest has some great tips on hand stitching HERE. Remember if you don’t want to sew just use some fabric/craft glue to attach your designs. I attached a few of my pieces with glue instead of sewing them on. Here they are… Hoping to sew my circles on the tree tomorrow!…
-
Felt Christmas Tree Advent Calendar Tutorial- Part 2
How’s your Calendar coming along??? If you missed Part 1 you can find it HERE. Let’s continue our Christmas Tree Advent Tutorial… Part 2 (steps 2 and 3) involve a lot of CUTTING. We will be cutting out our tree from the green felt. Then get all our circles (or squares) cut out. Lay them out on your green felt tree to make sure you like them. And start cutting out all your felt designs. I’ve posted the ones I’ve cut so far.. remember make them simple, you can add detail with embroidery later! Lets get to work…. Step 2: Cut Tree Out – Lay your felt – folded in half…
-
Homemade Christmas – for Her
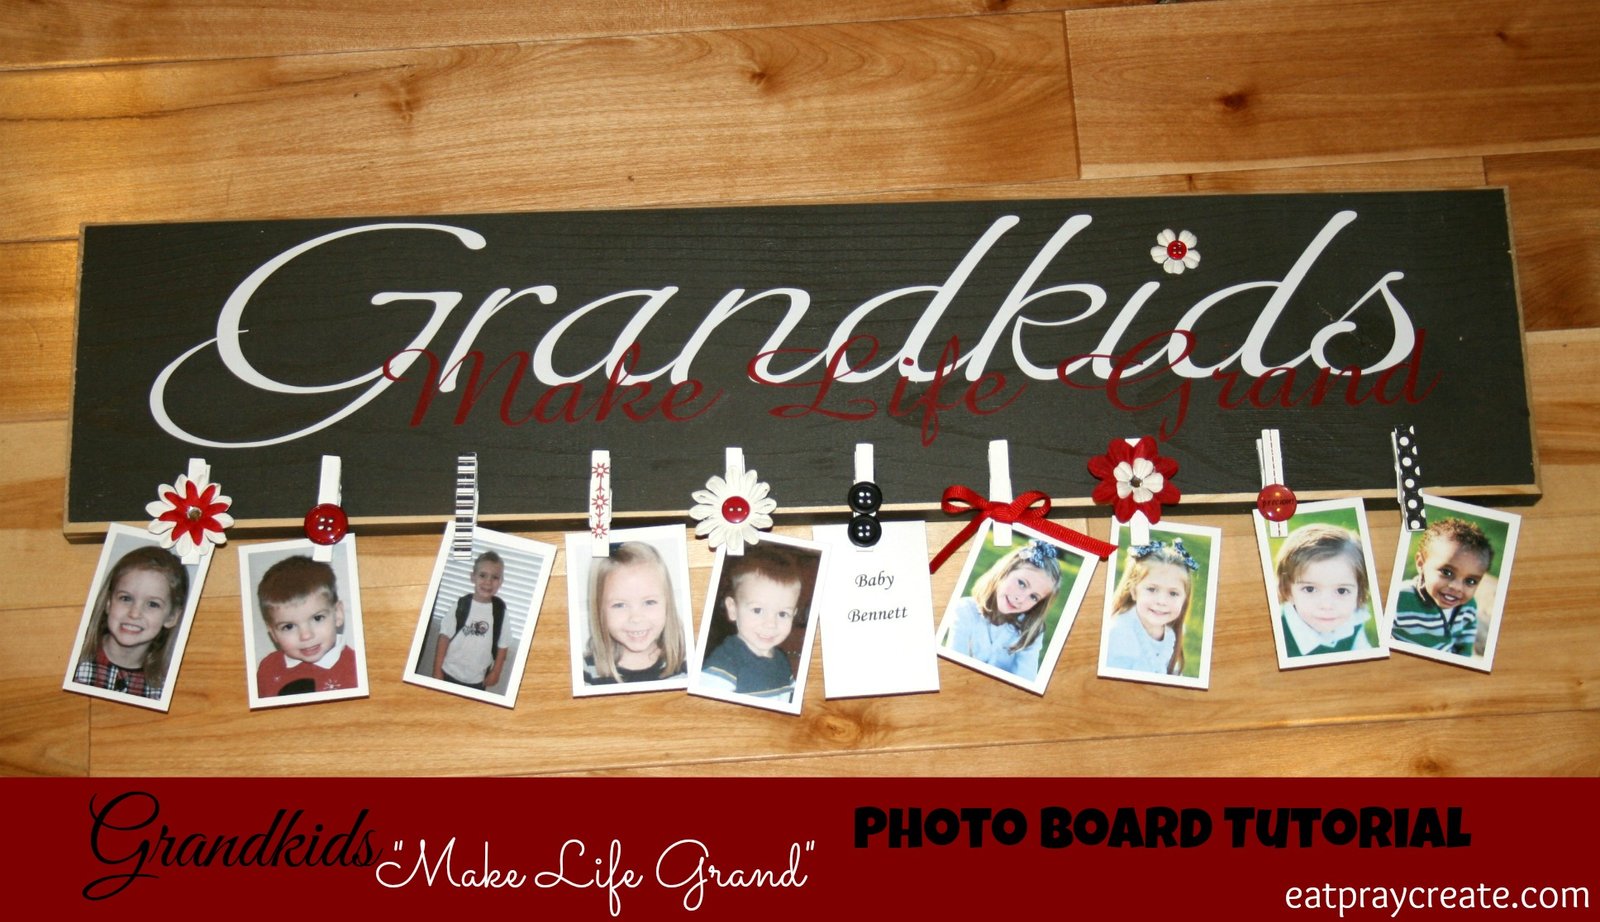
This year I wanted to start a Homemade Christmas list of gift ideas for all those wonderful people in your life. Today I wanted to focus on the Women in your life, mothers, grandmothers, daughters, sisters, etc. So here is my top ten list for 2012. Hope you all have a happy homemade Christmas this year!! 1. Grandkids Board – an adorable Picture board for Grandparents!! I made this for my mother-in-law and she loves it! HERE is the tutorial. 2. Apron – what women doesn’t want to look super cute while cooking?? She will love a new apron!! HERE is an adorable tutorial for this cute apron! 3. How about…
-
Felt Christmas Tree Advent Calendar Tutorial – Part 1
Okay Holiday Crafters!! It’s that time of year. Time to hurry up and get all our crafting done!! I have always wanted to make a Christmas Advent Calendar. And a few years back I saw Abby from “A Feathered Nest” post awesome pics of her Pottery Barn Knock off advent calendar!! I fell in love! Then after doing some more research this year I was inspired by Rach H over at “Family Ever After” and just had to make my own Christmas Calendar. I love how Rach has a sew along guide for all us fellow crafters who want to pursue such a time consuming and detailed project just before…
-
DIY Jewelry Holder Tutorial
Do you have a bunch of jewelry lying around that needs to be organized? Well I’ve got a simple and easy DIY Jewelry Holder for you today. It’s great for hanging all your necklaces and bracelets on! (this post contains affiliate links) Supplies: Piece of wood (mine was 24 inches long by 1-1/2 wide) Scrapbook paper (pattern of your choice) Paint (one that matches your paper, I used black) Paintbrush (I used a small foam brush) Drawer knobs (got mine cheap at Ikea, see the one’s below they would be cute too!) Sandpaper (just a small scrap) Modge Podge (see below) Drill First, decide how many knobs you want, measure…
-
Home is Where the Heart Is – Framed Maps Tutorial
I saw this idea on pinterest but the maps were in a floating frame. I just used a regular frame and took the mat out. The crinkled cardboard came with this frame so I used it as my backdrop. This frame is a 14×18″ frame. Wanna make your own?? It’s really quite easy. Simply go to THIS WEBSITE and find the maps of the states you have lived in and print the maps(click on the print PDF reference map). When printing I always clicked on “fit to printable area” so the print would be the size of my paper (I printed on white cardstock). Print as many state maps as you…
-
Make your own Bobblehead – A Tutorial
For my nephew’s birthday last year I wanted to make him something. He is going to be a firefighter! So I thought to myself “who wouldn’t want a bobblehead of themself!” So here it is, a step by step tutorial so you can make your own (note: this is my first time making a bobblehead, I do not proclaim to be a professional bobblehead maker:) Start with sturdy cardboard (I used a thick box and cut these 2 shapes) one with a slit down the middle. Join the 2 pieces of cardboard together by sliding one into the other, the base making a “+” sign. Hot glue in place at seams.…


