
Felt Christmas Tree Advent Calendar Tutorial-Part 4
I am so excited to finally post the final Part to our Felt Christmas Tree Advent Calendar Tutorial! In case you missed it here is PART 1, PART 2, and PART 3.
Now that you’re all caught up lets finish up our Advent Calendar!
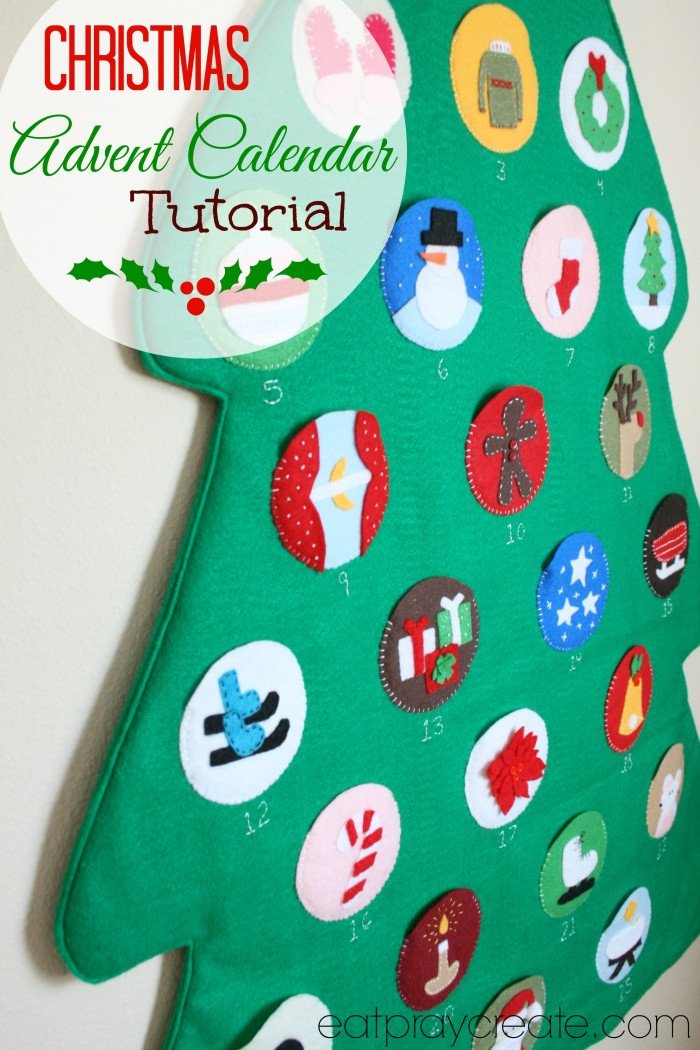
Finish Circles:
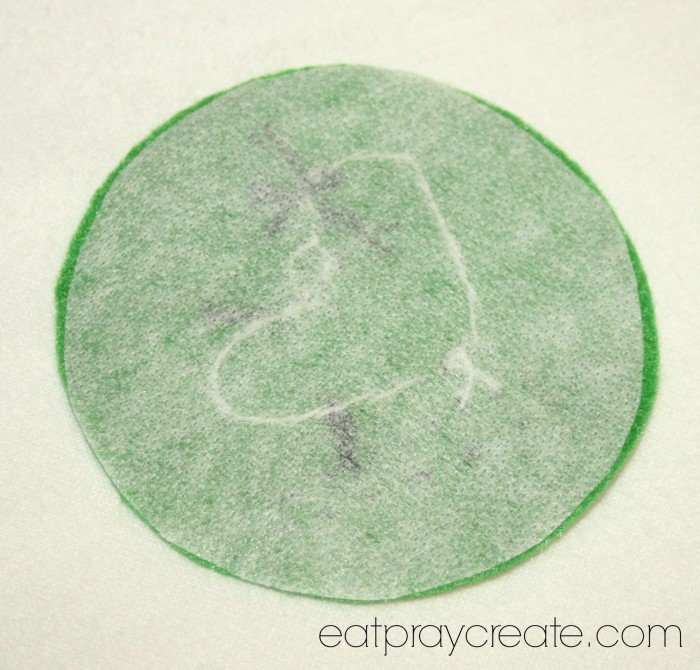
Now that your circles are all completed its time to iron on some interfacing to the back side. (You can find this at the fabric or craft store). Cut the interfacing to fit the back of your circles and then iron them on the back of each circle. This will help them stay stiff and keep the embroidery thread from fraying.
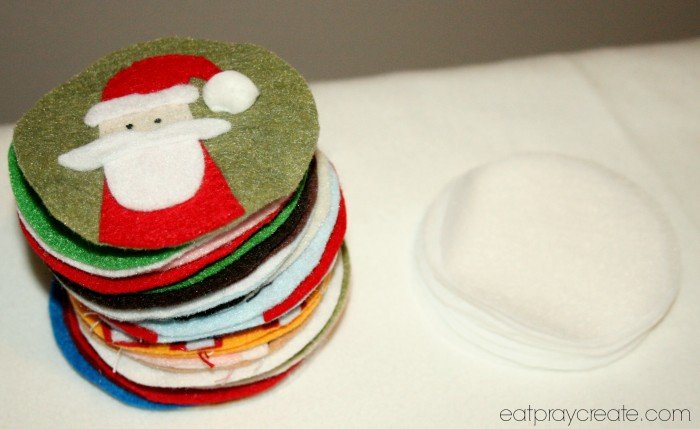
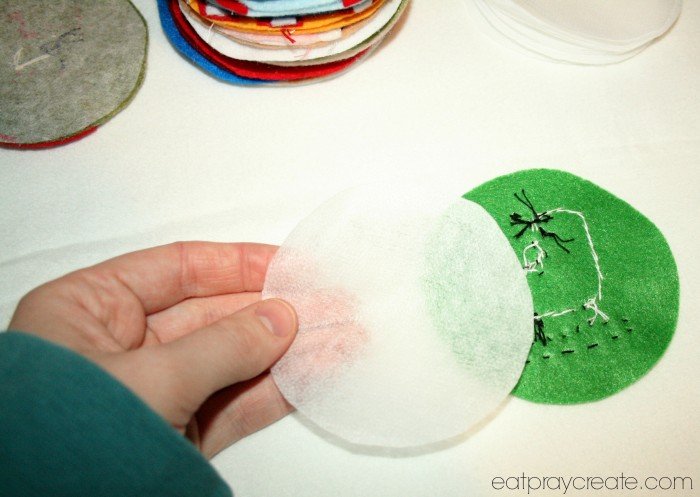
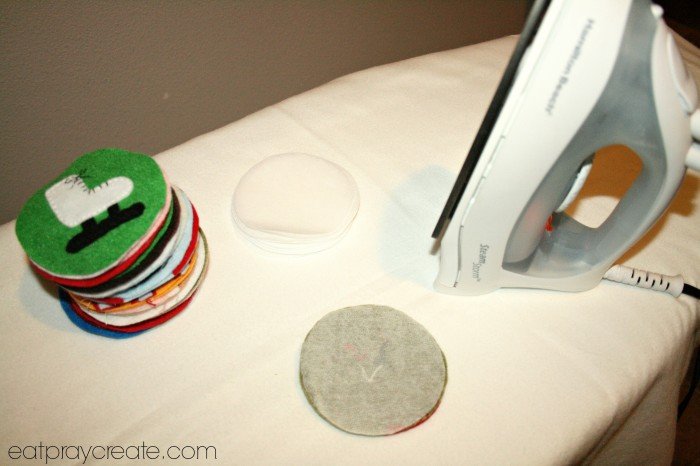
Attach Circles to Tree:
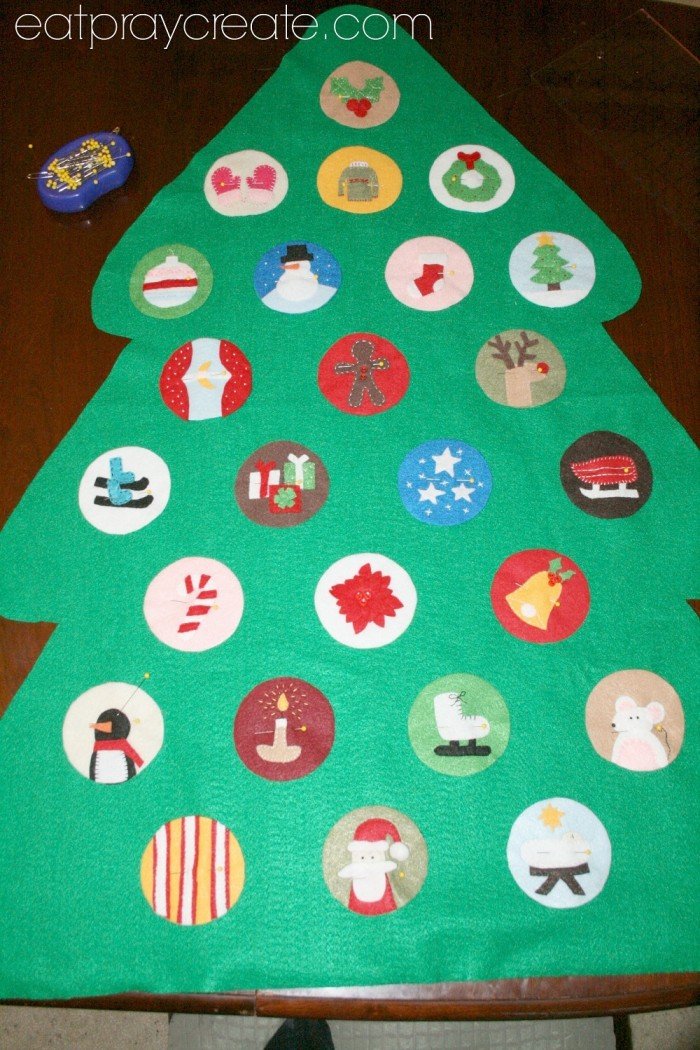
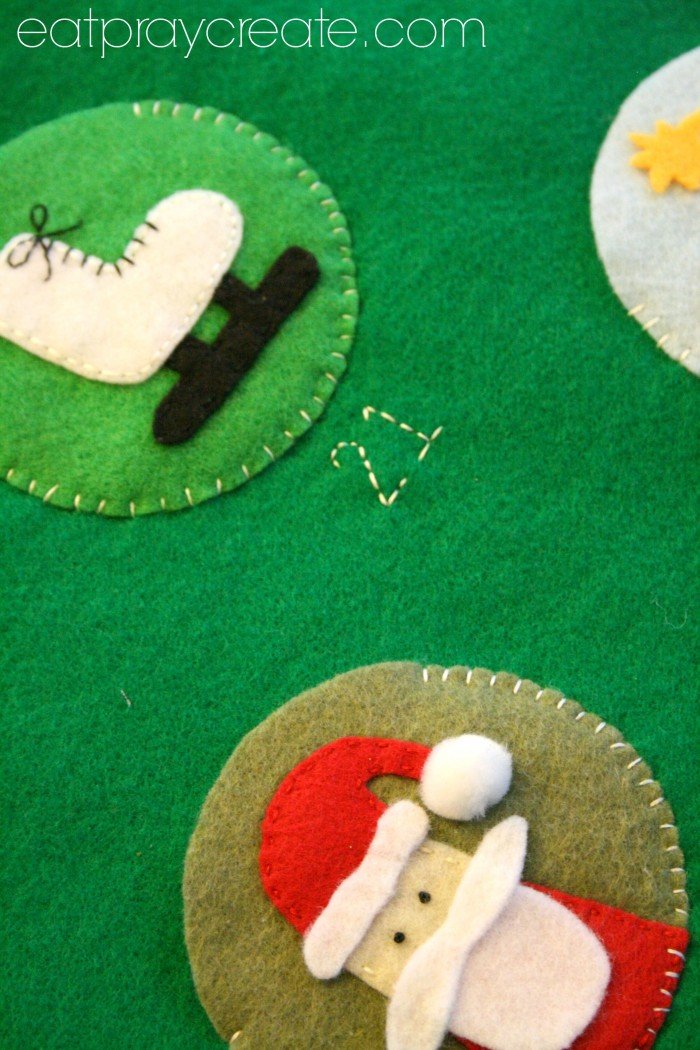
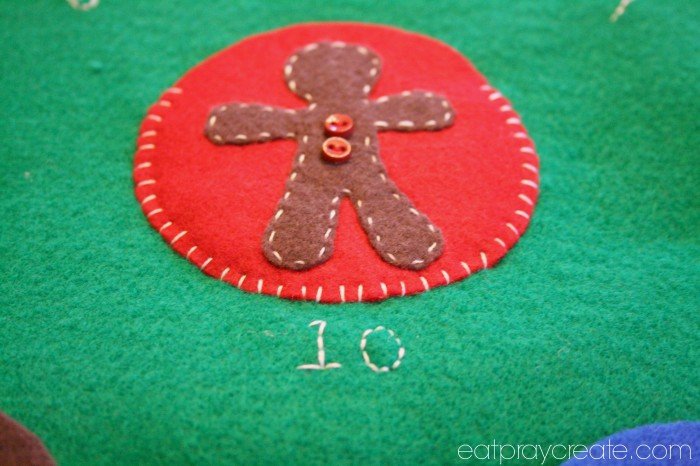
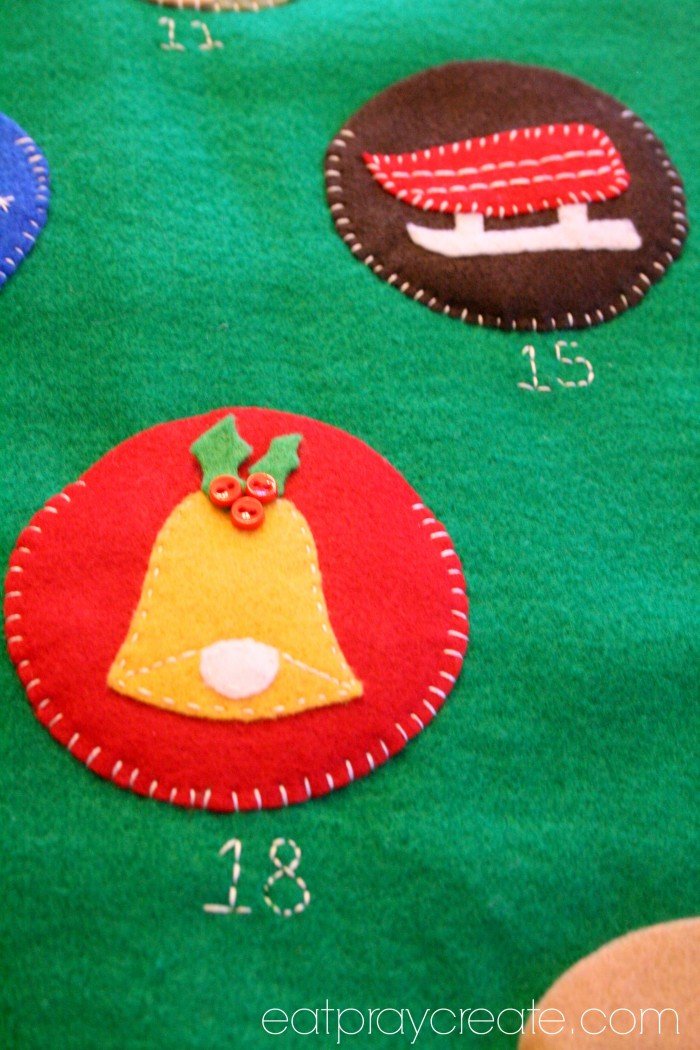
Pin your circles in place using a measuring tape to evenly space them.
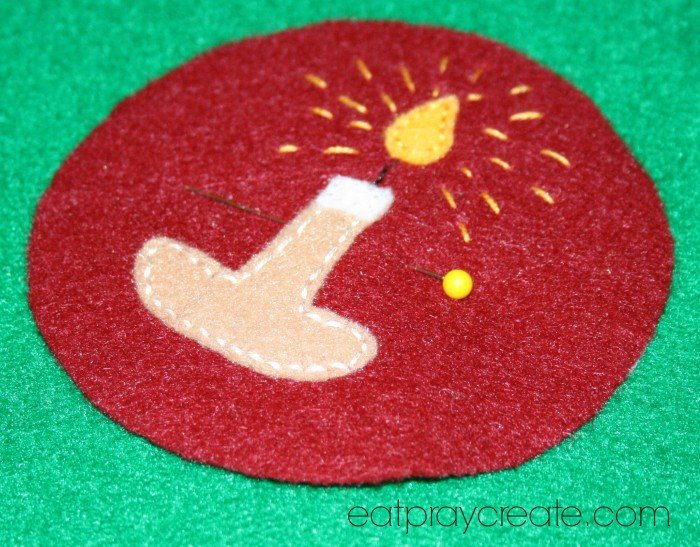
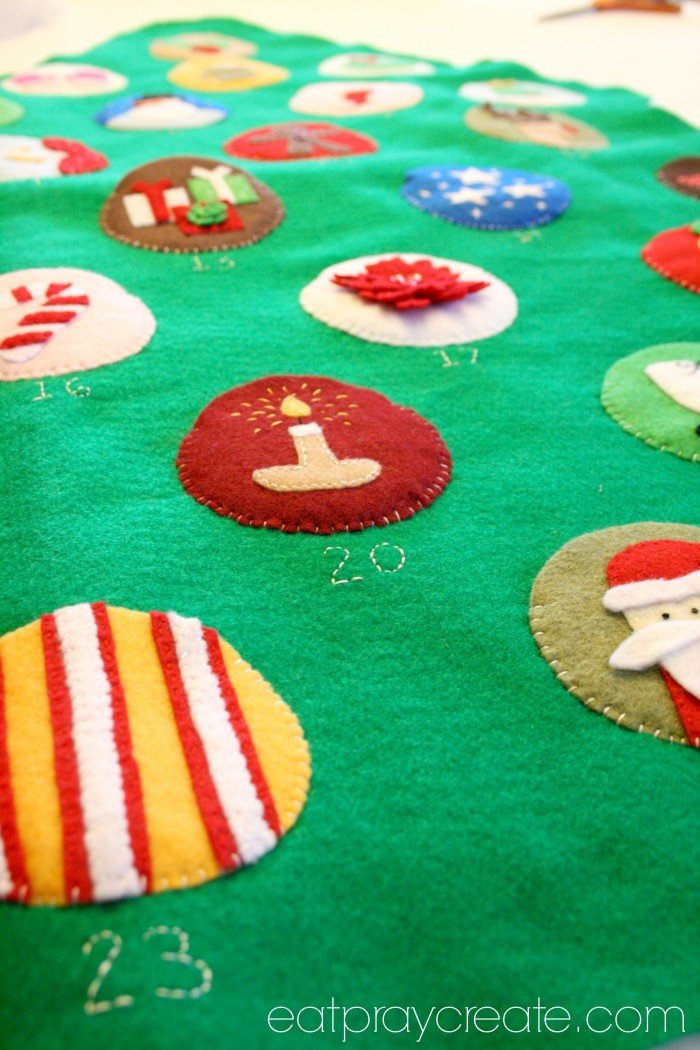
Hand stitch or glue them in place. I chose to hand stitch them, it really added character to the circles! Then hand stitch numbers below each circle if you like. You could also cute numbers out of felt (or purchase felt numbers from the craft store) and glue them on.

Sew Tree:
Now Layer your tree as follows…cut a piece of quilters batting the shape of your tree and lay it below your finished tree top like so…
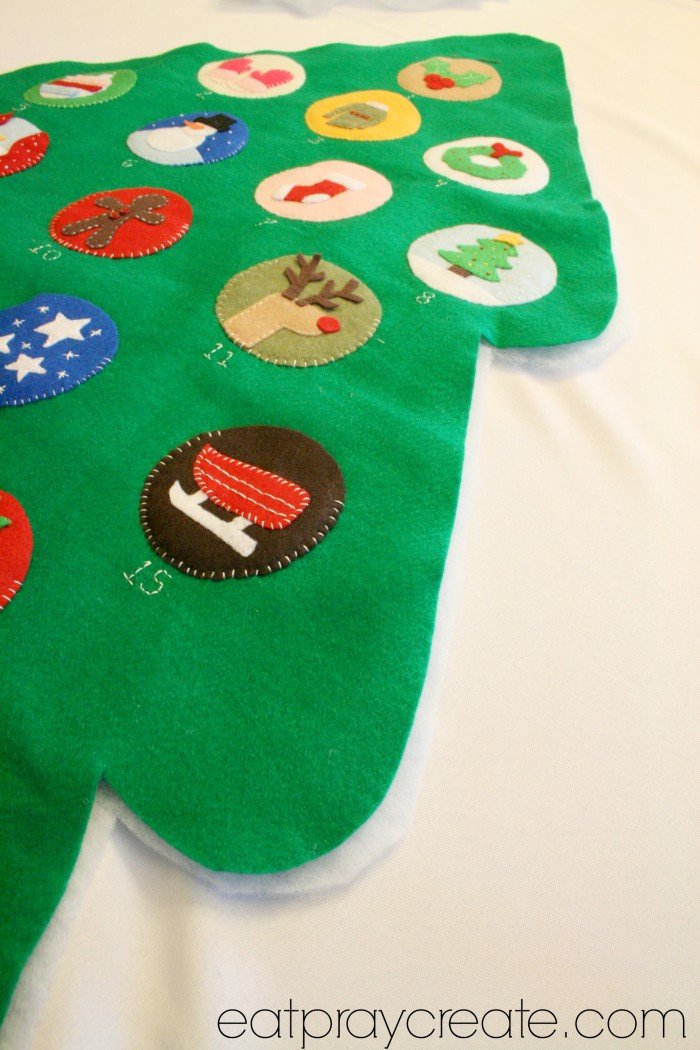


Place your backing on top of your tree front like above. Then pin all three layers together (yes your batting is on the bottom).


Sew along the edge leaving the bottom section open for turning.
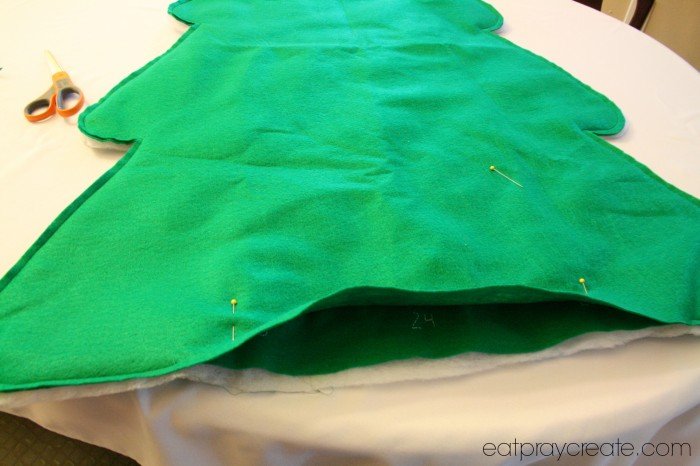
Clip the corners so they will lay flat after turning.

Turn right side out through the hole at the bottom (iron flat if desired).
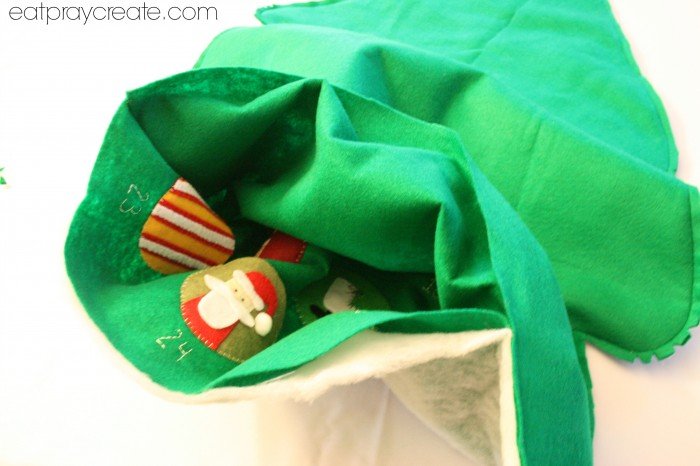
Make Tree Trunk and Star:
Now it’s time to make your tree trunk. Cut out 2 pieces of brown felt in a “U” shape. Sew along the “U” shape leaving the top open.
 Then clip the corners so it will lay flat once you turn it.
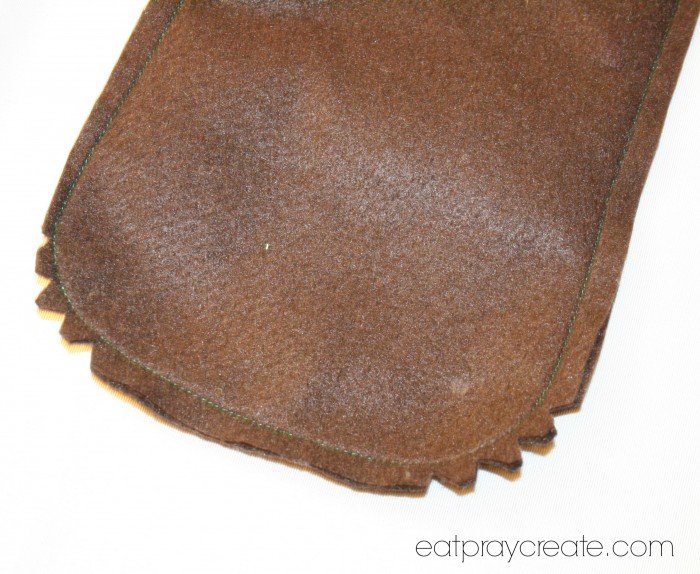 Turn right side out and stuff with a little bit of batting (optional). Pin in place at your tree opening – making sure to tuck the tree felt under while pinning.
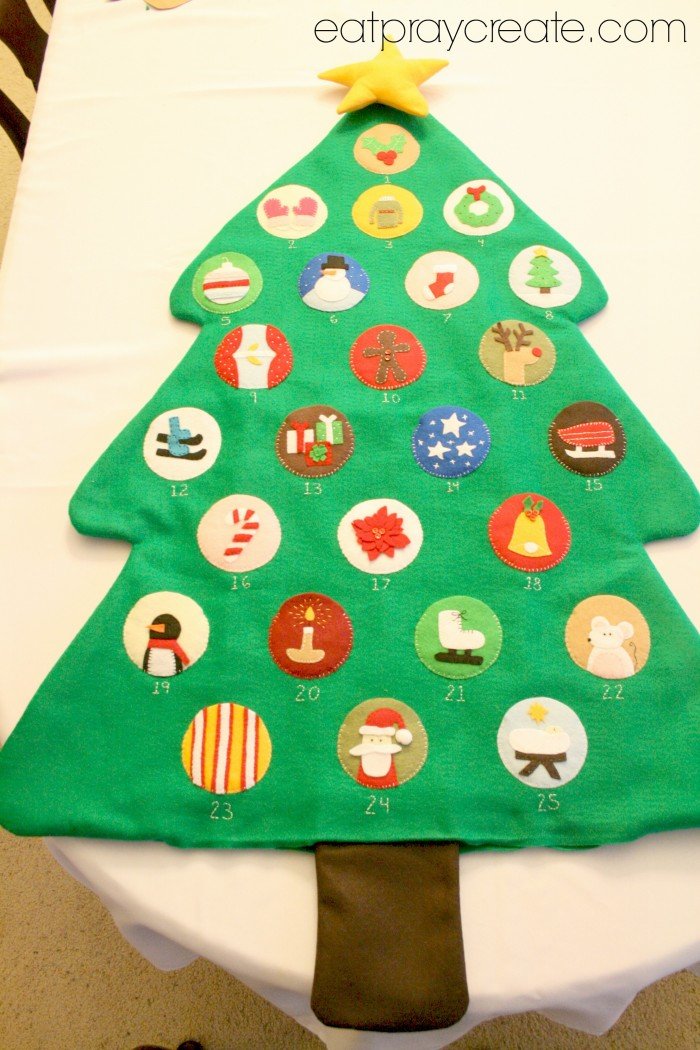
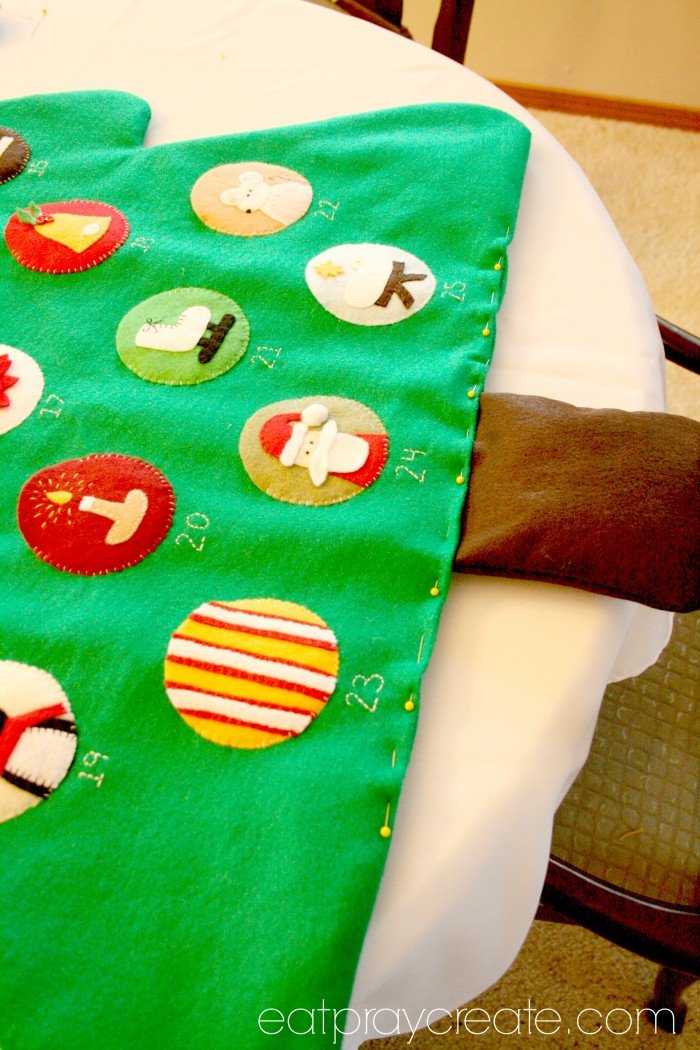
Sew along the outside edge of the tree to secure trunk, continue all around the edge of the whole tree till you get back to where you started.
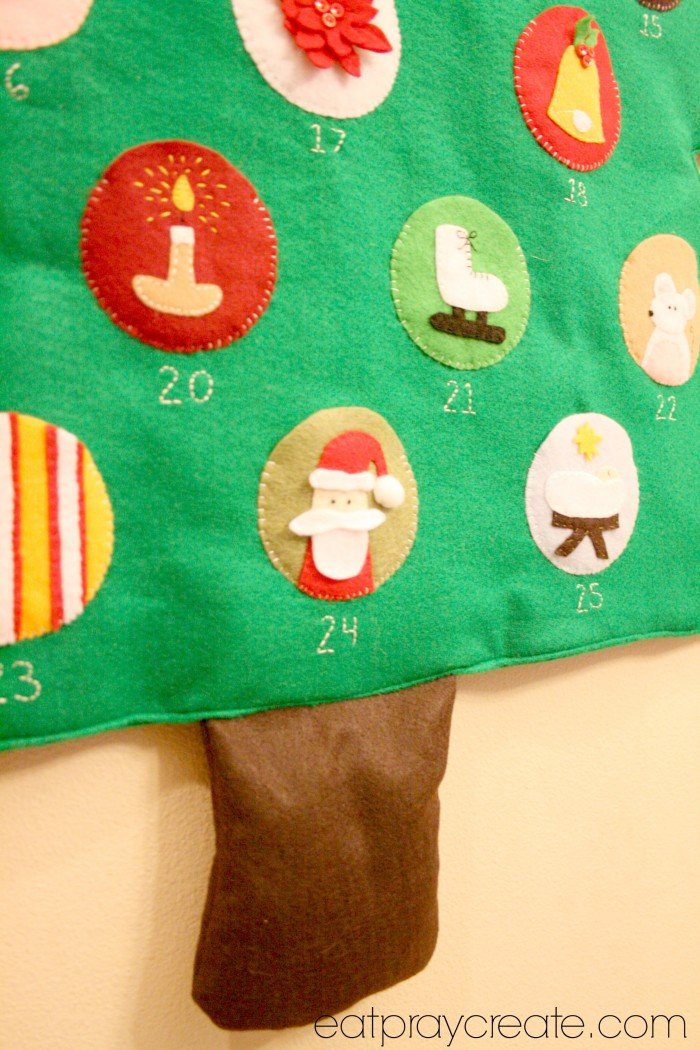 Your edge will look like this…
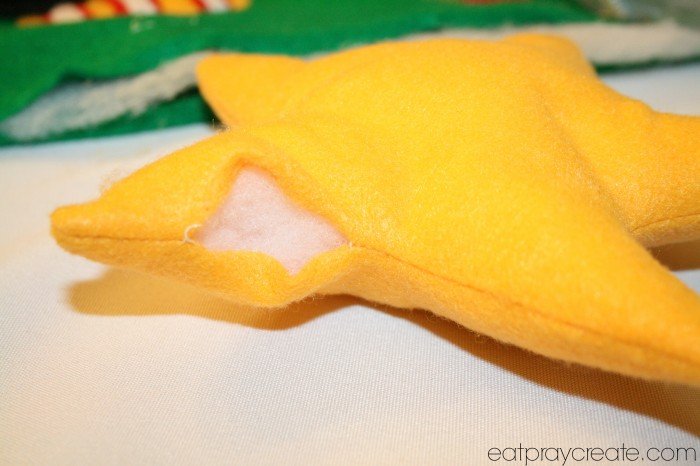
For the Star, simply draw a star shape on paper and then cut out and use as a pattern for cutting your yellow felt. Cut 2 pieces, pin and sew along edge, leaving an opening for turning. Clip the curved edges like you did for the tree and stump.


Then flip right side out and stuff with batting (optional). Then I hand stitched the opening closed. Then attach to the top of your tree. I just used a needle and thread to attach the back of the star to the top of the tree till it was secure.
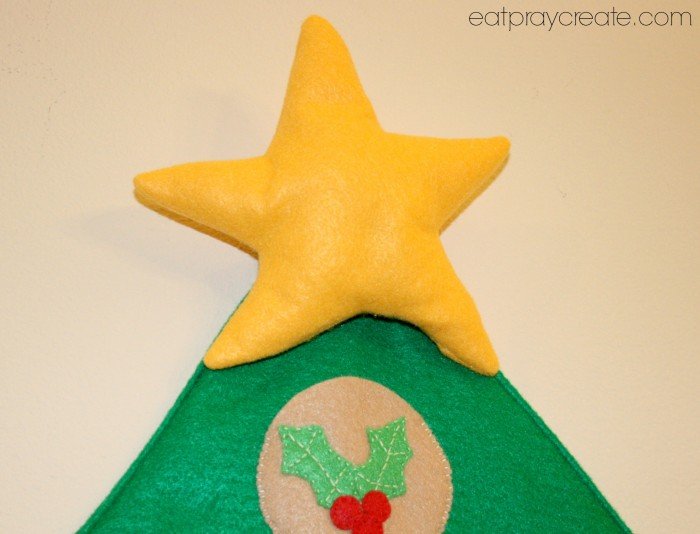
Congrats! You just finished your Advent Calendar! It was a lot of work but it was worth it. Your kids are going to love counting down till Christmas day. I just hang mine with a push pin under the star, you could also add a hook to the back and hang it that way.
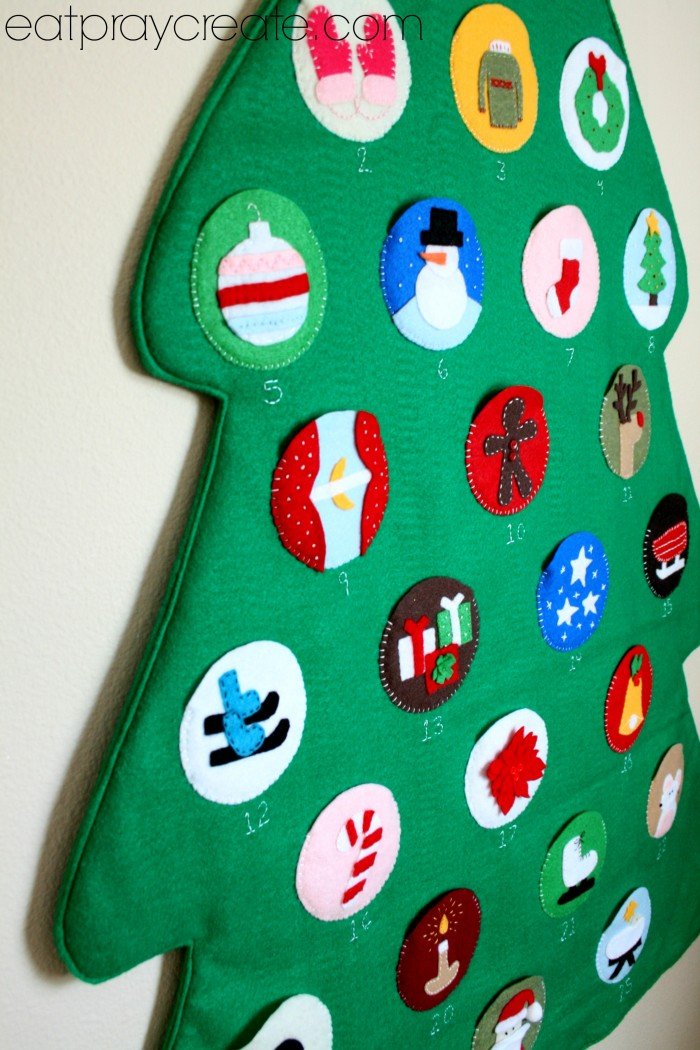
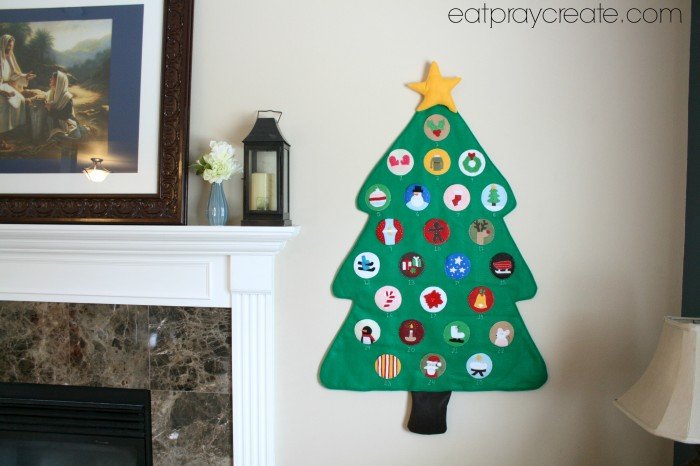

It’s up to you what you want to fill the pockets with. This year I think I am going to print out a list of activities and place one in each pocket to pull out and do. Things like… bake cookies, drink Hot Cocoa, go look at Christmas lights, etc. You could also put a treat in a pocket or two and/or make a stick with a star on it to move from pocket to pocket each day!
If you decide to make one please let me know, I would love to see it and share it here on the blog! Happy Holidays everyone!
If you are looking for another Christmas Advent Countdown Idea you can check out my storybook countdown HERE.
Click HERE to see all the fun linky parties I’ve linked up to!



One Comment
Elizabeth
Oh my! This is just beautiful! You obviously have sewing and crafting genius in your blood. I remember when I was little we had a version of this, and I loved going there everyday to see what we could pick out for the day! It made counting down to Christmas so fun! Thanks for sharing!